Pressure Canning Onions for Beginners: Easy Pantry Storage
Pressure canning onions is an easy way to preserve onions for soups, chili, casseroles, and quick weeknight meals. Instead of freezing onions or storing them whole in a cold cellar, pressure canning gives you a fully cooked, ready-to-use ingredient right on your pantry shelf.
Having jars of pressure canned onions on hand can save valuable time when making dinner, especially on busy nights when you need a meal on the table fast.
*ALWAYS FOLLOW TESTED PRESSURE CANNING GUIDELINES*
Why Canning Onions is Worth It
Convenience
Since pressure canning fully cooks the onions, it saves time when preparing meals later.
Long-Term Food Storage
Like any pantry staple, canned onions help build a reliable long-term food supply for your family.
Money-Saving
If you find onions on sale, pressure canning is a great way to preserve them before they spoil.
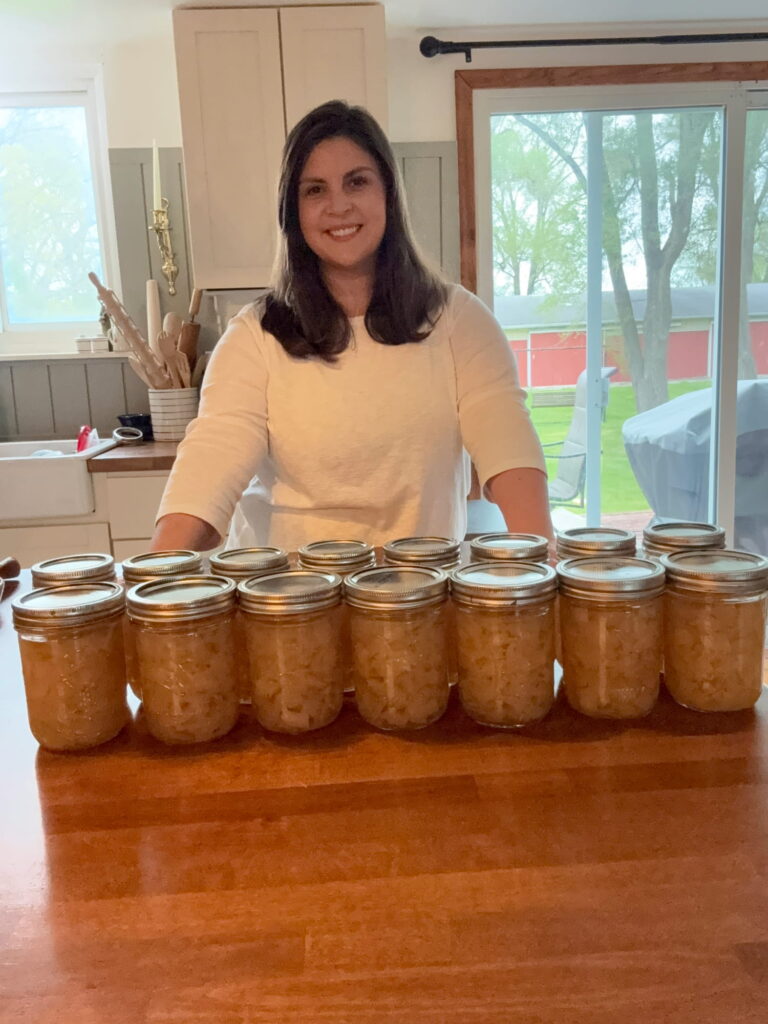
For example, I was able to get 4 bags of 3# onions for $1 each recently and it made me 15 pint jars for the shelf.
Important Safety Information for Canning Onions
- onions are a low acid food, they must be pressure canned.
- water bath canning is not considered safe.
- and processing times come from tested sources.
This recipe follows tested pressure canning guidelines for safely preserving onions at home.
Always follow tested pressure canning guidelines and adjust pressure based on your altitude.
Equipment Needed for Canning Onions
- Pressure canner or Electric Pressure Canner
- Canning jars
- Bands and lids
- Jar lifter
- Debubbler/headspace tool
- Towels or cooling rack
Ingredients for Canning Onions
- Onions
- Water
How to Prepare Onions for Canning
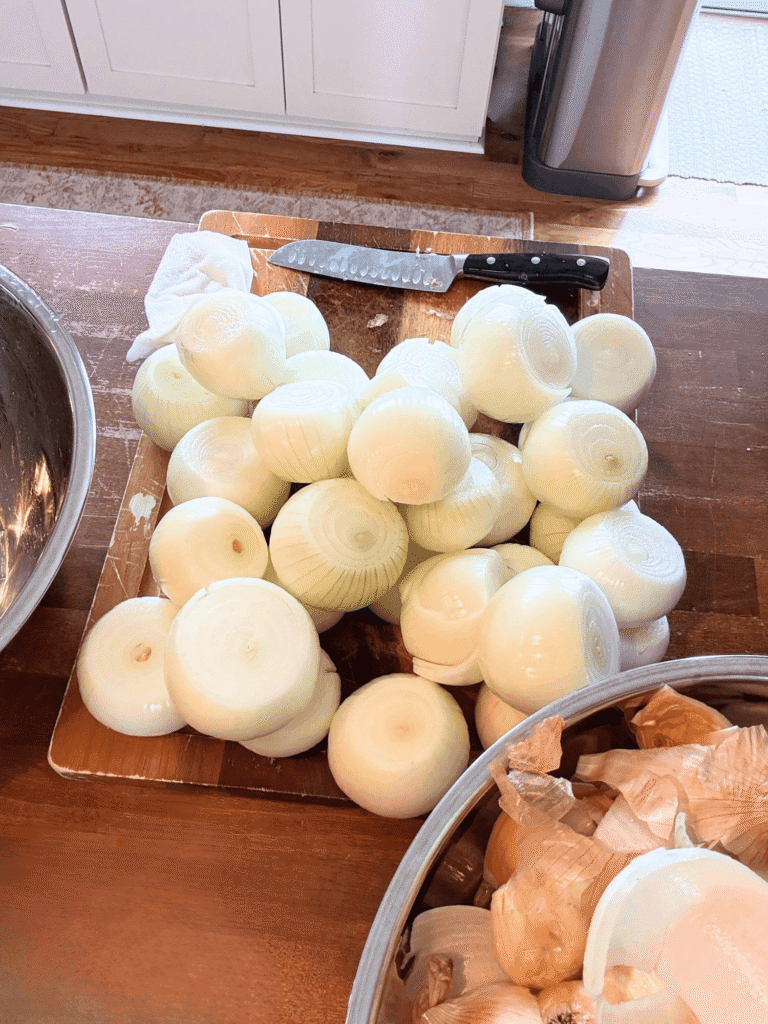
Removing Skins and Ends
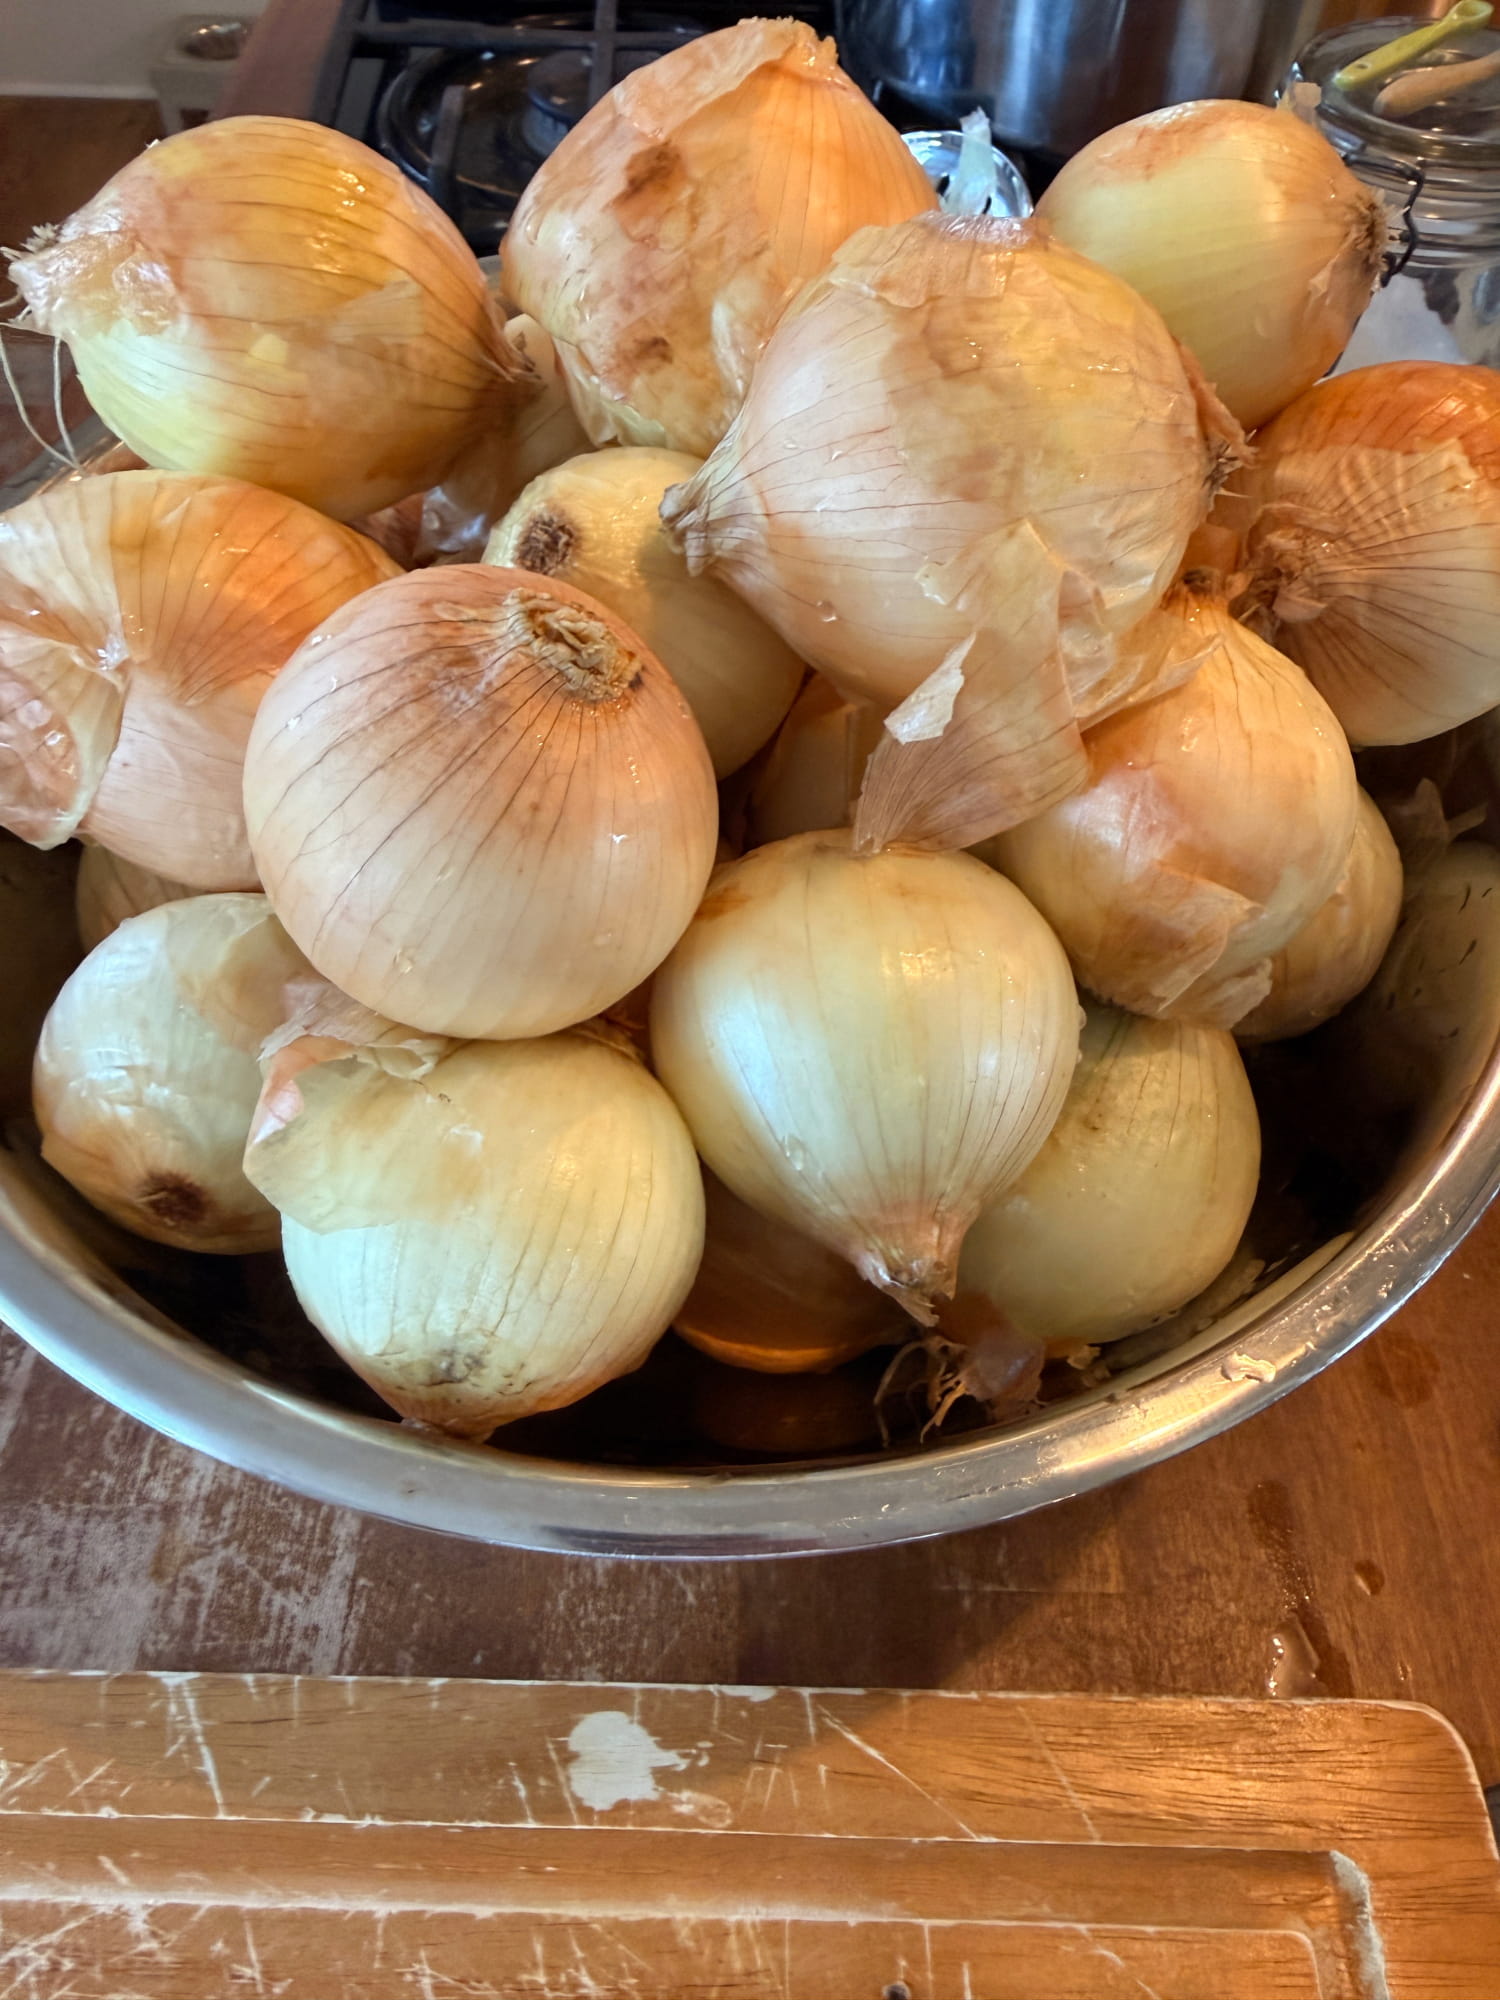
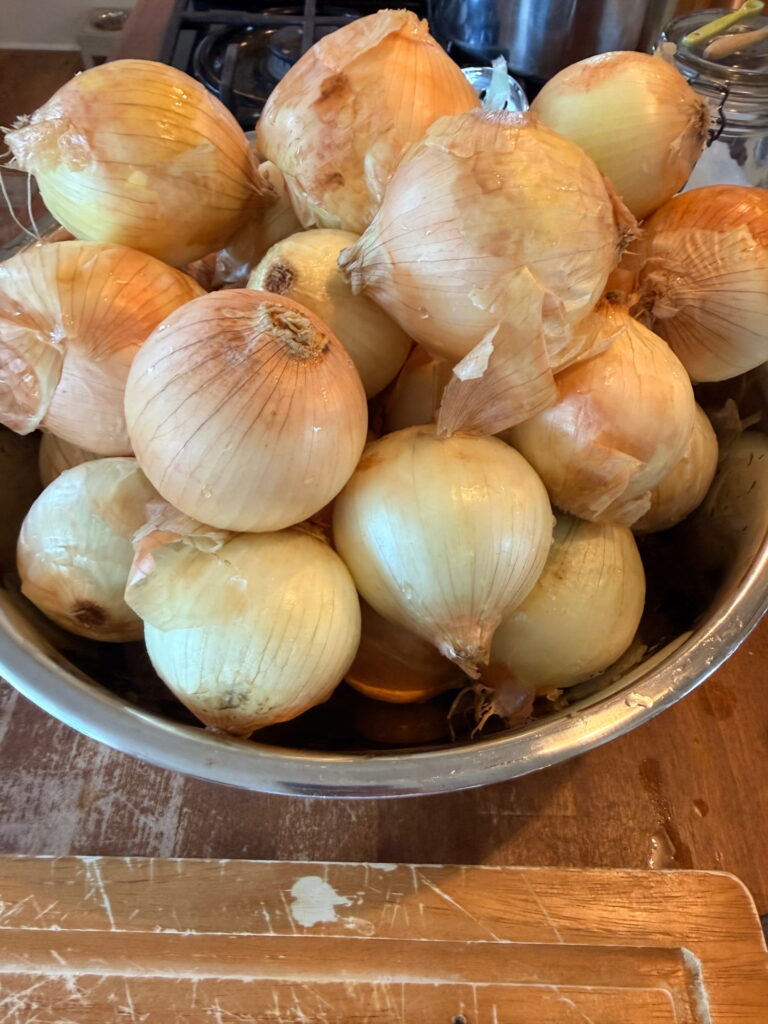
No matter how you plan on cutting the onions, they’ll all need to have the skin and root base removed. Start by cutting the root end and removing all skins.
The skins can be
- Discarded
- Composted
- Put in a freezer bag to be used in making stocks
Tips to Reduce Tears While Cutting Onions
If you have a lot to prep you may want to consider using these tips to help not cry when cutting onions. There are lots of methods used for reducing the amount of tears involved in cutting up onions.
WEAR GOGGLES – capitalization is for a reason
Seriously. It may feel a little silly at first, but goggles really do help reduce onion tears.
Soak the Onions in Warm Water
Put them into a stockpot of water to sit for about 10 minutes. You’re not looking to cook them but to let some of the water-soluble gases leach out. Better there than your eyes!
Use a Fan While Cutting
Try to take the skins off as much as you can before you turn the fan on to start cutting. The last thing you want to deal with is starting the fan only to have your kitchen scattered with onion skins. Also, use your judgement when picking a fan to use but something the size of a small personal fan will be great.
Put a Damp Paper Towel Nearby
Even a damp paper towel near your cutting board may help absorb some onion fumes.
Best Ways to Cut Onions for Canning
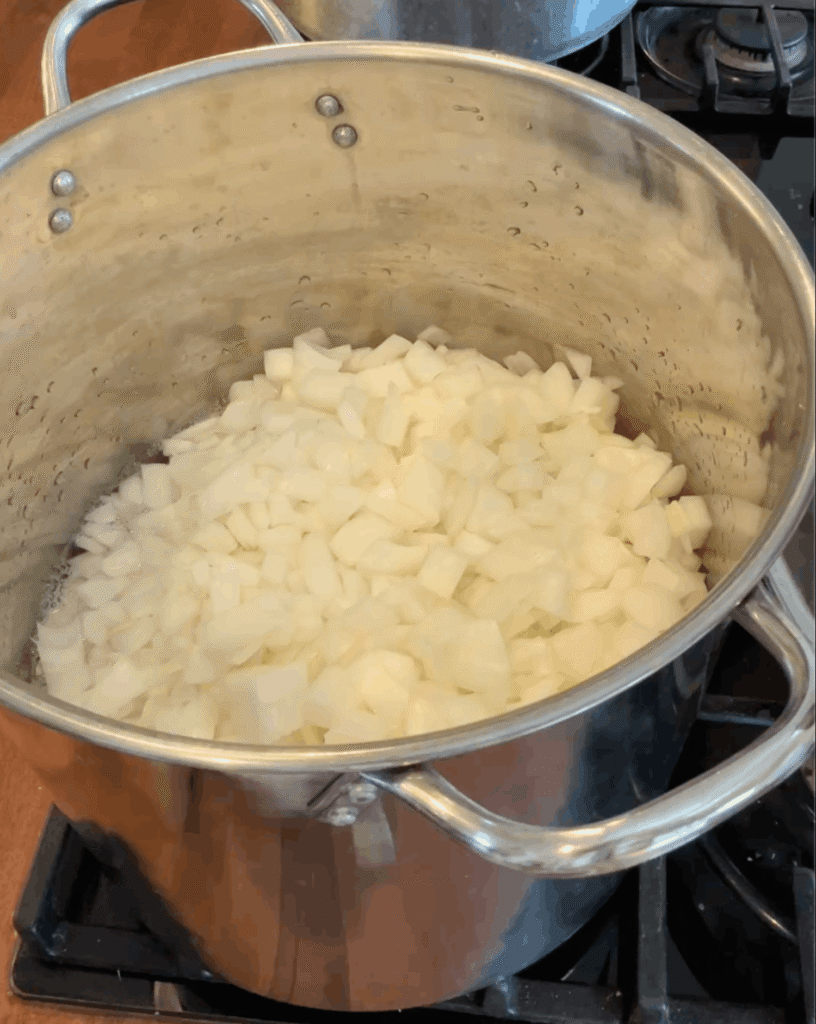
I recommend either dicing or slicing the onions. That’s traditionally what you’re going to want the finished product to be like whether it is in soups, beans, chili etc. So take the extra time to dice or slice them now instead of just quartering them.
Step-by-Step Guide to Canning Onions
Prepare the Pressure Canner
Prepare your pressure canner according to the manufacturer’s instructions. Always refer to your manual.
When using an electric canner, follow those instructions for the whole canning process.
For example, I use the 23 quart Presto Pressure Canner. It requires 3 quarts of water before use. It has a dial gauge that needs to be put in as well as a gasket.
TIP: Many extension offices will test pressure canner gauges for free.
Prepare and Heat the Jars
Wash jars, bands, and lids thoroughly.
Fill them at least half-way with water. This is simply so they don’t try to float or get wobbly. When you go to use the jar and fill it with the onions, discard the water down the drain or into a catch bucket.
Turn the heat to medium-low to start warming the water and the jars. The jars are getting hot so that way there’s no thermal shock when adding the hot onions to the jar.
Boil the Onions
Meanwhile, place all diced onions into a stockpot and cover with water just above the top of the onions.
Bring to a boil and boil for 5 minutes.
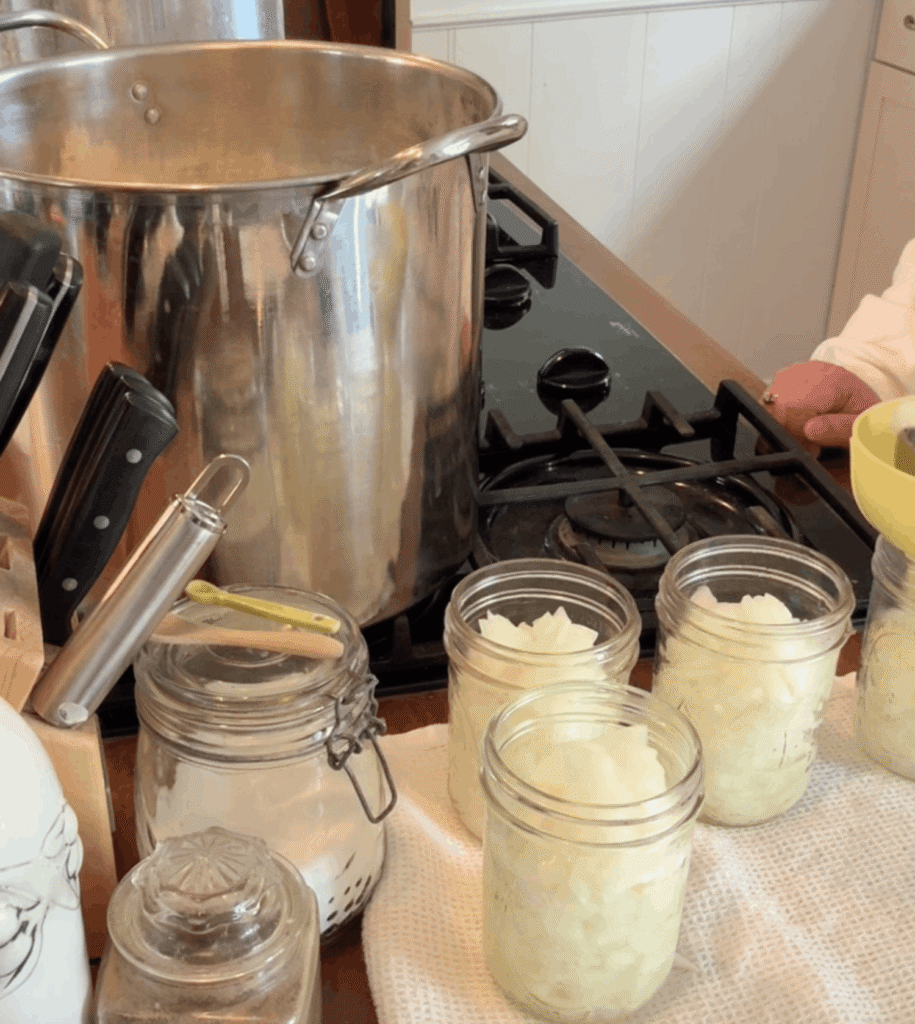
Fill the Jars
Using a jar lifter, remove a warm jar and dump out the water (not into the canner)
Fill jars loosely with hot onions, then add cooking liquid, leaving 1 inch of headspace.
Remove bubbles and check headspace. Sometimes you’ll need to add a little bit more liquid after debubbling.
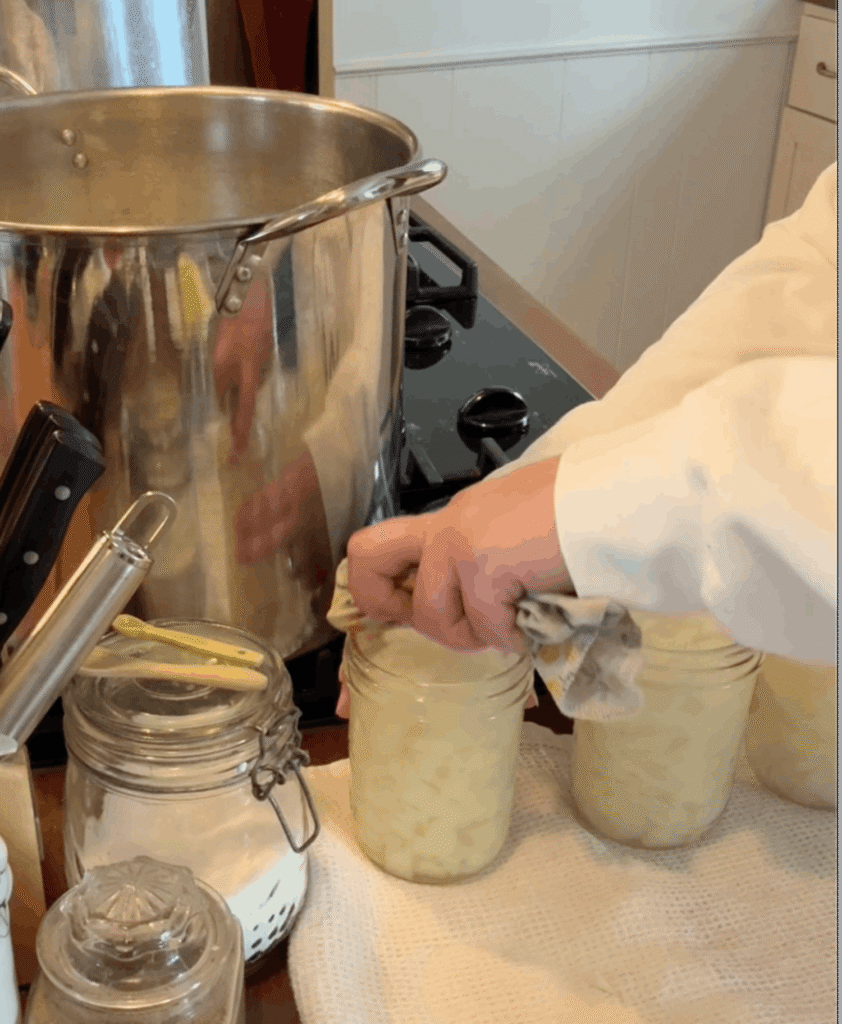
Wipe rims clean with a lint-free cloth. I dip my cloth into vinegar but water is fine too. Wipe around all rims to help ensure a tight and safe seal.
Put the lid and ring on and twist it to fingertip tight.
Process the Jars
Place jars into the pressure canner.
Try to space all jars evenly without touching each other or the side of the canner.
Repeat for all jars until the canner is full.
TIP: If the canner isn’t full, fill a jar with water and put on a ring and band. This helps to make sure the pressure builds properly versus leaving the space empty.
Follow your canner’s instructions on heating the canner, letting it vent, building pressure, and monitoring the pressure.
- Ex for my 23 quart Presto Pressure Canner I bring it to a boil and let it vent for 10 minutes (no weight). Then I add the weight, bring it up to 11 pounds of pressure (for my altitude) via my dial gauge, and pressure can.
TIME: 40 minutes for both pints and quarts. Normally this isn’t the case with most vegetables but for onions it is.
Altitude Adjustments for Canning Onions
Pressure can for 40 minutes at the pressure for your altitude.
If you are at an altitude higher than 1,000 feet above sea level, adjust pressure pounds as indicated.
| Altitude Feet | Weighted Gauge | Dial Gauge |
| 0- 1,000 1,001- 2,000 2,001- 4,000 4,001- 6,000 6,001-8,000 8,001-10,000 | 10 15 15 15 15 15 | 11 11 12 13 14 15 |
Cooling and Storing Canned Onions
Once the 40 minutes is complete, turn off the heat and allow the pressure to return to zero naturally.
Do not try to move or force cool the canner.
Once the pressure is COMPLETELY gone, remove the lid and let the canner sit for 5 minutes, undisturbed.
Remove the jars from the canner and place onto a protected countertop or strong cooling racks.
Don’t disturb for at least 12 hours, preferably 24.
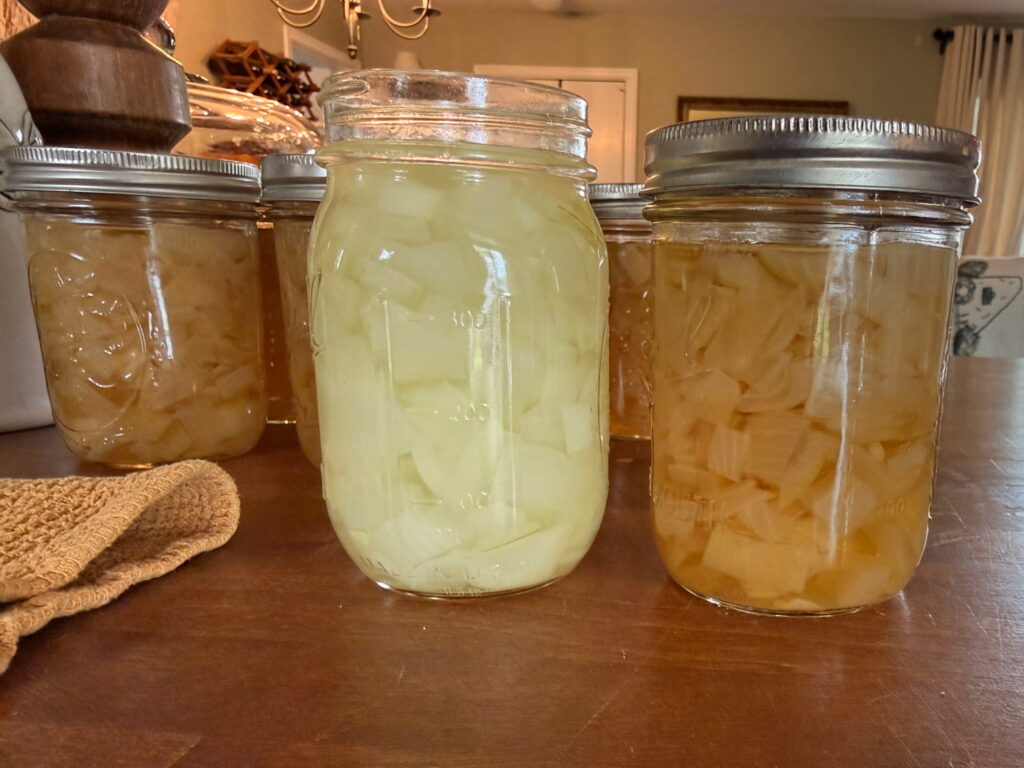
The onions will be golden in color and have the texture of cooked onions, not mush.
After jars cool:
- Check seals
- Label with contents and when it was made.
- Store in a cool, dark place
For best quality, use within 12–18 months.
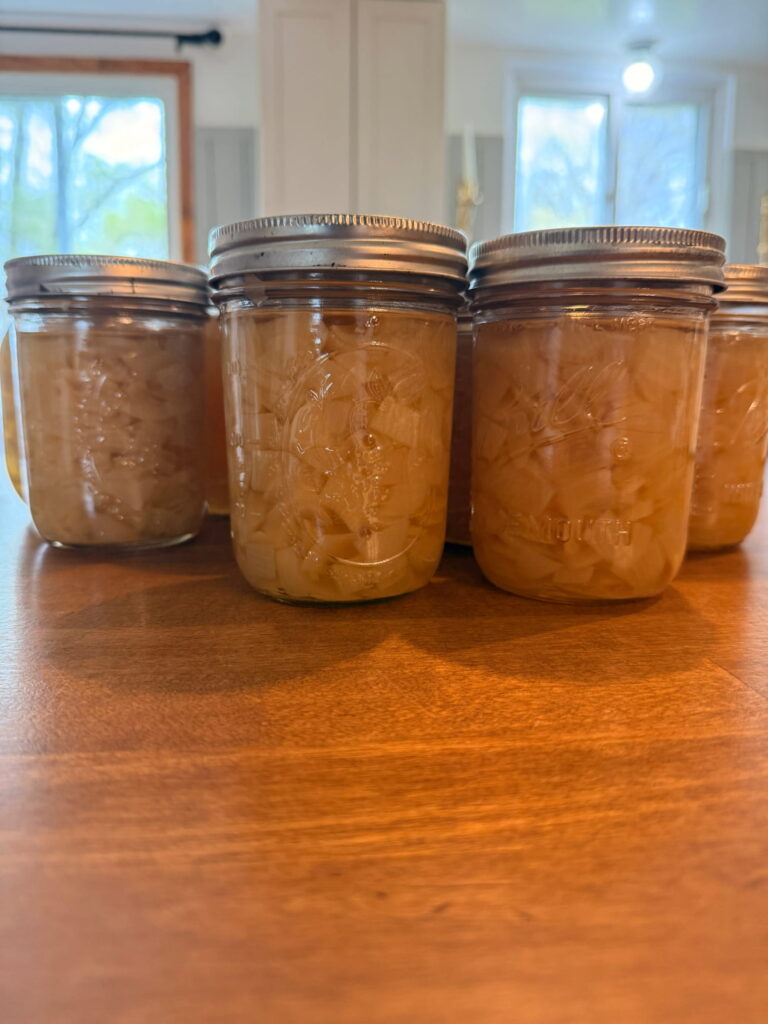
There you go! Onions ready for their next adventure.
Ways to Use Canned Onions
- Soups (vegetable, french onion, etc.)
- Chili (white bean chicken chili, chunky chili, tex-mex chili, etc.)
- Beans
- Casseroles
- Skillet meals
Guidance
Storage
Store in a cool dark place.
Store in a spot that isn’t overly hot or cold and isn’t prone to a lot of temperature fluctuations.
Spoilage
Noticeable signs of spoilage are:
- Bulging or popped lids
- Bad smell
- Mold or excessive cloudiness (some things, like potatoes, can look a little cloudy because of starch). Onions shouldn’t be cloudy.
- Leaking liquid
FAQ’s
“Can I raw pack onions?”
This method uses a hot pack process, which is recommended for better quality and safer heat penetration because of the water.
“Can I add salt?”
Salt is optional in pressure canning onions and is used for flavor only, not preservation.
Note: sometimes adding salt can increase cloudiness
“Can I can red onions/sweet onions?”
Yellow, white, and red onions can all be pressure canned using the same processing time.
“Why are my onions dark/golden after canning?”
It’s normal for canned onions to darken slightly or turn golden during processing because of the naturally occurring sugars in onions. It’s the start of the caramelization process.
“Can onions be canned without water?”
No. Onions should not be raw-packed. They need liquid in the jar for proper heat transfer during pressure canning.
“Can onions be water bath canned?”
Not by themselves. Onions are a low-acid food and should be pressure canned.
How long do pressure canned onions last?
If properly stored, 12-18 months for best flavor and texture.
Do canned onions get soft?
Soft, yes. Mush, no.
Can I add garlic or peppers?
Yes, a little garlic powder is fine or 1 clove per jar.
Yes, peppers can be added without changing processing times. Stick to pint or ½ pint jars, though.
Can I use frozen onions for canning?
Yes, considering you thaw, dice, and prepare them following the methods above.
Final Thoughts on Canning Onions
Pressure canning is intimidating at first. I used to just peek from around a corner to see what the dial was at because it made me nervous. The overpressure plug on my canner brings me comfort because I know that if something were to happen it would release pressure there first (think of the Instant Pot or Ninja Foodi when you move it to ‘vent’).
It’ll take practice but it’s worth it. Especially after you make the initial investment of the canner and jars, you’ll forget about that part of the expense and start to enjoy watching your food stash grow without the grocery store prices.
Remember to always use a tested pressure canning recipe. There may be people out there who encourage otherwise (think: my grandma did it this way forever and I’m still alive!) comments that you will absolutely hear. Trust what is safe, especially when you’re first starting out.
A few resources: