How to Make Canned Chicken Pot Pie Starter
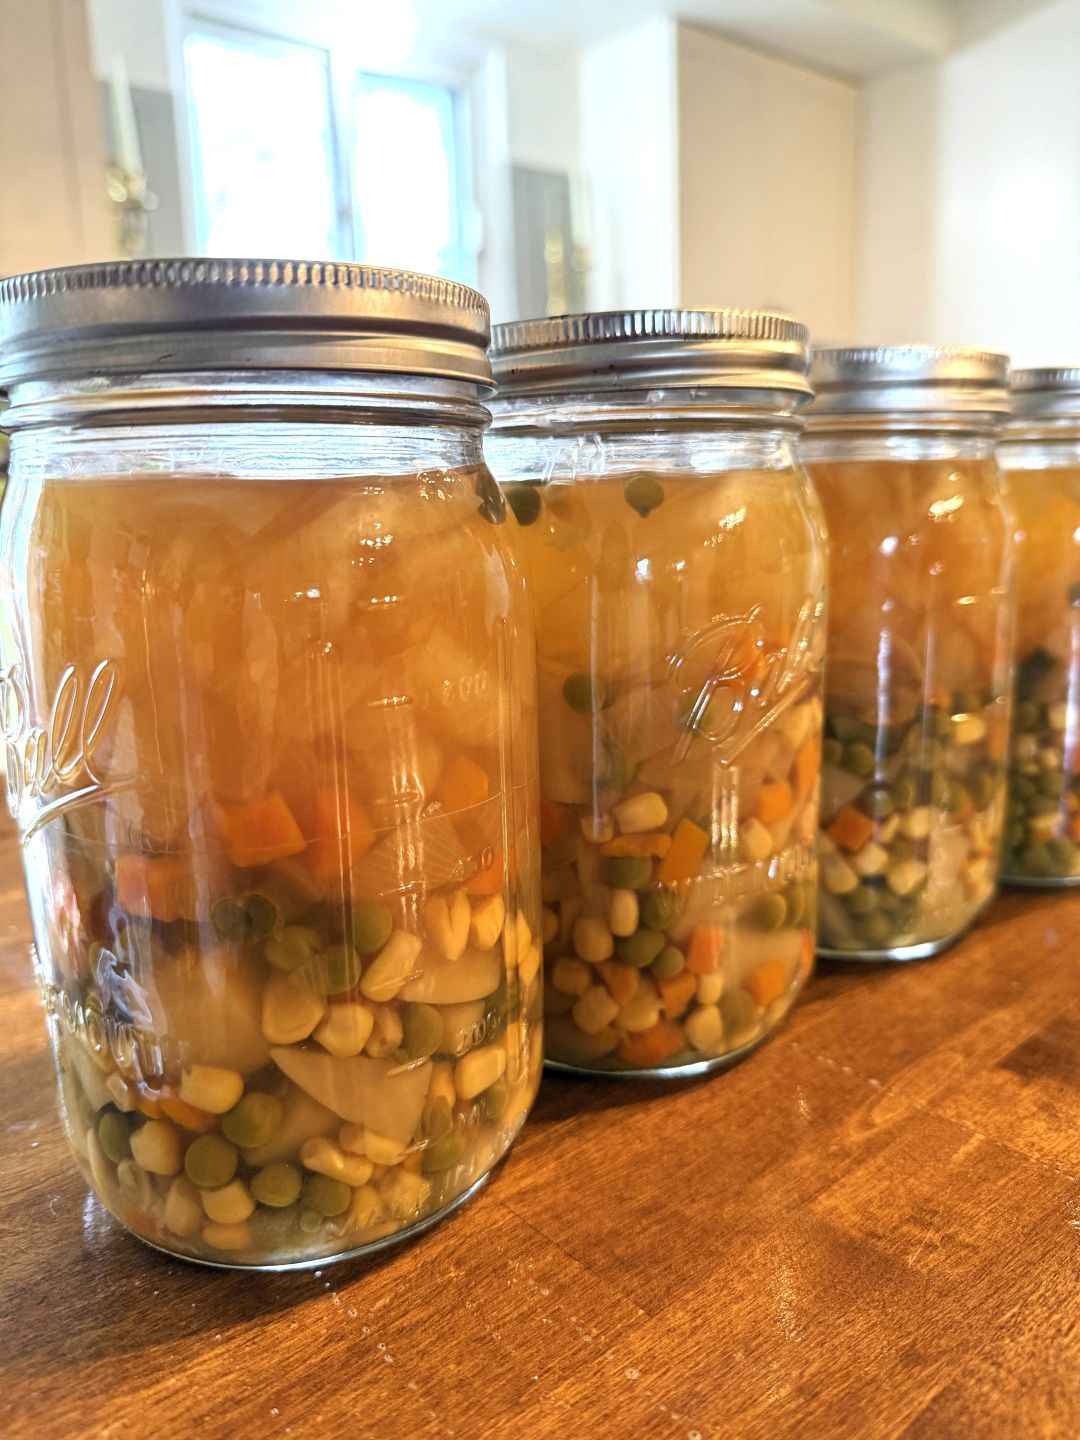
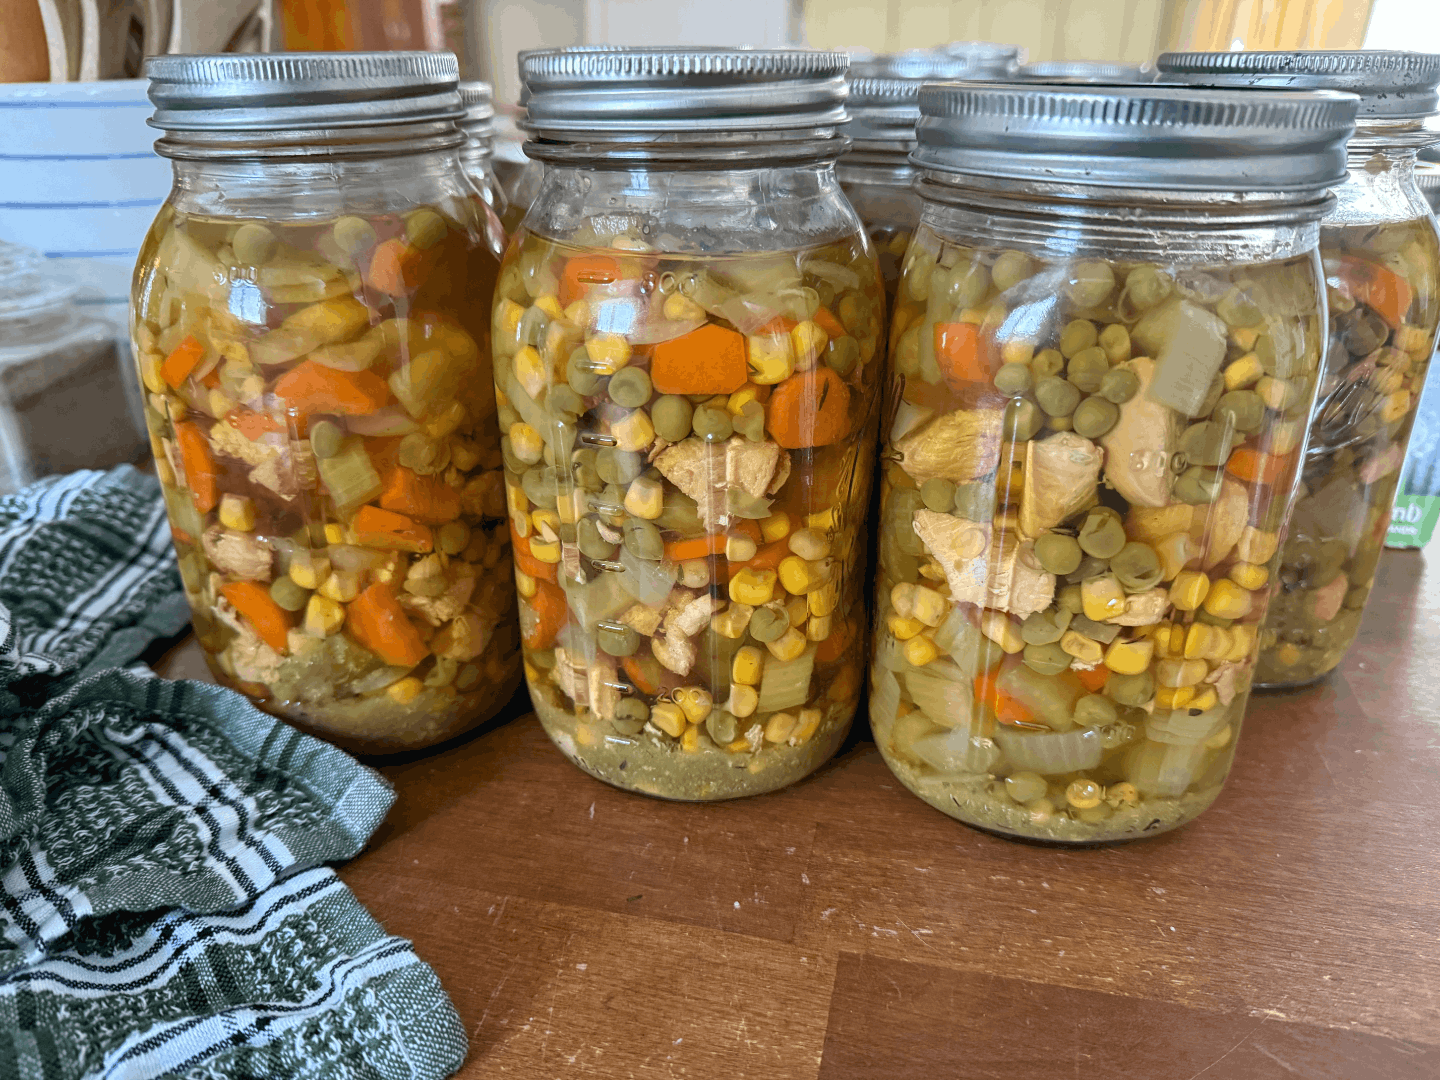
Learning how to make canned Chicken Pot Pie Starter has been wonderful. I don’t just make pot pies with it, I use it for soups and chicken and dumplings too. The recipe I use is an adaptation from the ‘Chicken Soup’ recipe from the Ball Complete Book of Home Preserving. I simply add corn, peas, and some additional dried herbs. It always has a great base to start with that can be adjusted in many ways.
this post contains affiliate links which means I may make a commission on attached links
Canned Chicken Pot Pie Starter
There are a lot of variations on how to make a chicken pot pie but the basics are a chicken, veggies of choice (usually peas, celery, onions, carrots), a chicken-flavored thickened sauce, and a crust. Since I’m not looking to can the whole thing at once, I’m strictly focusing on the chicken, veggies, and base of the sauce. I will not be thickening it for canning but instead I’ll thicken it after I open the jar and use it for cooking. I also add corn to the recipe because I think it adds a little bit of natural sweetness and crunch.
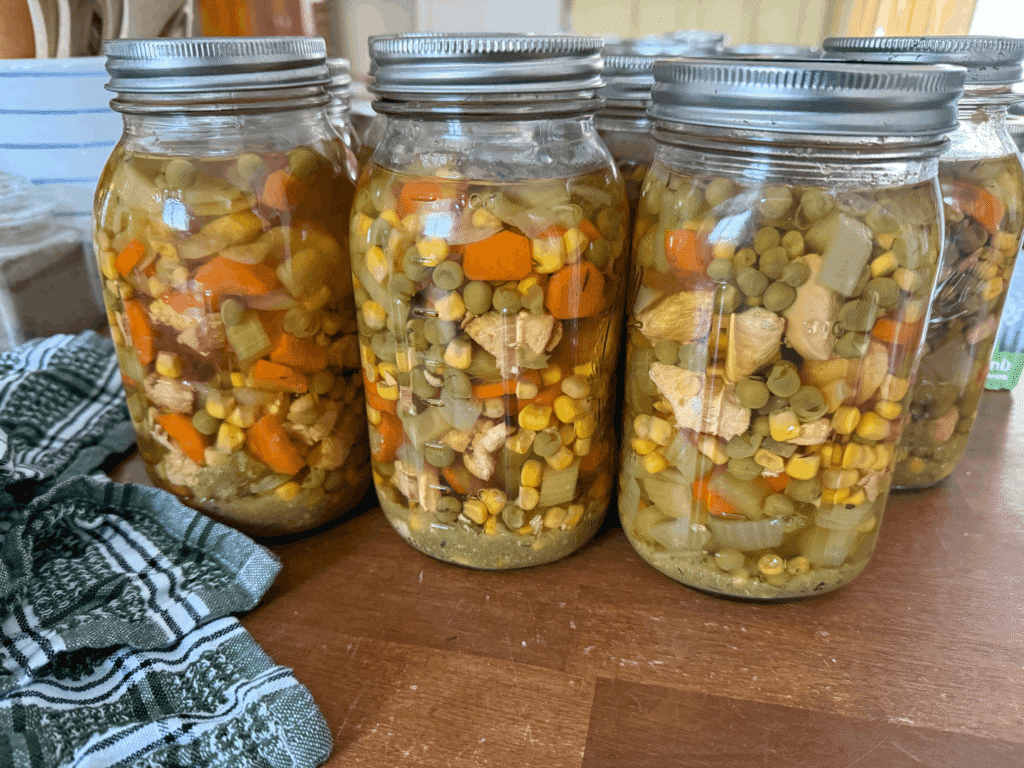
Why You’ll Love This Recipe
- Creates a ready-to-use pantry staple
- Filled with chicken and vegetables
- Comforting dinners can be made quickly
- Easily adjustable to be thicker, thinner, creamier, etc.
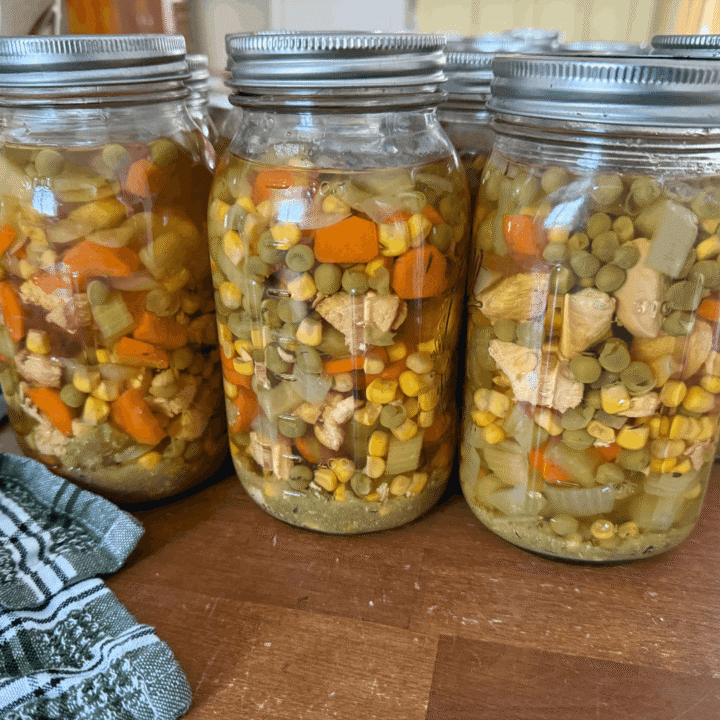
Canned Chicken Pot Pie Starter
Based off of the Ball Canning Chicken Soup recipe, this is made with veggies, chicken, and broth. This staple makes having a comforting dinner on the table in no time.
Ingredients
- 5 quarts (20 cups) chicken stock (store-bought or homemade)
- 3 cups diced cooked chicken
- 1 1/2 cups diced celery
- 1 1/2 cups diced carrots
- 1 1/2 cups peas
- 1 1/2 cups corn
- 1 cup diced onion
- 1 tsp broth powder added to each quart before processing (optional)
- I use Frontier Co-op Vegetable Flavored Broth Powder. If you don't add broth powder consider a blend of your own spices such as powdered garlic, onion, parsley, and thyme.
- salt and pepper to taste (optional) - I do not add extra salt to mine other than what's in the broth powder
Instructions
- Prepare your pressure canner according to the manufacturer's instructions. These instructions are meant for dial and weighted-gauge canners.
- Clean and heat your jars.
- In a large stainless steel stockpot or large pot combine chicken stock, chicken, celery, carrots, onions, peas, and corn. Bring to a boil over medium-high heat. Reduce heat and boil gently for 30 minutes. Season with salt and pepper to taste (if desired) and add flavorings (if desired).
- Ladle hot soup into hot jars, leaving 1-inch headspace.
- Remove air bubbles and adjust headspace, if necessary, by addign hot soup. Wipe rim with a paper towel moistened with vinegar. Center lid on the jar and screw band down until resistance is met then increase to fingertip-tight. DO NOT tighten the band as hard as you can.
- Place jars into the canner. If your canner calls for water, make sure it is hot before placing the filled jars inside.
- Bring to a boil over medium-high heat. Vent steam for 10 minutes, then close vent. Continue heating to achieve necessary pressure determined by a) whether you have a weighted gauge or dial gauge and b) your altitude. See here for a chart.
- Process pints at for 75 minutes and quarts for 90 minutes.
- Turn off heat. Let pressure return naturally to zero. Wait a couple of minutes, then open vent. Remove canner lid and wait an additional 10 minutes.
- Remove the jars, cool and store.
Notes
- There is a built-in buffer with the amount of chicken stock needed. You may end up with extra broth but it's better to have a little bit more ready to go than not enough.
- If you don't add broth powder, consider adding a blend of your own spices such as garlic, onion, parsley and thyme. Poultry blend works well.
- Potatoes are also a good addition
- Frontier Co-Op Vegetable Flavored Broth Powder
Equipment
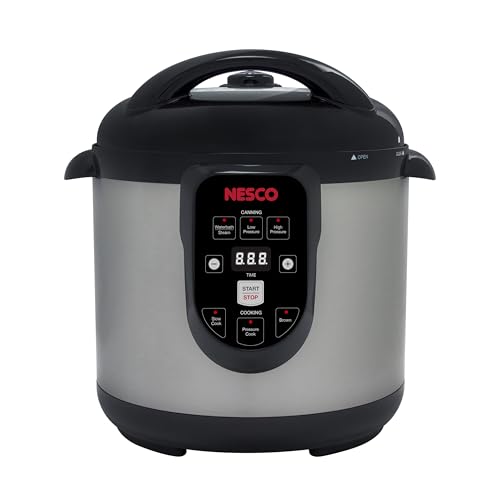
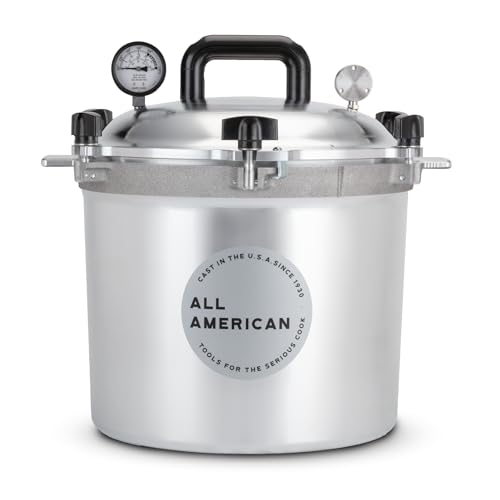
- Pressure Canner
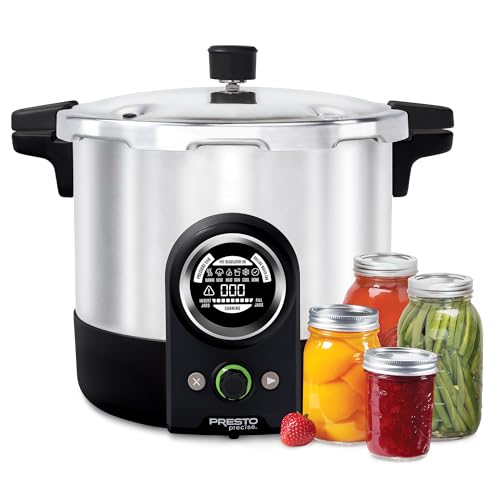
- or Digital Pressure Canner
- Funnel
- Jar Lifter and Accessories
- Quart Canning Jars with Lids and Bands
- Stainless Steel Stockpot



Ingredients
Chicken Pot Pie Base
- 5 quarts (20 cups) chicken stock (store-bought or homemade)
- 3 cups diced cooked chicken
- 1 1/2 cups diced celery
- 1 1/2 cups diced carrots
- 1 1/2 cups peas
- 1 1/2 cups corn
- 1 cup diced onion
- 1 tsp broth powder added to each quart before processing (optional)
- I use Frontier Co-op Vegetable Flavored Broth Powder. If you don’t add broth powder consider a blend of your own spices such as powdered garlic, onion, parsley, and thyme.
- salt and pepper to taste (optional) – I do not add extra salt to mine other than what’s in the broth powder
NOTE: There is a built-in buffer with the amount of chicken stock needed. You may end up with extra broth but it’s better to have a little bit more ready to go than not enough.
Optional Additions
- If you don’t add broth powder, consider adding a blend of your own spices such as garlic, onion, parsley and thyme.
- Poultry blend of spices
- Potatoes
How to Make Canned Chicken Pot Pie Starter
*These directions are to be used with a weighted or dial gauge pressure canner*. If you are using something different, such as a digital pressure canner, please follow those instructions on setting up and canning process. The contents of the soup remain the same as well as how to make it before canning.
Directions
- Prepare your pressure canner according to the manufacturer’s instructions.
- Clean and heat your jars.
- In a large stainless steel stockpot or large pot combine chicken stock, chicken, celery, carrots, onions, peas, and corn. Bring to a boil over medium-high heat. Reduce heat and boil gently for 30 minutes. Season with salt and pepper to taste (if desired) and add flavorings (if desired).
- Ladle hot soup into hot jars, leaving 1-inch headspace.
- Remove air bubbles and adjust headspace, if necessary, by addign hot soup. Wipe rim with a paper towel moistened with vinegar. Center lid on the jar and screw band down until resistance is met then increase to fingertip-tight. DO NOT tighten the band as hard as you can.
- Place jars into the canner. If your canner calls for water, make sure it is hot before placing the filled jars inside.
- Bring to a boil over medium-high heat. Vent steam for 10 minutes, then close vent. Continue heating to achieve necessary pressure indicated below by a) whether you have a weighted gauge or dial gauge and b) your altitude.
- Process pints at for 75 minutes and quarts for 90 minutes.
- Turn off heat. Let pressure return naturally to zero. Wait a couple of minutes, then open vent. Remove canner lid and wait an additional 10 minutes.
- Remove the jars, cool and store.
| Altitude | Weighted Gauge | Dial Gauge |
| 0- 1,000 | 10 | 11 |
| 1,001 – 2,000 | 15 | 11 |
| 2,001 – 4,000 | 15 | 12 |
| 4,001 – 6,000 | 15 | 13 |
| 6,001 – 8,000 | 15 | 14 |
| 8,001 – 10,000 | 15 | 15 |
Frequently Asked Questions
Can I Make the Base Thicker?
It’s best to thicken the base after it’s open to be used. You can do this by adding a cornstarch slurry of 2 TBS cornstarch mixed thoroughly with 2 TBS water and adding it to the pot. Bring to a boil and thicken. If you’d like your base to be even thicker, continue adding a cornstarch slurry in small amounts until you’ve reached your desired consistency.
What Can I Make with this Chicken Pot Pie Base?
- Chicken pot pies with crust on either both bottom and top or just the top.
- Chicken pot pie soup with a crusty buttered topping
- Add cream to make it creamy before transforming it into a pot pie, soup, or chicken and dumplings
- Chicken and dumplings (drop or flat)
- Serve it topped or alongside biscuits
Using Home-Canned Chicken Pot Pie Starter Safely
I have to add this in here to make sure you guys stay safe.
Before opening the jar, check for:
- A loose or unsealed lid
- Leaking liquid
- A bulging lid
- Cracks in the jar
- Spurting liquid when opened
- Unexpected foam, mold, or an unusual odor
Never taste food from a questionable jar. When in doubt, throw it out.
USDA guidance recommends boiling home-canned low-acid foods for 10 minutes before serving at or below 1,000 feet, adding 1 minute for every additional 1,000 feet of elevation. This added precaution does not make improperly processed food safe and does not replace the use of a tested pressure-canning recipe.
I hope you love having this on your shelves as much as I do. I’m always interested to hear and see how you used it for your family.
-
Cooking from the Cantry | Dinner from the Cantry | Lunch from the Cantry | Under 30 Minute Cantry Meals
Easy Cheeseburger Macaroni | One-Pot Homemade Hamburger Helper
Sharing is caring! If you’re like me and love the nostalgia of foods we grew up in but don’t love…
-
15-Minute Chili: A Quick Pantry Meal with Canned Ground Beef
15-Minute Chili: A Quick Pantry Meal with Canned Ground Beef Need dinner on the table quickly? This 15-minute chili is…
-
How to Can Cube Steak | Meal Ready in Minutes
Learn how to can cubed beef with this simple step-by-step process. When a hungry family wants dinner this can be…
-
How to Can Ground Beef | A Step-by-Step Guide to Pressure Canning
Learn how to can ground beef with this simple step-by-step process. Whether you want to use it for Tex-Mex stuffed…
-
25 Best Gifts for Home Cooks: Practical Kitchen Gifts They’ll Actually Use
We all know people who love to be at home cooking in the kitchen. While new gadgets are always fun,…
-
How to Can Dried Beans: Simple, Affordable, and So Useful
If there is one pantry staple that checks all the boxes for easy, inexpensive, and versatile, it’s dried beans. And…