How to Can Potatoes: Pressure Canning for Beginners
How to Can Potatoes: Pressure Canning for Beginners
Canning potatoes is one of the best time-saving projects you can add to your pantry. They may not be the prettiest jars on the shelf, but they are certainly some of the handiest.
If you’re anything like me, you’re not always in the potato-peeling mood so I leave the peels on for quite a few things. But if you’re anything like my kids, they don’t enjoy eating the peels. And, truly, there are a lot of recipes that just seem better with peeled potatoes anyways (chicken pot pie, mashed potatoes, casseroles…) so taking a bulk session to peel and process potatoes is eventually worth it.
Once the work is done, I have jars of ready-to-use potatoes that require almost no prep. I can open a jar, drain it, and add the potatoes to dinner. Win-win!
If you want to learn how to can potatoes safely, this guide walks you through the complete hot-pack method, including preparation, processing times, altitude adjustments, cooling, and storage.
Important safety note: Potatoes are a low-acid food and must be processed in a pressure canner. A boiling-water canner or steam canner does not reach the temperature required to process potatoes safely. Follow a current, research-tested recipe and the operating instructions for your particular pressure canner. University of Minnesota Extension’s processing guidance
This post contains affiliate links. I may earn a small commission at no extra cost to you.
Why Pressure-Canned Potatoes Are So Useful
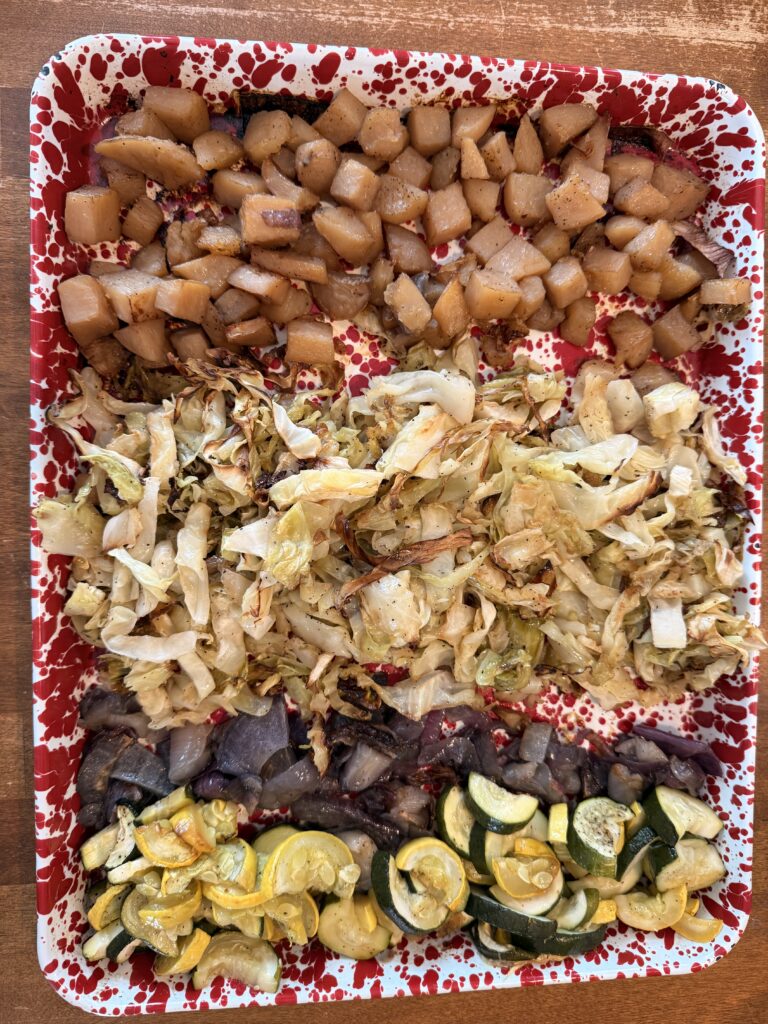
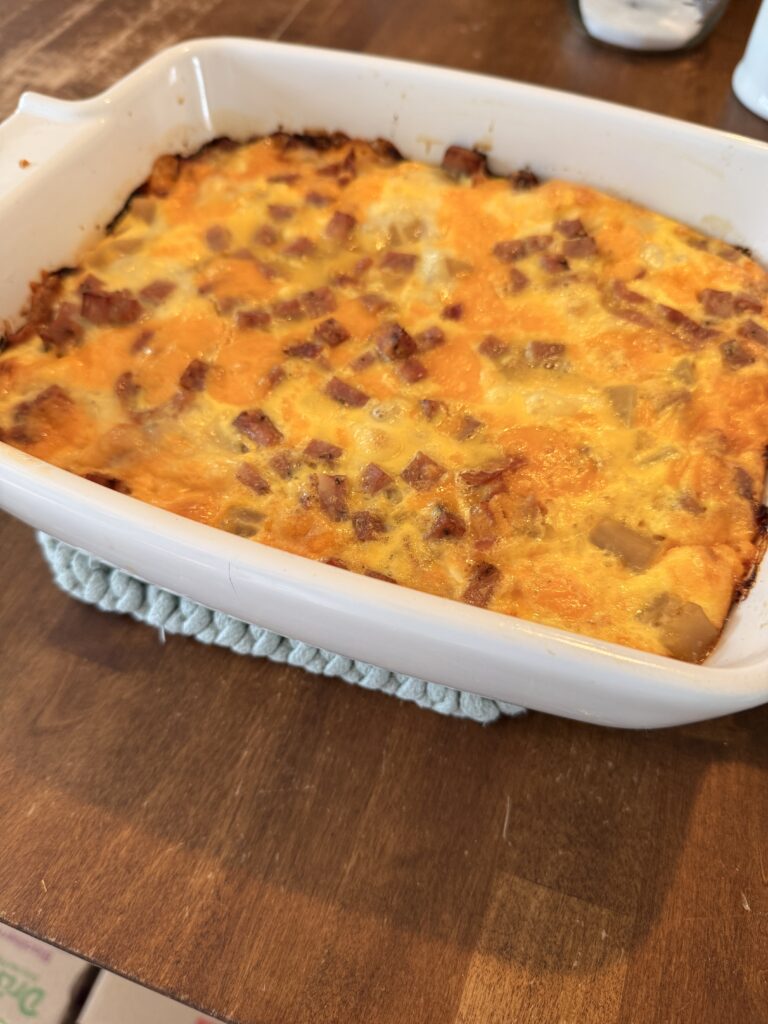
Home-canned potatoes are already peeled, partially cooked, and ready to use. That makes them exceptionally helpful on evenings when you need to put dinner together quickly.
You can use them for:
- Mashed potatoes
- Potato soup or chowder
- Fried potatoes
- Breakfast hash
- Casseroles
- Pot pies
- Stews
- Quick side dishes
Their texture will be softer than that of a freshly cooked potato, so they are best suited to recipes where a tender potato works well.
Canning Potatoes Basics: What You Need to Know
Before you begin, here are some safety requirements:
- Use a pressure canner, not a boiling-water canner.
- Peel the potatoes before canning.
- Use the hot-pack method.
- Cut potatoes into ½-inch cubes or leave small potatoes whole.
- Keep whole potatoes no larger than approximately 1 to 2 inches in diameter.
- Use fresh boiling water as the canning liquid.
- Leave 1 inch of headspace.
- Adjust pressure for your elevation.
The tested National Center for Home Food Preservation method is for white potatoes, cubed or whole. Russet potatoes fall into the white-potato category. Sweet potatoes require different preparation and processing instructions.
Can You Raw Pack Potatoes for Canning?
I did not include a raw-pack method for these white potatoes because it’s not currently recommended. For that reason, this tutorial uses only the hot-pack method.
It may take a couple of extra minutes but hot-packing helps remove air from the potatoes, improves heat penetration, and can reduce floating and discoloration inside the jars.
Do You Have to Peel Potatoes Before Canning?
Yes. The tested instructions call for washing and peeling white potatoes before they are canned.
Peeling helps reduce the bacterial load carried into the jar from the soil. It also ensures that you are following the preparation method used when the processing time was established.
Supplies for Pressure Canning Potatoes
You will need:
- Fresh white potatoes
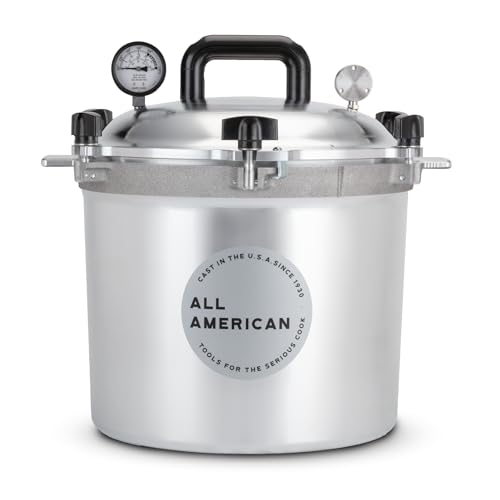
- A pressure canner
- Canning jars
- New canning lids
- Canning bands
- Jar lifter
- Canning funnel
- Bubble-removing tool
- Clean, lint-free cloth
- Large pots or bowls
- Vegetable peeler
- Knife and cutting board
- Fresh water
- Pickling or Canning Salt, if desired
- Lemon juice, if desired
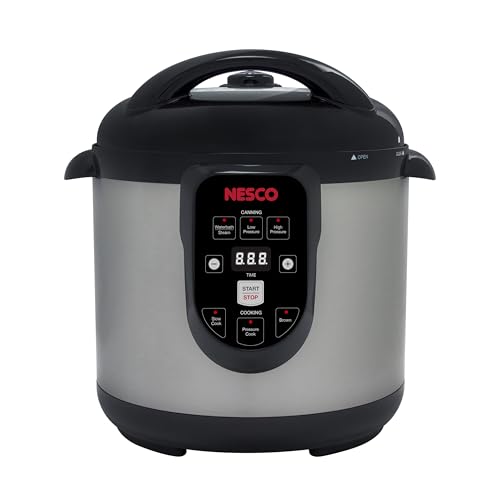
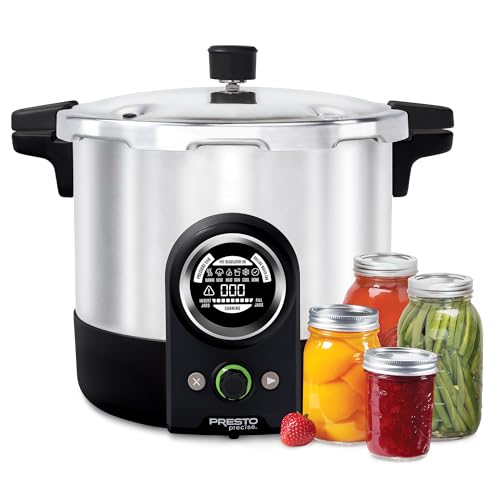
- Electric Canner such as Nesco or Presto
Salt is optional and is included for flavor—not safety.



What Are the Best Potatoes for Canning?
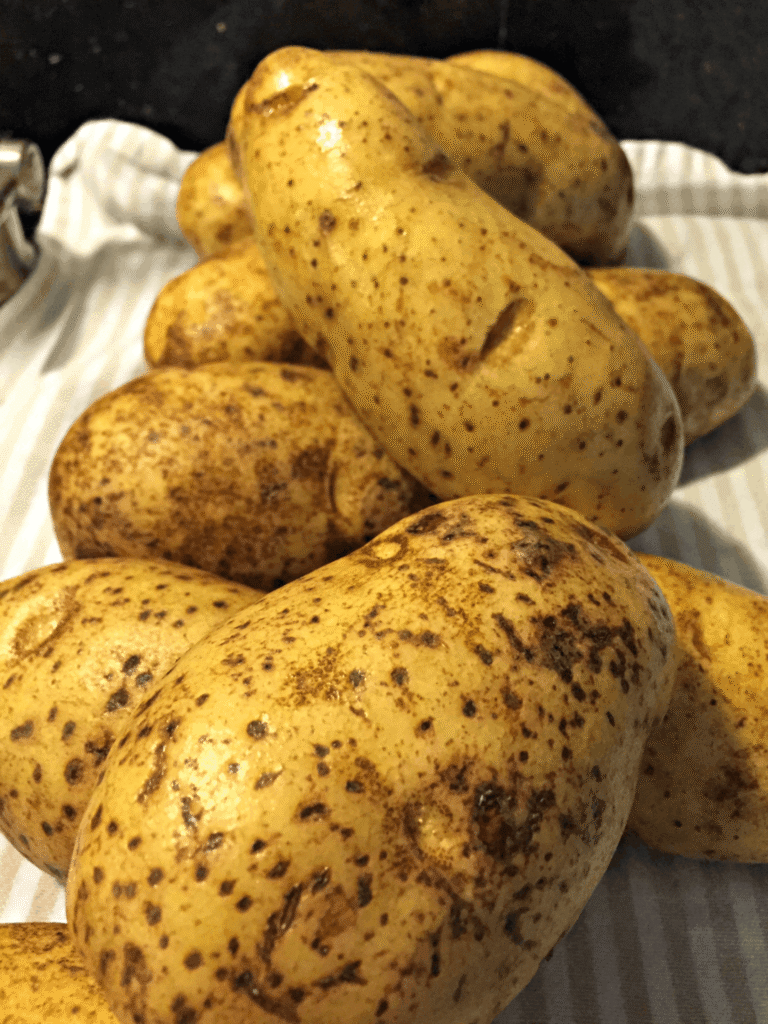
Choose healthy, firm potatoes without signs of rot, extensive greening, or spoilage. Remove sprouts and damaged portions.
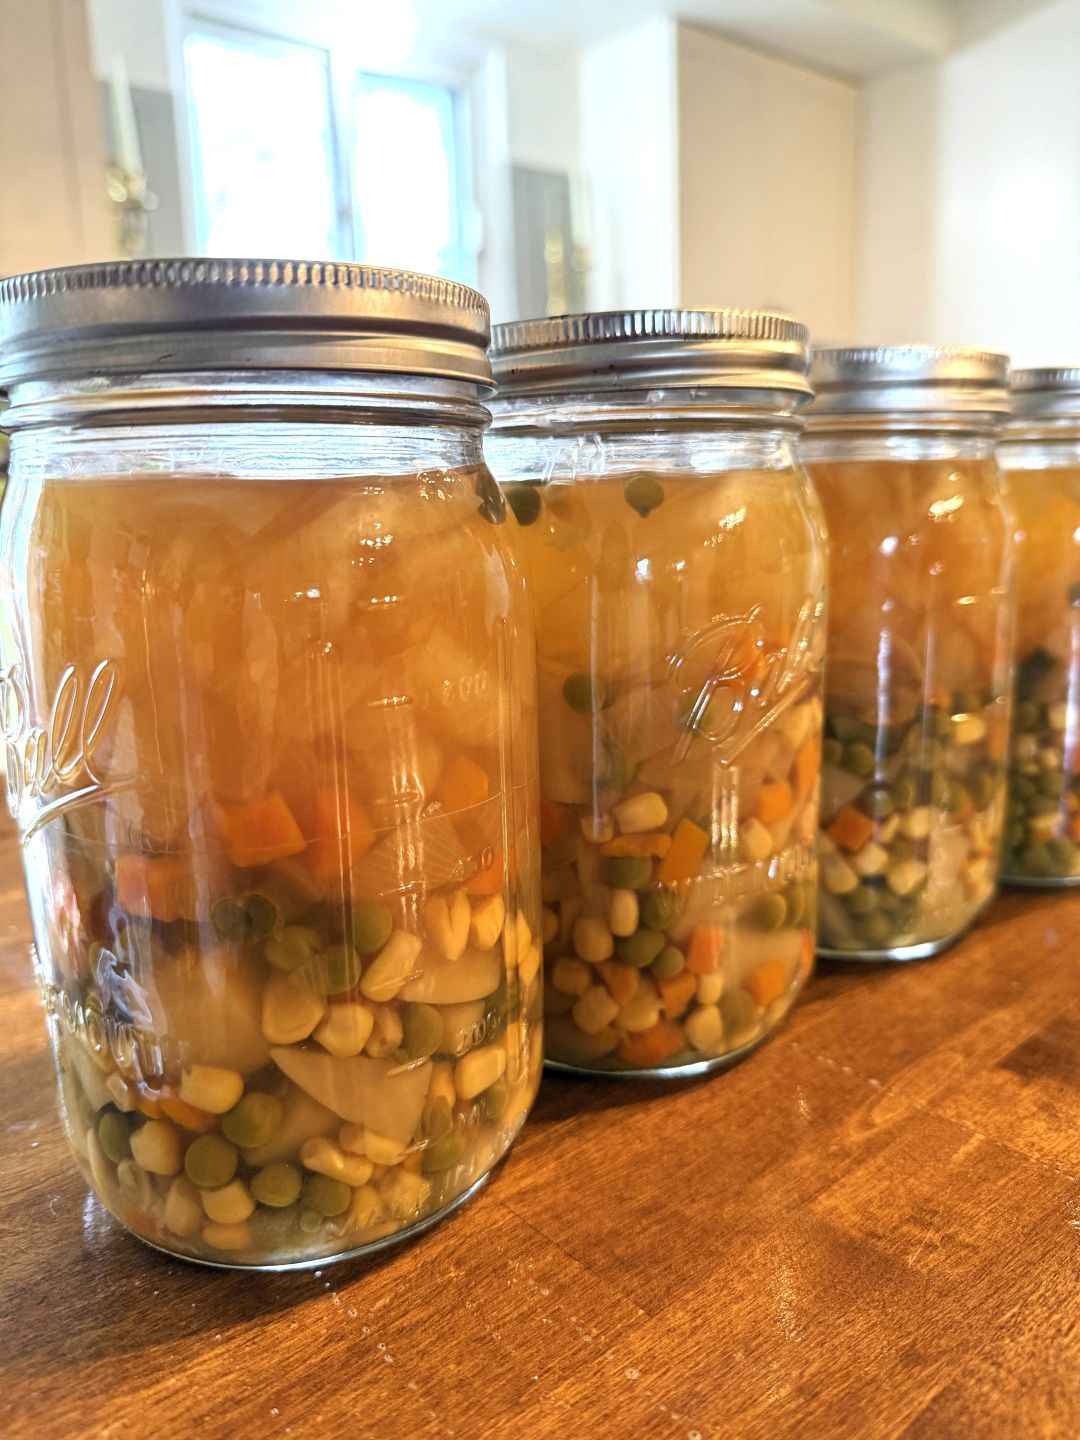
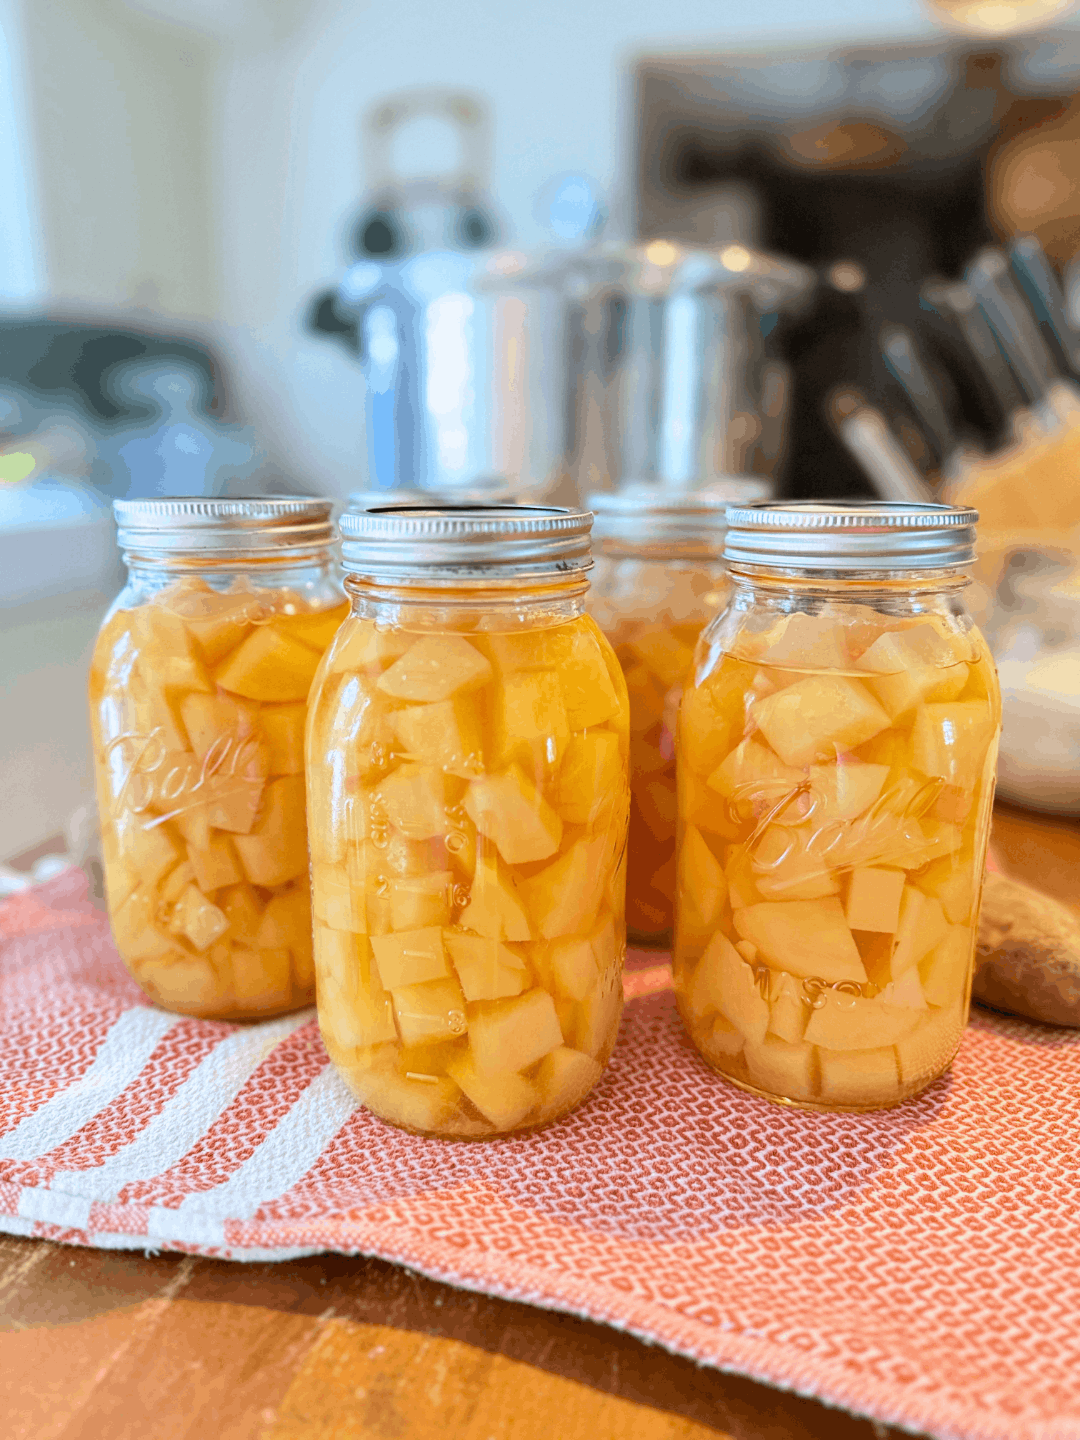
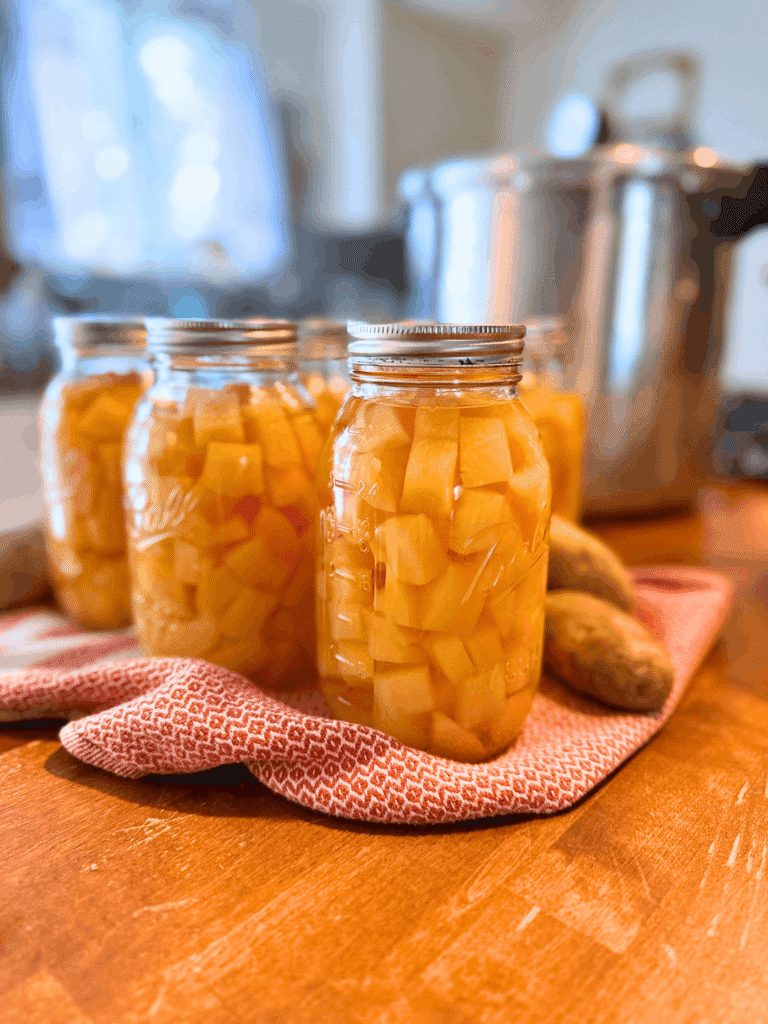
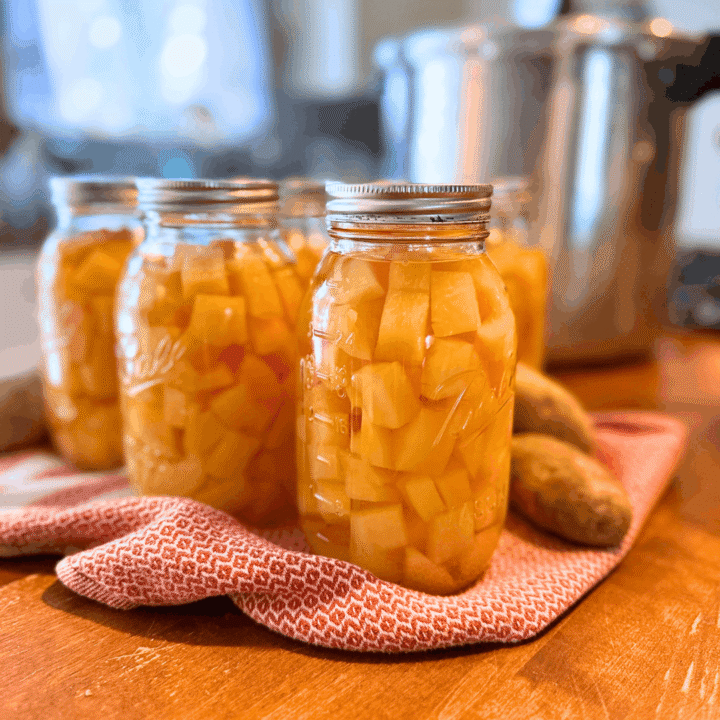
Waxy or all-purpose potatoes generally hold their shape better than very starchy varieties. Russet potatoes can be canned, as shown in this tutorial, but they may release more starch and appear cloudier or darker after processing. This is what I used for these instructions and you’ll notice the amber-ish color after processing.
That change in appearance does not necessarily mean the potatoes are spoiled. However, always discard a jar showing signs of spoilage, an unsealed lid, leakage, spurting liquid, mold, or an unusual odor. Never taste food from a questionable jar. When in doubt – THROW IT OUT. It’s not worth the risk, folks.
How to Can Potatoes Step by Step
Step 1: Prepare the Pressure Canner and Jars
Inspect your pressure canner and follow the manufacturer’s instructions for adding water, checking the vent, and preparing the canner.
Wash your jars, lids, and bands. Keep the jars hot until you are ready to fill them.
If your canner uses a dial gauge that requires accuracy testing, have it checked through your local Extension office. This is HIGHLY recommended. Having gauges that aren’t properly reading pressure does happen. Don’t let your hard work/time/food go to waste. Not to mention it could mean you may be canning with less pressure than recommended even if the dial gauge says otherwise. This could lead to harmful and spoiled food.
Step 2: Wash and Peel
Wash the potatoes thoroughly to remove dirt. Peel them and rinse them again after peeling.
This is the part of the process I prefer to do in larger batches. A single afternoon of peeling is much easier for me than peeling potatoes every time I need them for dinner.
Step 3: Cut
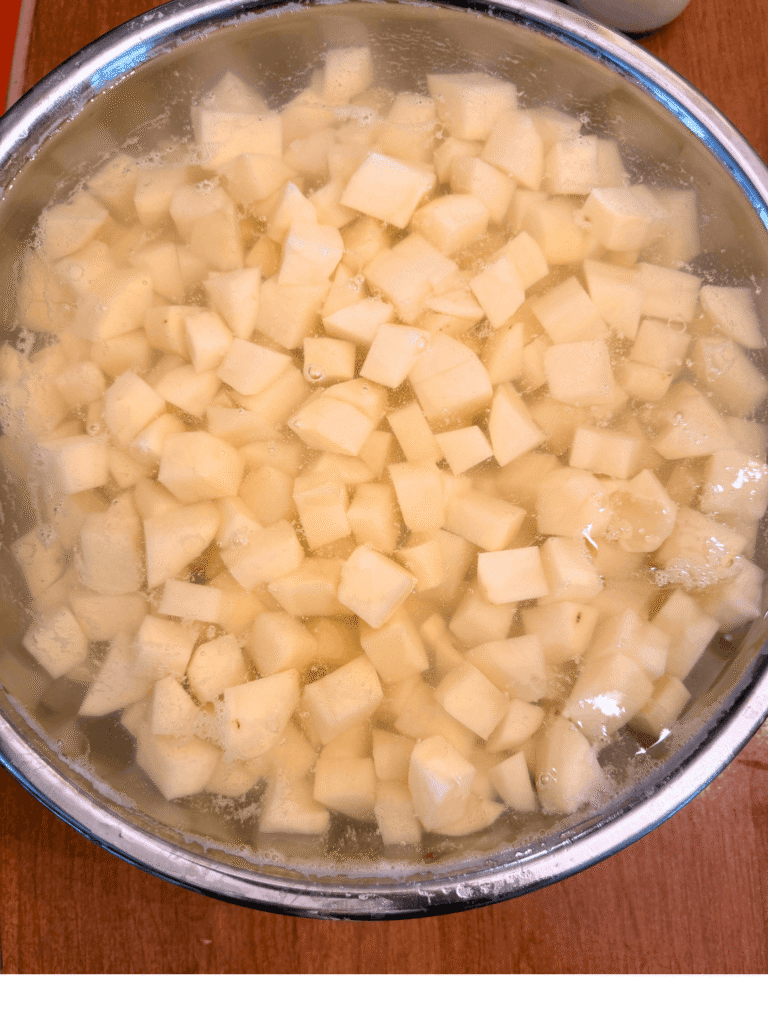
For cubed potatoes, cut the peeled potatoes into uniform ½-inch cubes.
Small potatoes measuring approximately 1 to 2 inches in diameter may be canned whole. Larger potatoes should be cut into ½-inch cubes rather than canned in large chunks.
Step 4: Prevent Browning
Place the prepared potatoes in water that has either salt or lemon juice added. (use about 1 tsp of salt or lemon for every ½-1 gallon of water) while you continue peeling and cutting the remaining potatoes.
This step helps prevent browning but does not replace the boiling step that follows.
Step 5: Boil
Drain the potatoes and rinse off all solution.
For ½-inch cubes, place the potatoes in boiling water and boil for 2 minutes.
For small whole potatoes, boil them for 10 minutes.
Drain the potatoes after boiling. You’ll use fresh boiling water—not the starchy cooking water—to fill the jars.
Step 6: Fill the Jars
Pack the hot potatoes into hot jars, leaving 1 inch of headspace.
If desired, add:
- ½ teaspoon canning or pickling salt per pint
- 1 teaspoon canning or pickling salt per quart
Salt may be reduced or omitted because it is used only for flavor. Pickling or canning salt is recommended because it doesn’t leave cloudiness like iodized salt tends to do.
Pour fresh boiling water over the potatoes while maintaining 1 inch of headspace.
An electric kettle is handy here. It allows me to prepare the fresh boiling water without waiting for another large pot to come to a boil, but either method works.
Remove air bubbles with a plastic or other nonmetallic bubble remover. Recheck the headspace and add more boiling water if necessary.
Wipe each jar rim with a clean, damp, lint-free cloth. Center the lid and apply the band until fingertip-tight.
Processing Times for Pressure Canning Potatoes
Process:
- Pints: 35 minutes
- Quarts: 40 minutes
Begin counting the processing time only after the canner has vented (per your pressure canner’s instructions) and has reached the correct pressure for your elevation and gauge type.
If the pressure drops below the required level at any point, bring the canner back to the correct pressure and restart the full processing time from the beginning.
Dial-Gauge Pressure Canner
| Elevation | Canner pressure |
| 0–2,000 feet | 11 pounds |
| 2,001–4,000 feet | 12 pounds |
| 4,001–6,000 feet | 13 pounds |
| 6,001–8,000 feet | 14 pounds |
Weighted-Gauge Pressure Canner
| Elevation | Canner pressure |
| 0–1,000 feet | 10 pounds |
| Above 1,000 feet | 15 pounds |
Cooling the Canner and Jars Safely
When the processing time is complete, turn off the heat and allow the canner to depressurize naturally. Do not try to force it.
Do not:
- Force the canner to cool
- Run water over it
- Remove the weight early
- Open the vent prematurely
- Attempt to speed up depressurization
Follow your canner manufacturer’s directions for opening the canner after it has fully depressurized. Open the lid carefully, tilting it away from your face so the steam escapes in the opposite direction. You will only open it towards you once. Ask me how I know.
Allow the jars to rest briefly in the open canner as directed, then remove them without tilting. Place the jars on a towel or cooling rack, leaving space between them.
Let the jars cool undisturbed for 12 to 24 hours. Do not retighten the bands or press the centers of the lids while the jars are cooling.

Checking the Seals and Storing Canned Potatoes
After 24 hours, remove the screw bands and check every seal. Wash and dry the jars, label them the date and contents.
Tip: If you process several batches of the same food, include a batch number on each label. For example: “Russet Potatoes—7/26/26—Batch 1.” If you later discover a quality or processing problem, the batch number will help you identify which jars were processed together.
Store the jars in a clean, cool, dark, dry place away from temperature fluctuations.
For best quality, plan to use home-canned foods within one year.
If a jar did not seal, refrigerate it promptly and use the potatoes soon or freeze them in a suitable container.
Why Did My Canned Potatoes Turn Brown or Cloudy?
Russet potatoes are starchy, so you may notice cloudiness, starch sediment, or some darkening after processing. The heat of pressure canning also affects the potatoes’ natural starches and sugars. It’s harmless as long as it also doesn’t show signs of spoilage.
Your mashed potatoes may be slightly darker than mashed potatoes made from fresh potatoes, but they can still taste wonderful.
Excess starch can be reduced by:
- Cutting the potatoes uniformly
- Rinsing them well
- Boiling them for the required time
- Draining the cooking water
- Filling the jars with fresh boiling water
- Maintaining steady pressure throughout processing
What If Some Potatoes Are Above the Liquid?
Losing some liquid (siphoning) from the jars does not automatically mean a jar is unsafe. Just know that food above the liquid may darken and lose quality more quickly.
Do not open a sealed jar simply to replace any liquid that was lost. Store it normally and plan to use it sooner than jars in which the potatoes remain completely covered.
Frequently Asked Questions About Canning Potatoes
Can You Water-Bath Can Potatoes?
No. Potatoes are low-acid vegetables and must be processed in a pressure canner. Water-bath canning does not reach a sufficiently high temperature to safely process plain potatoes.
Can You Can Potatoes With the Skins On?
The tested method calls for peeling potatoes before canning. Do not leave the skins on when following this method.
Can You Raw Pack Potatoes?
A tested raw-pack method is not provided for plain white potatoes. Use the tested hot-pack directions.
How Long Do You Pressure Can Potatoes?
Process pints for 35 minutes and quarts for 40 minutes. See the chart for the pressure you need at your specific elevation.
Can I Can Mashed Potatoes?
No. Do not can mashed, pureed, or riced potatoes. They are too dense to can because the heat cannot penetrate through them properly to ensure they’re safe. Make mashed potatoes afterwards. The good part is the potatoes are already cooked so it makes it so much quicker!
How Many Potatoes Do I Need?
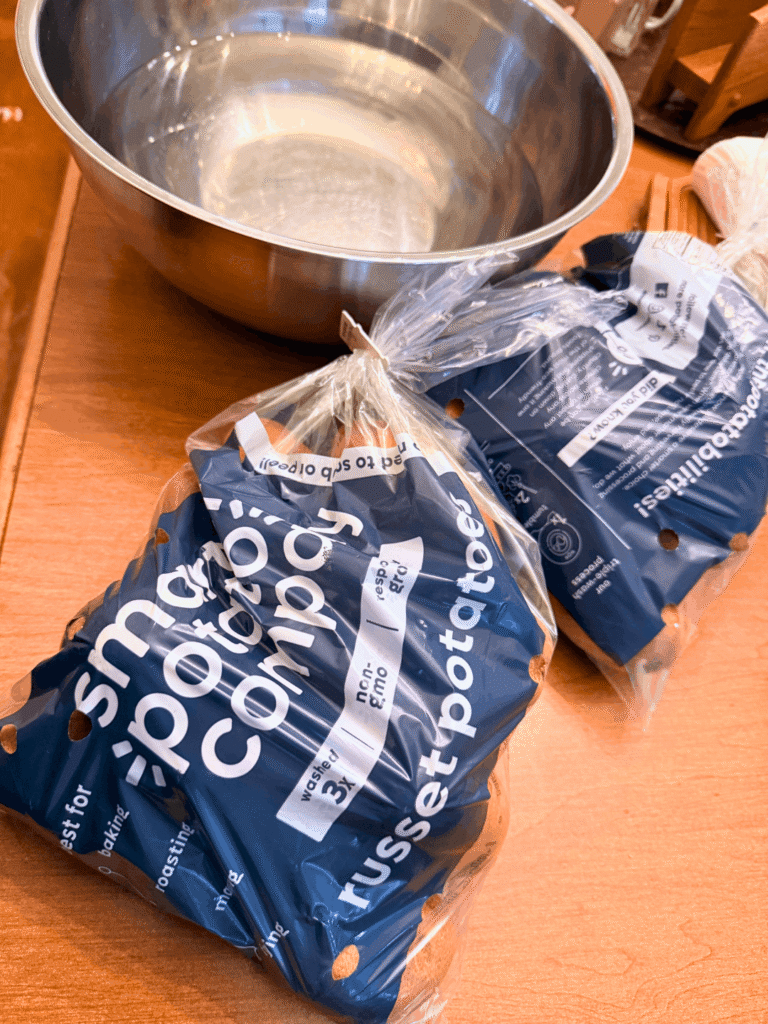
I used 10 pounds of russet potatoes and it yielded 7 quarts of cubes.
A Practical Pantry Staple
Canning potatoes requires a fair amount of peeling in one sitting, but that work pays you back every time you open a jar.
They may not be the most colorful jars in the pantry and starchy varieties may not stay perfectly white, but they sure look good to me! They help put a meal on the table and that’s what matters most.
Once you know how to do it, you can turn one or two dedicated days into months of easier soups, casseroles, breakfasts, and side dishes.
What would you make first with a jar?
How to Pressure Can White Potatoes
Canned potatoes are a versatile pantry staple. Try using these as a quick addition to soups, casseroles, breakfast hash, pot pies, and more!
Materials
- 10 pounds White Potatoes (i.e. russets)
- Water (for boiling potatoes and filling jars, separately)
- Pickling/Canning Salt or Lemon Juice for soaking
- Pickling/Canning Salt for flavor (optional)
Tools
- Pressure Canner
- Canning Accessories such as a jar lifter, bubble remover, and funnel
- Canning Jars
- Canning Lids and Bands
Instructions
1. Prepare the Pressure Canner and Jars
- Inspect your pressure canner and follow the manufacturer’s instructions for adding water, checking the vent, and preparing the canner.
- Wash your jars, lids, and bands. Keep the jars hot until you are ready to fill them.
2. Wash and Peel
- Wash the potatoes thoroughly to remove dirt. Peel them and rinse them again after peeling.
3. Cut
- For cubed potatoes, cut the peeled potatoes into uniform ½-inch cubes.
- Small potatoes measuring approximately 1 to 2 inches in diameter may be canned whole. Larger potatoes should be cut into ½-inch cubes rather than canned in large chunks.
- Place the prepared potatoes in water that has either salt or lemon juice added (use about 1 tsp of salt or lemon for every ½-1 gallon of water) while you continue peeling and cutting the remaining potatoes.
4. Soak (Optional)
- Soak potatoes only if you want to remove some starch ahead of processing.
5. Boil
- Drain the potatoes and rinse off all solution.
- For ½-inch cubes, place the potatoes in boiling water and boil for 2 minutes.
- For small whole potatoes, boil them for 10 minutes.
- Drain the potatoes after boiling. You’ll use fresh boiling water—not the starchy cooking water—to fill the jars.
6. Fill the Jars
- Pack the hot potatoes into hot jars, leaving 1 inch of headspace.
- If desired, add: ½ teaspoon canning or pickling salt per pint or 1 teaspoon canning or pickling salt per quart
- Pour fresh boiling water over the potatoes while maintaining 1 inch of headspace.
- Remove air bubbles with a plastic or other nonmetallic bubble remover. Recheck the headspace and add more boiling water if necessary.
- Wipe each jar rim with a clean, damp, lint-free cloth. Center the lid and apply the band until fingertip-tight.
7. Process
- Pints: 35 minutes
- Quarts: 40 minutes
What Do I Make with Canned Potatoes? Here are a couple ideas.
Want More Ideas from Vintage Preserving?
- Easy Cheeseburger Macaroni | One-Pot Homemade Hamburger Helper

- 15-Minute Chili: A Quick Pantry Meal with Canned Ground Beef

- How to Can Cube Steak | Meal Ready in Minutes
- How to Can Ground Beef | A Step-by-Step Guide to Pressure Canning
- 25 Best Gifts for Home Cooks: Practical Kitchen Gifts They’ll Actually Use