How to Can Cube Steak | Meal Ready in Minutes
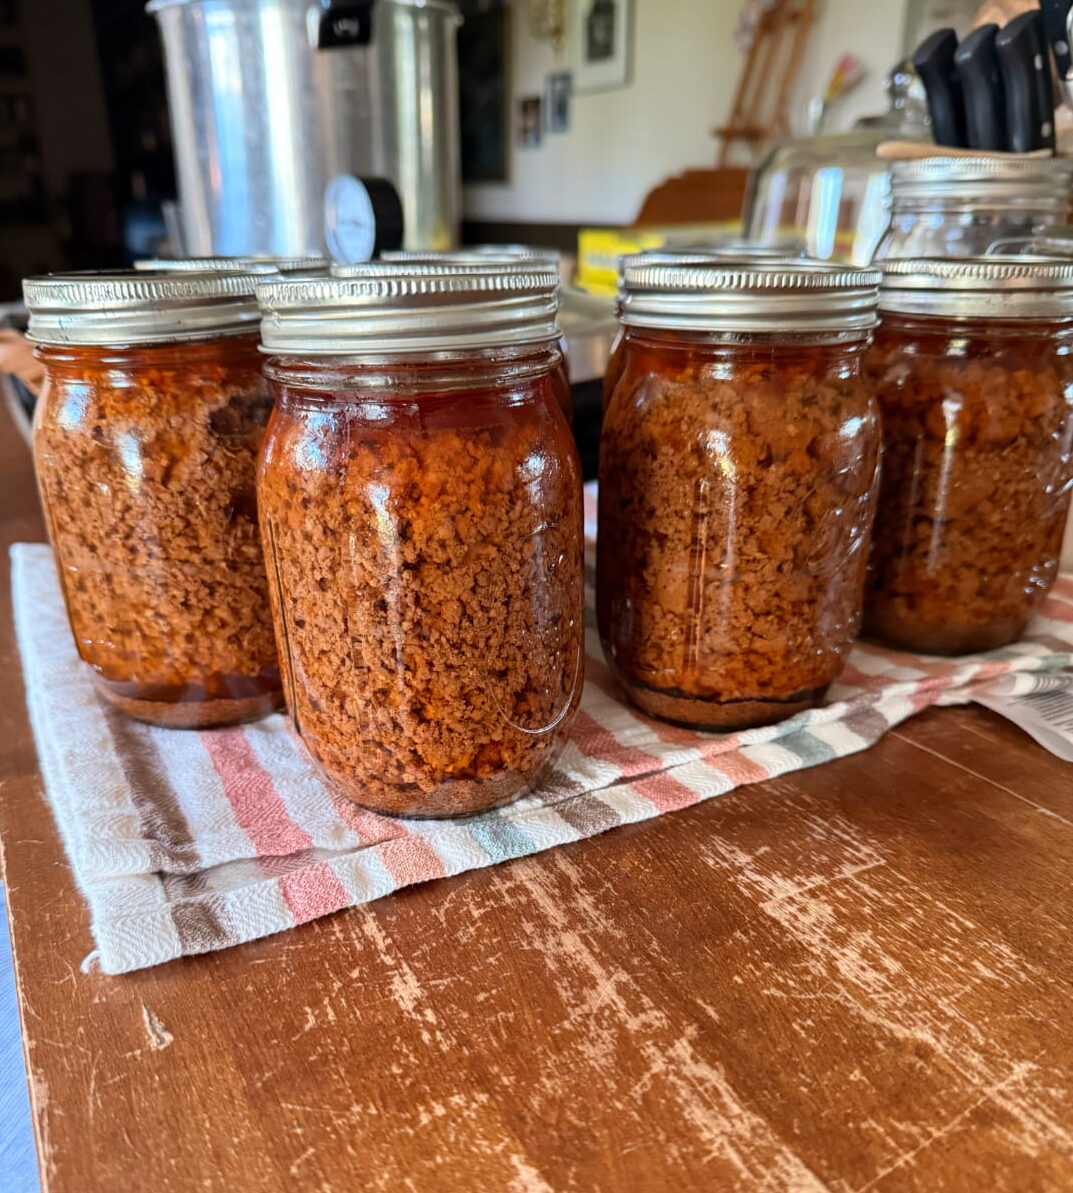
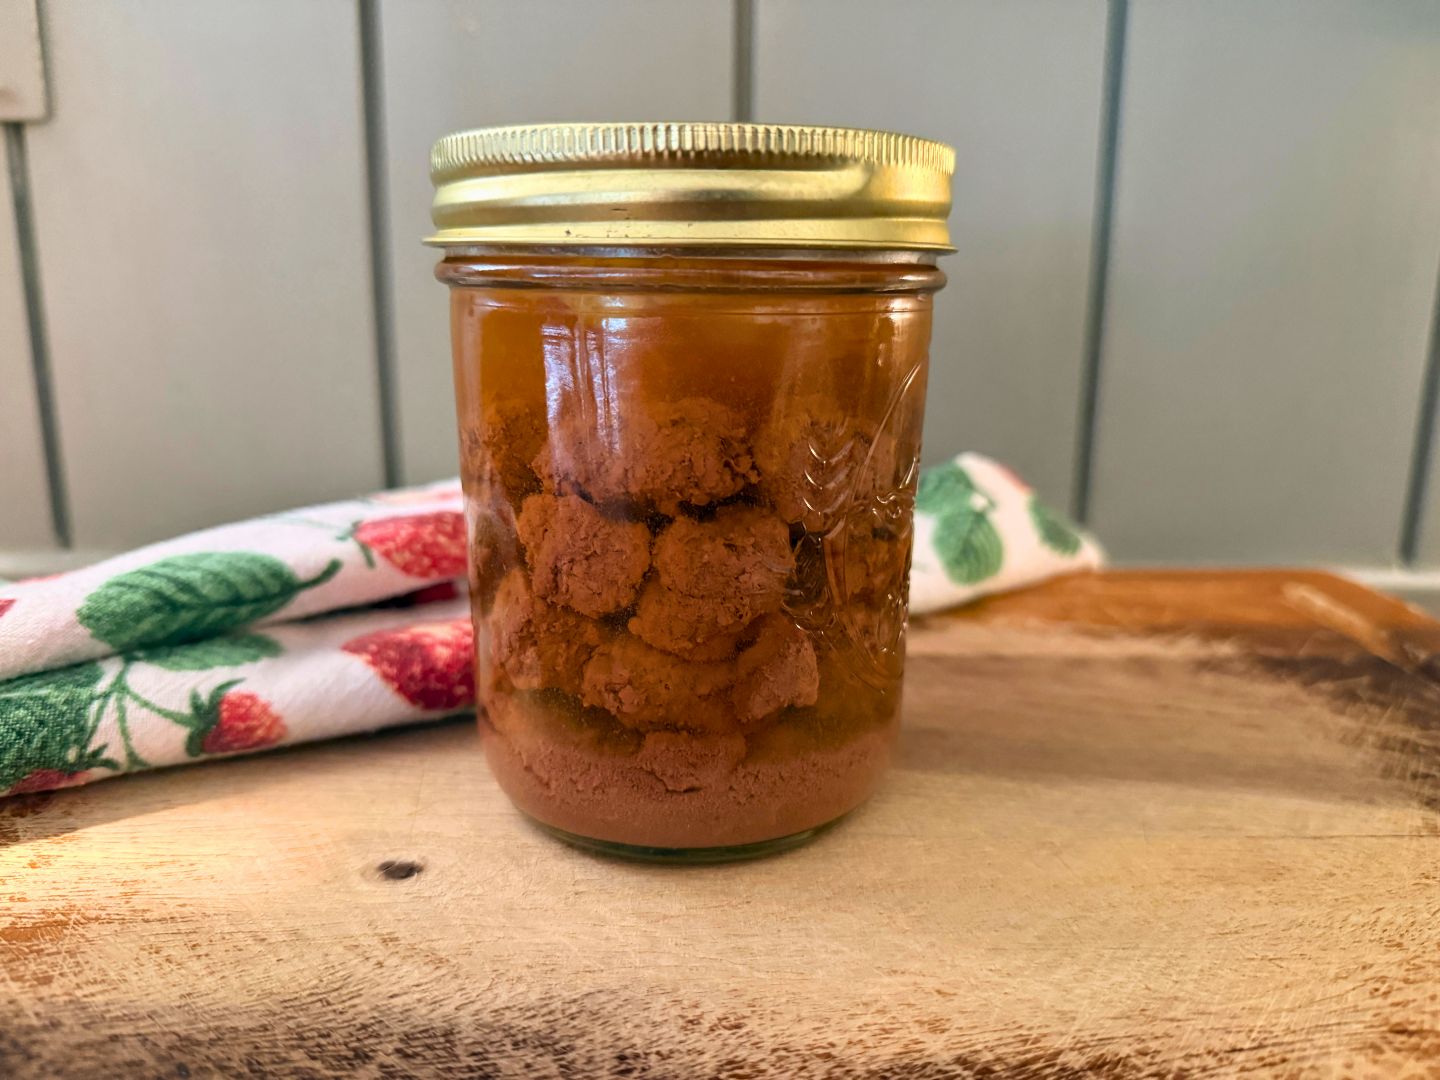
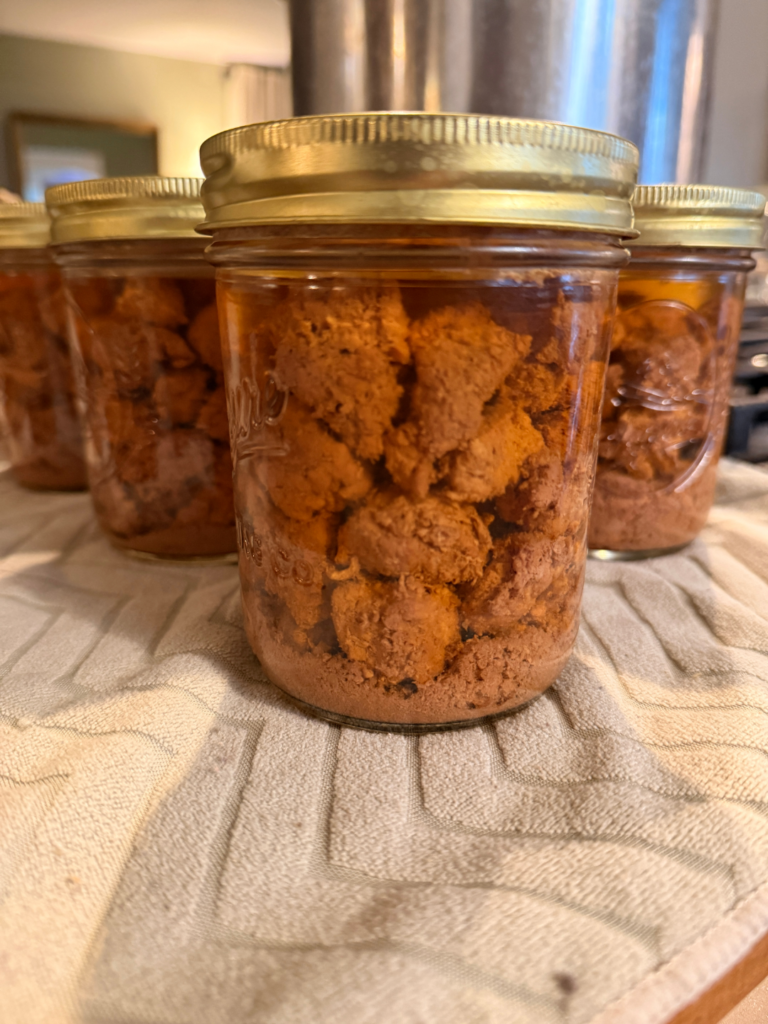
Learn how to can cubed beef with this simple step-by-step process. When a hungry family wants dinner this can be used to make beef pot pie with biscuits, beef vegetable soup, beef and gravy with mashed potatoes, etc. Having protein all ready to go can help you save so much time in the kitchen.
What to do with Cube Steak?
Normally cube steak is used for chicken fried steak, and it’s sooooo good. I keep some frozen to use for this, but a lot of it gets canned to use in other ways. It’s already really tender piece of meat so putting it through the pressure canning process in cubes makes it super easy to use in a lot of different dishes and the meat is wonderfully easy to work with.
Why Canning Meat is Worth It
Convenience
The meat will already be cooked so it saves time when preparing meals later. Simply dump and go.
Long-Term Food Storage
Like any pantry staple, canned meat can help build a reliable long-term food supply for your family. Less trips to the grocery store!
Money-Saving
If you find meat on sale or buy it in bulk, pressure canning is a great way to preserve it without having to tie up room in the freezer.
Buying meat in bulk or during sales becomes much easier when you’re not worried about freezer space. Having ready-to-use meat on hand makes feeding your family significantly easier.
Example: We buy part of a cow every year and pressure canning helps reduce how much freezer storage we need.

Important Safety Information for Canning Meat
Meat is a low-acid food, which means:
- Meat must be pressure canned
- Water bath canning is not safe
- Processing times should always come from tested sources
This recipe follows tested pressure canning guidelines for safely preserving meat at home.
Always follow tested pressure canning guidelines and adjust pressure based on your altitude. See the table down below in this post.
Equipment Needed for Canning Meat
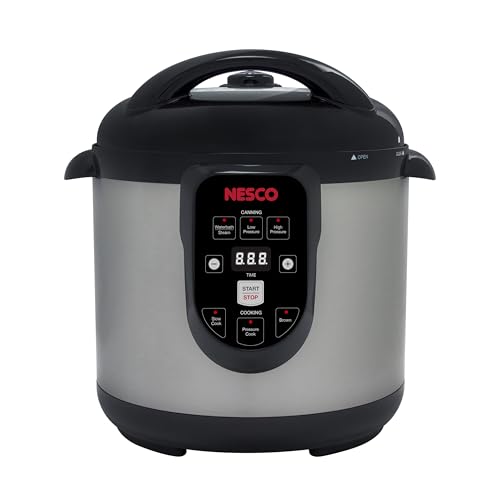
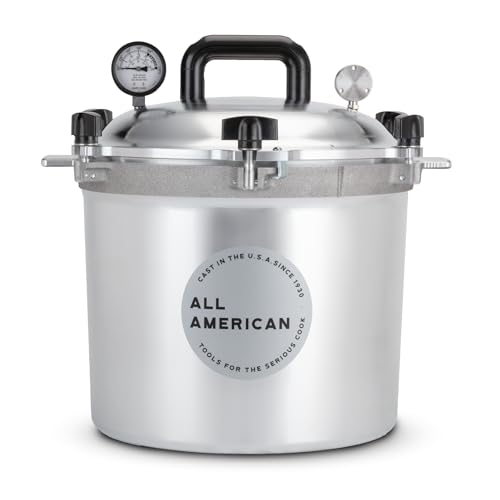
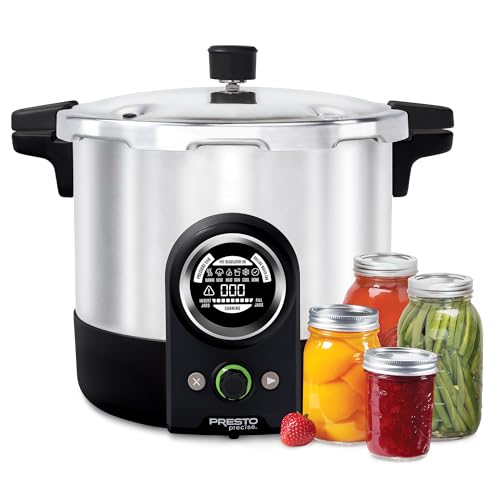
- Pressure canner or Electric Pressure Canner
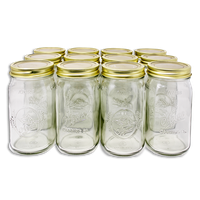
- Canning jars
- Bands and lids
- Jar lifter
- Debubbler/headspace tool
- Towels or cooling rack
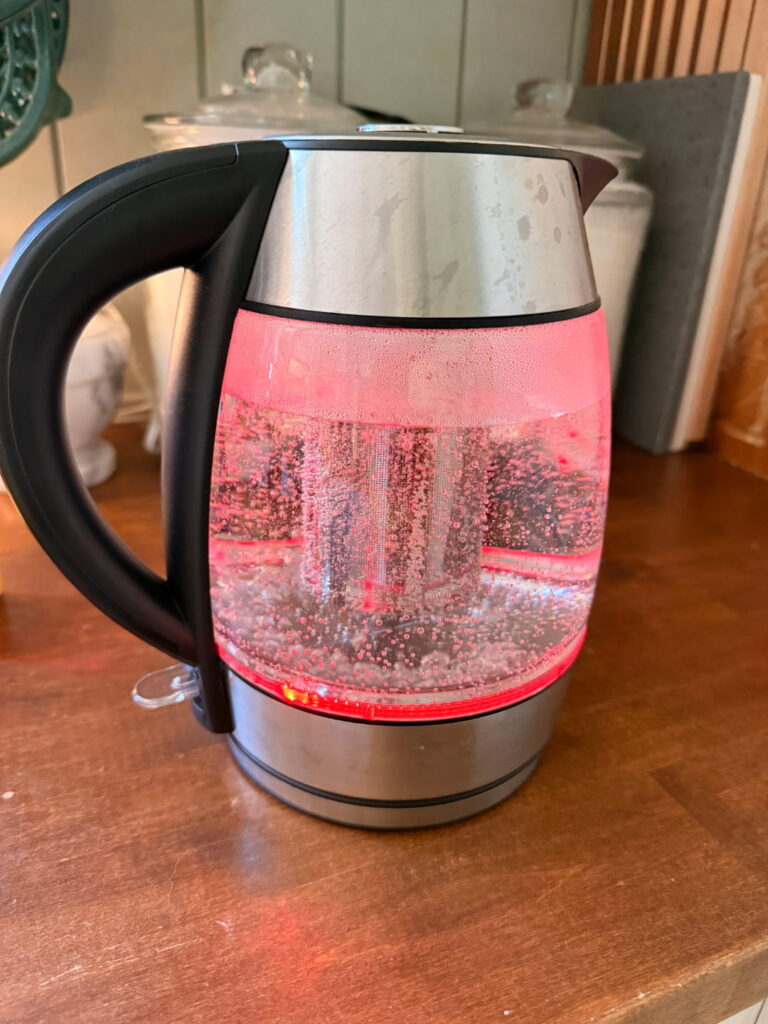
- Electric Kettle (optional)



Ingredients for Canning Cubed Beef
- Beef of choice. I am using cube steak for this post but if you want to cut up a chuck roast, for example, the process stays exactly the same.
- Water
- Vinegar (optional, but highly recommended to use when wiping the rims)
Step-by-Step Guide to Can Meat
Cook the Meat
Brown the beef on all sides in a skillet. You aren’t looking to cook the meat through, just browning the outsides.
Add the Seasoning
- Optional. If you want to add a little bit of salt, feel free. 1/2 tsp per pint and 1 tsp per quart. Note that you should opt for canning or pickling salt because regular table salt can make the liquid cloudy. If the cloudiness doesn’t bother you then use table salt.
Boil Water
Boil enough water to add to the meat once it’s in the jar. This is dependent on how many jars you’re going to be canning.
Why I recommend Electric Kettles
- Bring water to a boil quickly
- Quickly and easily heat additional water if needed
- Free up valuable stove space
Prepare the Pressure Canner
Prepare your pressure canner according to the manufacturer’s instructions. Always refer to your manual. When using the Electric Pressure Canner, follow those instructions for the whole canning process.
For example, I use the 23 Quart Presto Pressure Canner. It requires 3 quarts of water to be added to the pressure canner for use during the canning process. It has a dial gauge that needs to be put in as well as a gasket and a weight.
TIP: Many extension offices will test pressure canner gauges for free.
Prepare and Heat the Jars
Wash jars, bands, and lids thoroughly.
If you are using a stovetop canner, go ahead and add the recommended amount of water to the canner and turn the heat on to medium-low. Fill your clean jars with at least half-way with water and put them into the pressure canner to start heating with the water. The water is added into the jars simply so they don’t try to float or get wobbly while heating in the canner. When you go to use the jar and fill it with the meat, discard the water down the drain or into a catch bucket.
The jars are being heated so that way there’s no thermal shock when adding the hot meat and water to the jar.
Have Boiling Water Ready
Use an electric kettle or have your boiling water on the stove ready to go once you begin filling the jars with meat.
Fill the Jars
- Using a jar lifter, remove a warm jar and dump out the water (not into the canner).
- Fill jars loosely with meat, leaving enough room to maintain 1 inch of headspace after adding boiling water. I go to about 2/3 full with meat, then add water.
- Add boiling water. Leave 1 inch headspace.
- Remove bubbles.
- Re-check headspace.
- Wipe rims clean with a lint-free cloth. I dip my cloth into vinegar to help cut any fat that may be on the rims but water is fine too. Wipe around all rims to help ensure a tight and safe seal.
- Put the lid and ring on and twist it to fingertip tight.
Process the Jars
- Place jars back into the pressure canner.
- Try to space all jars evenly.
- Repeat for all jars until the canner is full.
If the Canner isn’t Full
Fill a jar with water and put on a ring and band. This helps to make sure the pressure builds properly versus leaving the space empty. And as a bonus, if you fill it with clean/filtered water, you have a shelf-stable jar of water in case of an emergency.
Follow your canner’s instructions on heating the canner, letting it vent, building pressure, and monitoring the pressure.
- Ex for my 23 quart Presto Pressure Canner I bring it to a boil and let it vent for 10 minutes (no weight). Then I add the weight, bring it up to 11 pounds of pressure (for my altitude) via my dial gauge, and pressure can.
TIME:
- Pints: 75 minutes
- Quarts: 90 minutes
Altitude Adjustments for Pressure Canning Meat
Pressure can for 75 minutes for pints and 90 minutes for quarts at the pressure for your altitude.
If you are at an altitude higher than 1,000 feet above sea level, adjust pressure as indicated.
| Altitude Feet | Weighted Gauge | Dial Gauge |
| 0- 1,000 1,001- 2,000 2,001- 4,000 4,001- 6,000 6,001-8,000 8,001-10,000 | 10 15 15 15 15 15 | 11 11 12 13 14 15 |
Cooling and Storing Canned Meat
Once Time is Complete
- Turn off the heat
- Allow the pressure to return to zero naturally. Do not try to move the canner or force the release of pressure.
- Once the pressure is completely gone, remove the lid.
- Let the canner sit for 5 minutes, undisturbed.
- Remove the jars from the canner
- Place onto a protected countertop or strong cooling racks.
Don’t disturb for at least 12 hours.
After Jars Cool
- Check seals
- Label with contents and when it was made.
- Store in a cool, dark place
How to Can Cube Steak
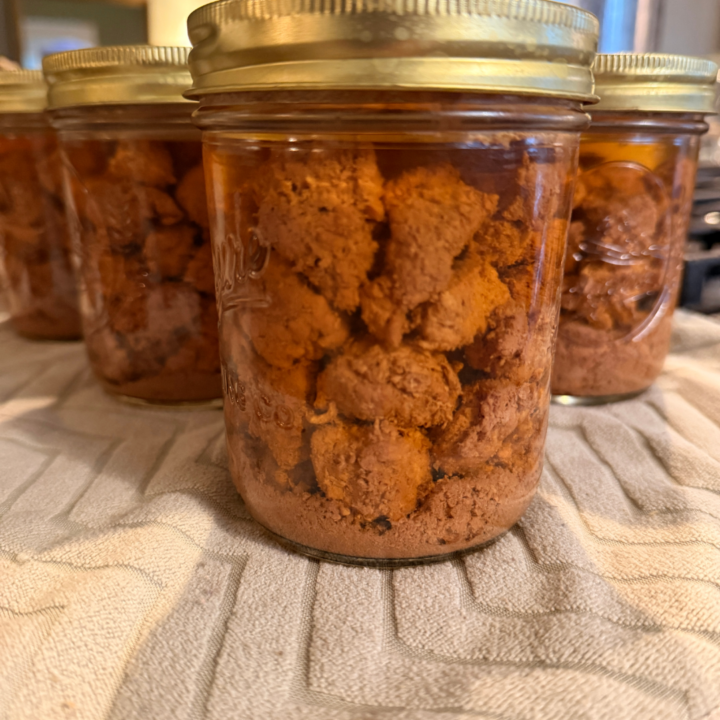
Cube steak is a tender cut of meat that is easy to cut up and can into bite-sized pieces. Great for chilis, pot pies, soups, and more.
Materials
- 16 cube steaks (sizes will vary, so this can change slightly each time you can)
- Water for pressure canning and filling jars
Tools
- Pressure Canner with Bottom Rack
- 8 Pint Jars with Lids and Bands
- Canning Accessories (funnel, jar lifter, de-bubbler, etc.)
Instructions
Cut into desired pieces.
Hot Pack Method:
Brown in a small amount of oil. Pack hot meat loosely in hot jars about 2/3 full. Make sure to at least leave 1-inch headspace.
Add salt, if desired - 1/2 tsp per pint, 1 tsp per quart.
Cover meat with boiling broth or water leaving 1-inch headspace.
Remove air bubbles. Clean jar rims.
Center lid on jar, place band on, and turn to fingertip-tight.
Return to canner and follow your manufacturer's guidelines for your pressure canner on how to set up and bring your canner to pressure.
If processing under 2,000 feet altitude, process at 11 pounds pressure, pints 75 minutes and quarts 90 minutes. *For processing above 2,000 feet altitude chart in post*
After processing time, turn off heat and let the canner naturally return to zero pressure. Do not force.
Once at zero pressure remove lid and let the jars stand in the canner for 10 minutes.
Remove jars and leave undisturbed on the counter for at least 12 hours
Remove bands and clean the jars with soap and water.
Store in a temperature-controlled area.
Best used within 18 months.
Notes
Additional Time includes cleaning jars and prepping, venting the pressure canner, bringing it up to pressure, bringing the pressure back down, and waiting to remove jars from the canner.
For best quality, use within 12–18 months.
There you go! Cubed beef ready to be made into stews, chunky chilis, pot pies, and more!