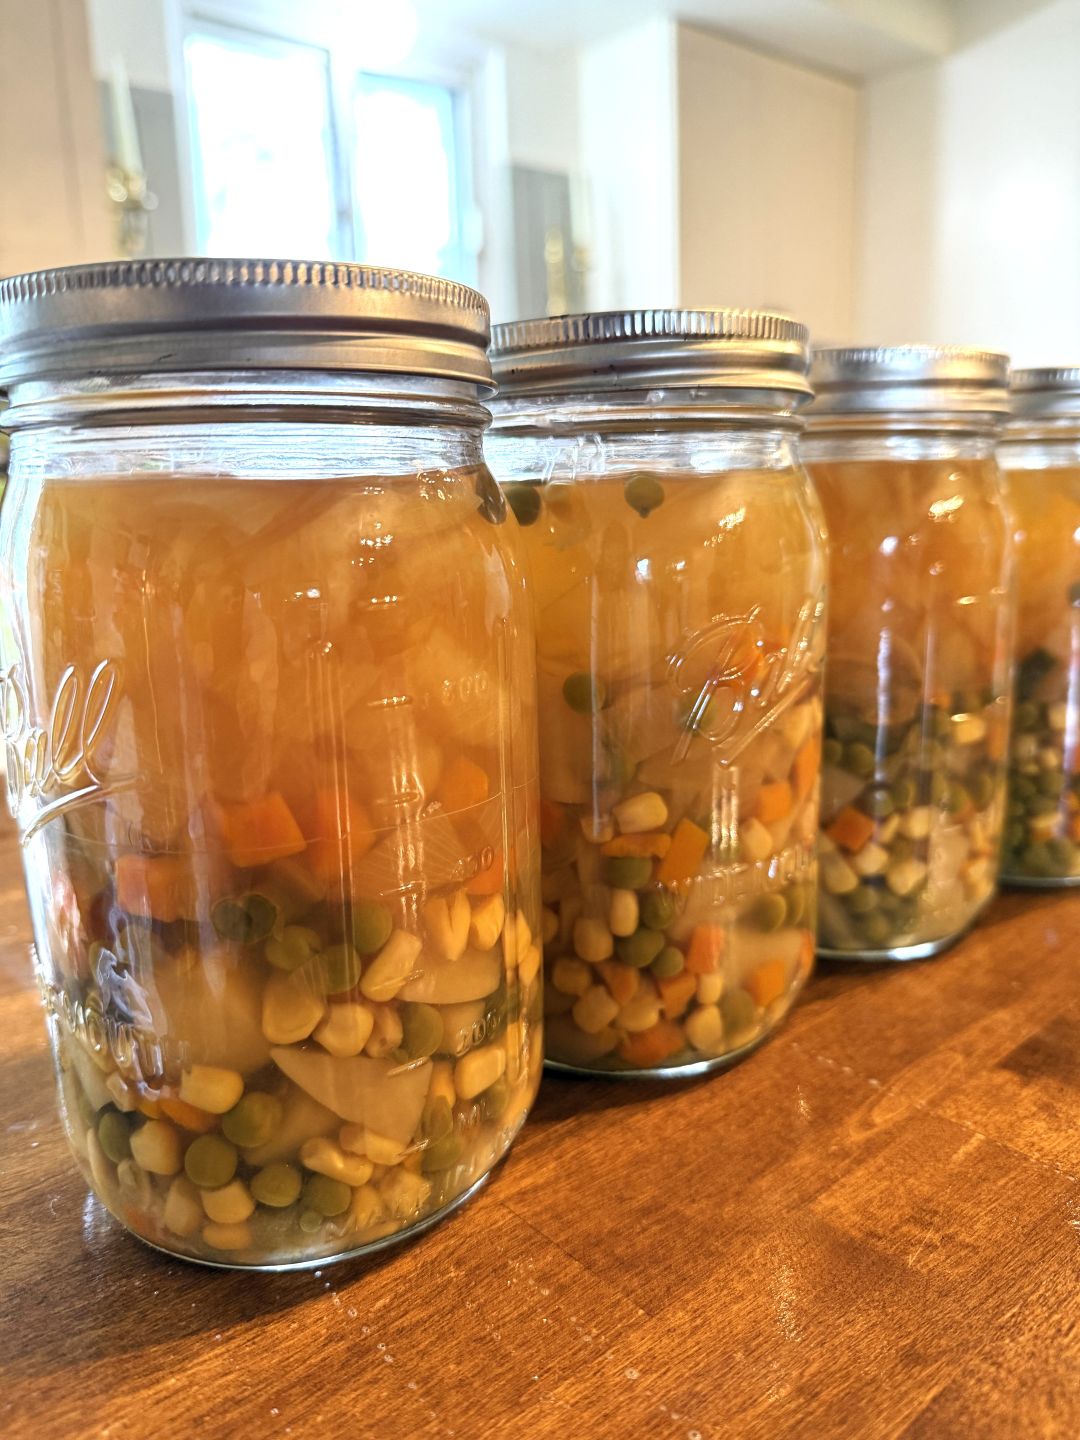
Canning Vegetable Soup Base – Easy and Cheap
Why should I be canning this?
Canning vegetable soup base is an easy and cheap time-saver. It can be as easy as dump-and-go or with a few little tweaks can make for an even heartier soup like beef and vegetable in a tomato broth in a matter of minutes. There’s also something about a soup simmering away on the stove or in the crockpot during the colder months that feels so comforting. With this soup base it’s easy to do and have a great smelling kitchen to go with it.
What is vegetable soup base?
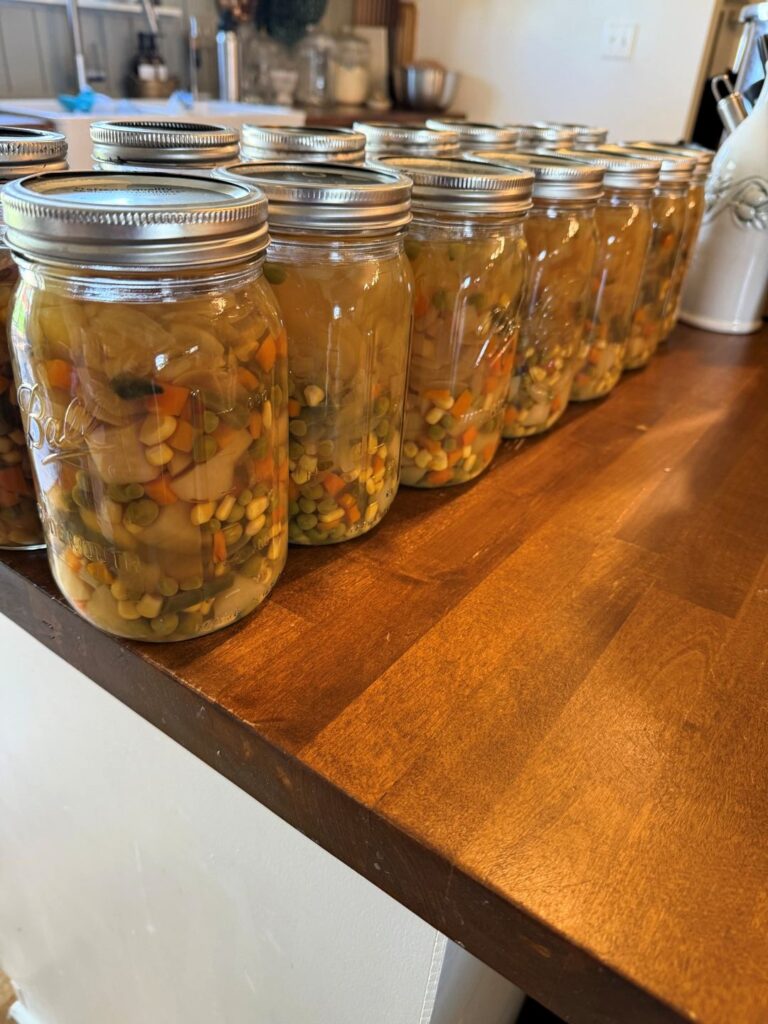
This vegetable soup base is a mix of onion, potatoes, carrots, green beans, corn, and peas. The liquid is just water (to start) but it becomes a flavorful vegetable broth to use in the soup. It’s truly just a dump and use meal starter. It could really be a base for pot pies, too.
But this mixture, having already been cooked when it gets canned, makes dinner come together in no time and with hardly any extra effort if you don’t want to. Add a little more broth of choice and you could eat it just as it is. But with a couple extra ingredients thrown into the pan you can really kick it up a notch.
How do I use vegetable soup base?
Add a tomato product like tomato juice, diced tomatoes, diced tomatoes with green chiles, etc. To me, a traditional vegetable soup does have some tomato aspect.
Optional: Cook some beef or chicken the pot before adding the other soup ingredients. Once cooked, add the rest of the ingredients, boil for at least 10 minutes, and serve with your toppings/sides of choice. Mine would be some parmesan cheese and a side of crusty buttered bread.
This is a great meal to for using a crockpot. If you wanted to add some meat I’d recommend at least browning it in a pan before adding it to the crockpot. I’m not a big fan of adding just raw meat to soups in a crockpot, but if you are then that’s certainly an option too. Then dump this jar, add your tomato product of choice, turn it on and voila – dinner is cheap, easy, and delicious.
What quantity to use for 14 quarts of canned vegetable soup base?
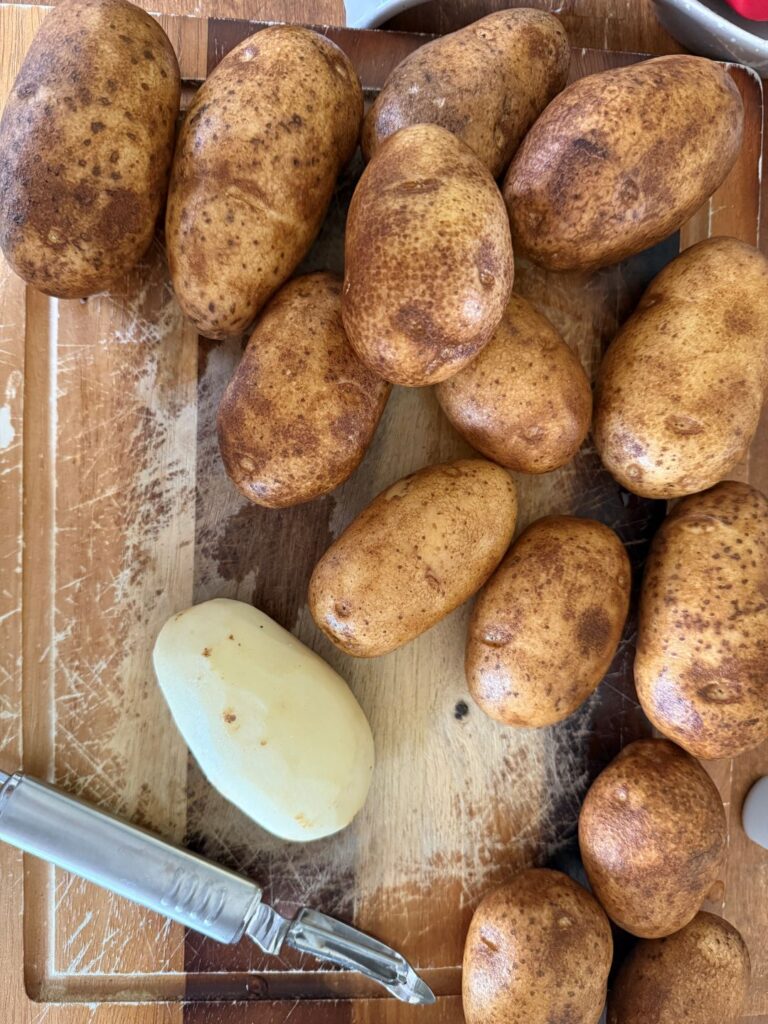
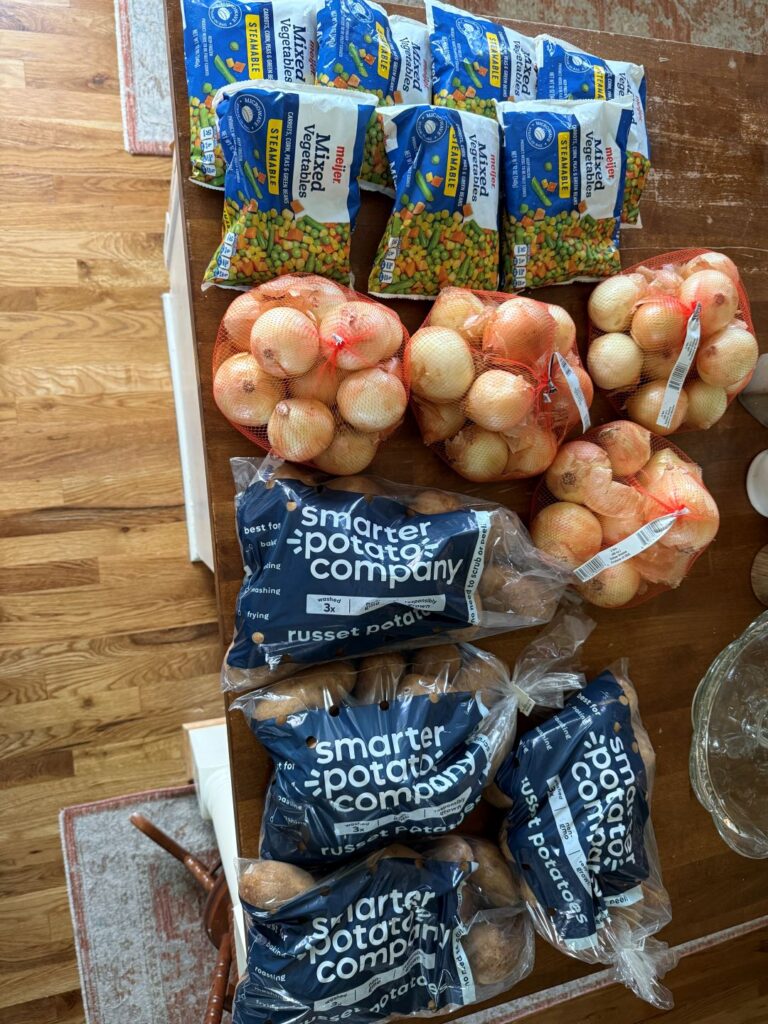
- 1 bag (5#) of Russet potatoes
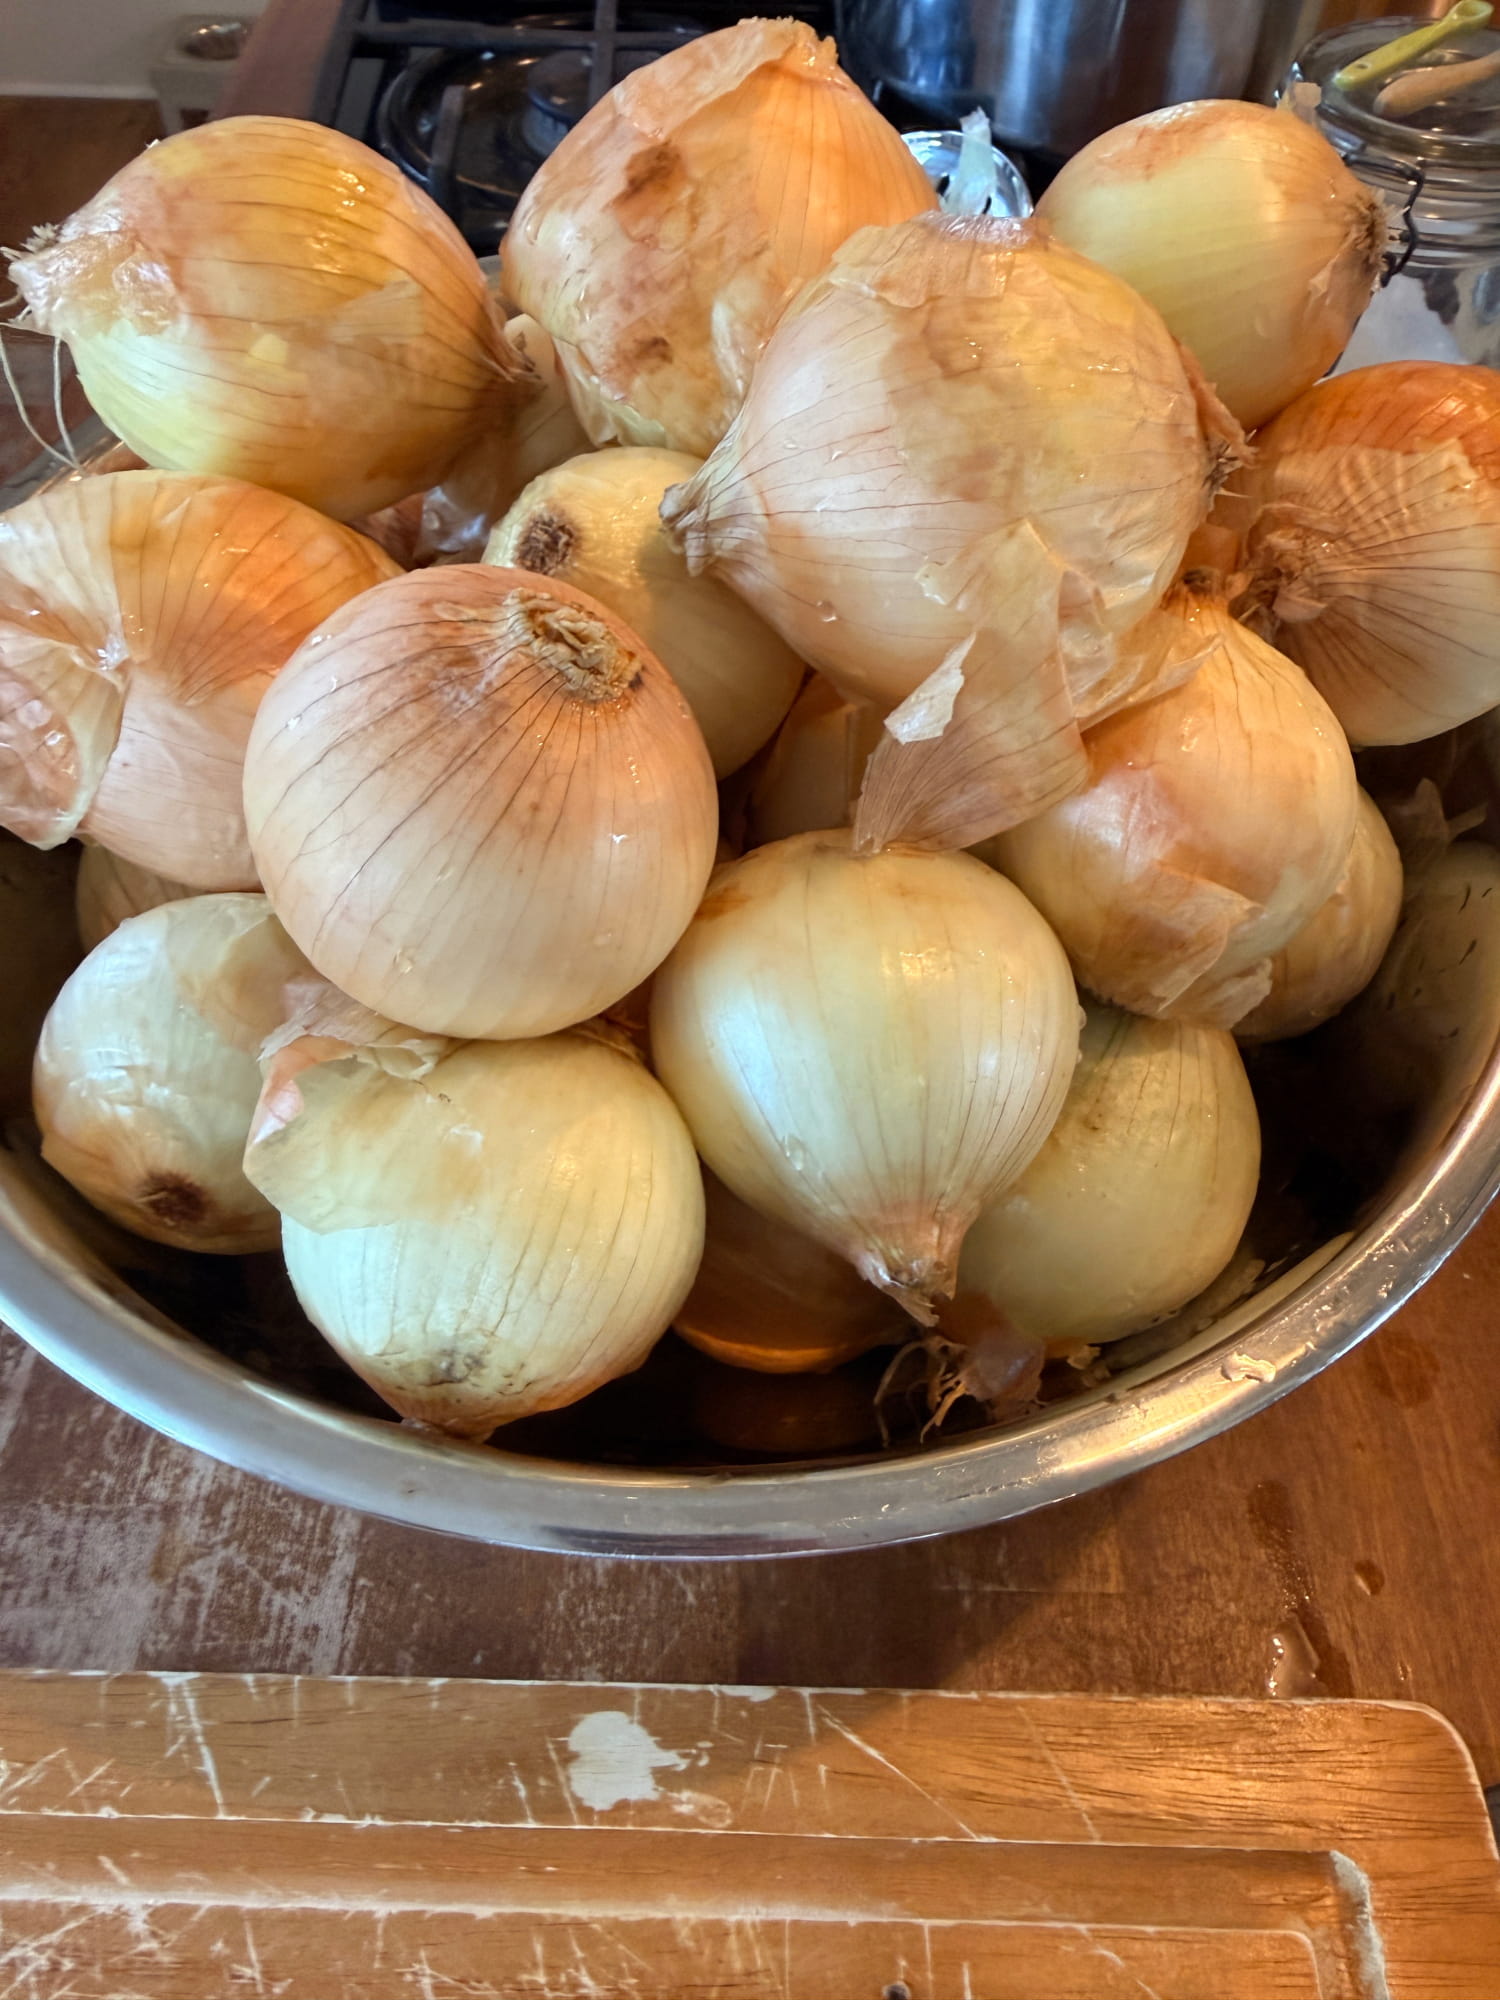
- 2 bags (3#) each onions
- 7 bags of frozen mixed vegetables
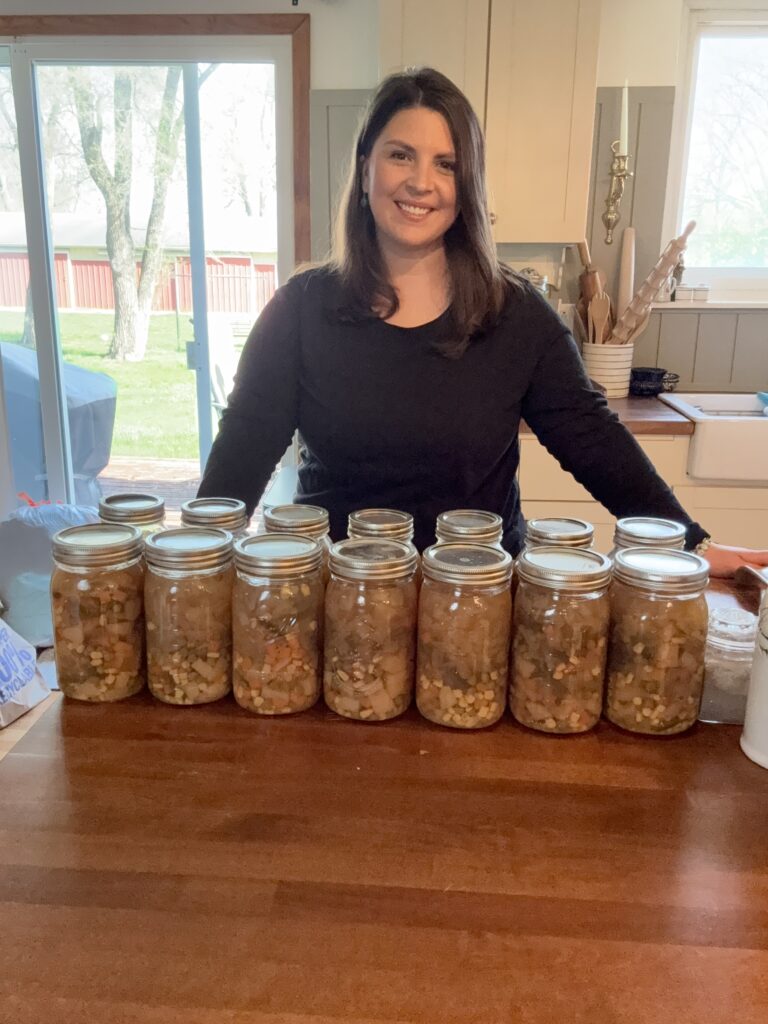
My Meijer was running a sale on all of these items for $1 each. That means for $10 I got 14 jars of canned vegetable soup base. That’s 70 cents per jar……. I think some good, hearty, cheap meals could be enjoyed for that. The picture below shows more than what was used – I had to take advantage of the sale price and grab a few extra for other things 🙂 Even if the items aren’t on a $1 sale, they are still regularly inexpensive. Canning them up this way also saves a lot of time when you need to make some dinner and that’s a huge win in my book.
From This to This
I am an amazon affiliate and this post may contain links that make me a commission at no cost to you
How to can the base:
- Peel and chop up potatoes. Try to chop them up about the same size as you will the onions and keep them small enough to be in a bite of soup.
- I soak the potatoes in water for a couple hours up until overnight to help remove some of the starch. It’s totally optional but it keeps the bottom of the jar from being as gummy as it would be without soaking.
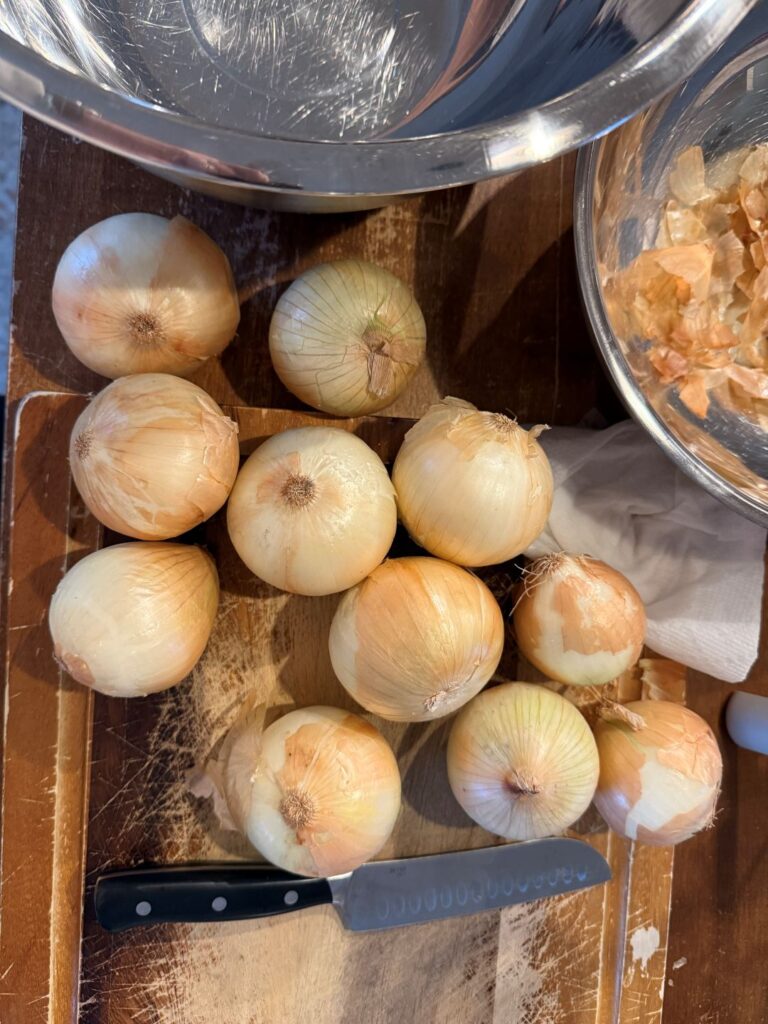
- Peel and chop up the onions once you have soaked your potatoes. If you’re brave enough to do it ahead of time and can tolerate a oniony-smelling fridge you can certainly do that too.
- Once you have your onions and potatoes ready to go, get a big stockpot and combine your bags of mixed veggies, onions, and potatoes.
- Fill with water about an inch or so above the mixture.
- Heat it up to almost a boil. The goal isn’t to cook the mixture here (the canner will do that) it’s simply to get it nice and hot just like the jars.
- While the mixture is heating, clean your jars, lids and screw bands.
- Place your pressure canner on the stove and fill it with the appropriate amount of water for your specific model. For example, I have the Presto 23 qt pressure canner and it calls for 3 quarts of water before adding jars.
- PLEASE FOLLOW THE DIRECTIONS OF YOUR OWN MODEL
- If you’re using an electric pressure canner please follow the recommendations on getting your unit ready to can.
- Put some water into your jars and place them into your canner so they don’t float. This water will be dumped out into the sink (not the canner) when it is time to fill the jars. Turn the burner on low to medium to heat the water and jars.
- Once the jars are heated and the mixture is hot, take jars out a couple at a time and fill with just the vegetables (not liquid) to about 3/4 full. Once you have the jars filled with the veggies, go back and start adding the liquid from the pot to 1 inch headspace.
- Wipe the rims of the jars with a lint-free cloth and place the lids on. Add the bands and tighten to fingertip-tight. Don’t crank down on it.
- Using the tongs, place the jars inside in the canner. Following the directions on your model bring it up to the appropriate pressure for your altitude and can for 85 minutes for quarts.
- Based on all of the ingredients in the can, corn needs 85 minutes for quarts which is longer than the other vegetables. Even if the other veggies are lower times go by the longest time of all ingredients.
- Let the canner come down to zero pressure, remove the weight, and open the top. Let it sit for at least 5 minutes and then carefully remove the jars to cool. Let them sit for 12-24 hours before handling.
Why do I not include the cost of jars?
I don’t include the cost of jars because I absorb that as a once-and-done expense. I also lucked out and got a bunch of jars for free off of Facebook Marketplace once and there’s really no differentiating those jars I paid for and those I didn’t. Once you build up a stockpile you’ll find yourself rotating through jars and generally not buying a lot of new ones. However you go about getting them, they’re definitely a worthwhile investment. I used both the wide mouth and regular mouth Ball canning jars.
What Equipment do I need?
- wide mouth or regular mouth Ball canning jars
- pressure canner such as:
- Canning utensils
Try this recipe out and let me know how you like it!
-
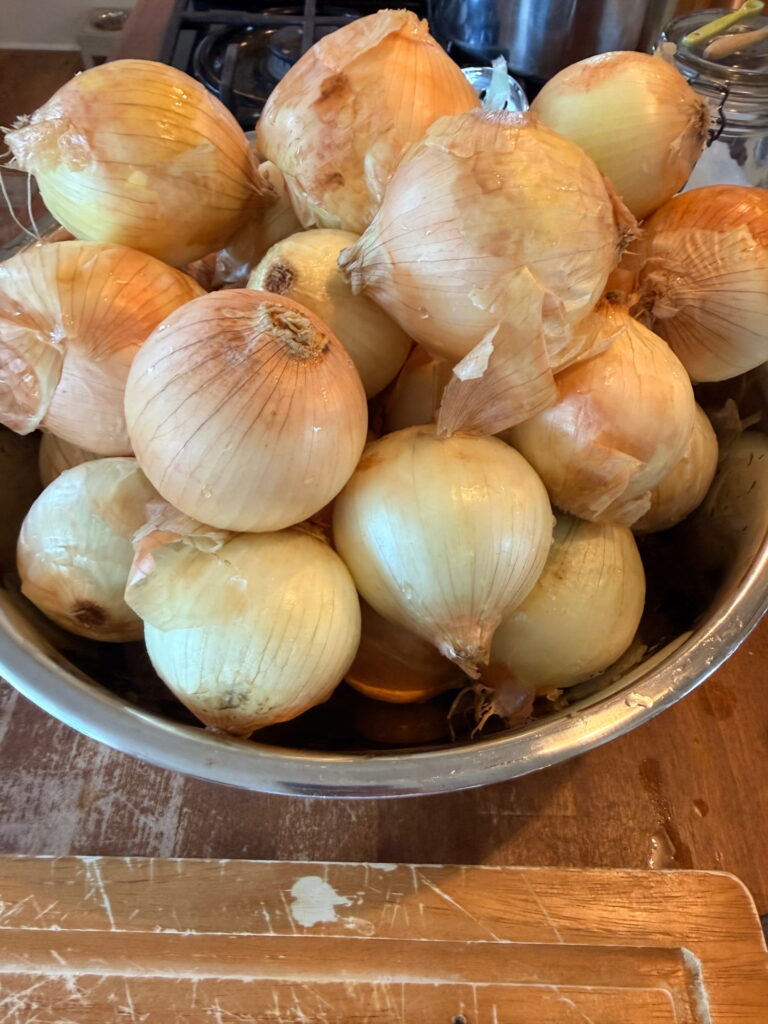
Pressure Canning Onions for Beginners: Easy Pantry Storage
Sharing is caring! 2 shares Pressure canning onions is an easy way to preserve onions for soups, chili, casseroles, and…
-
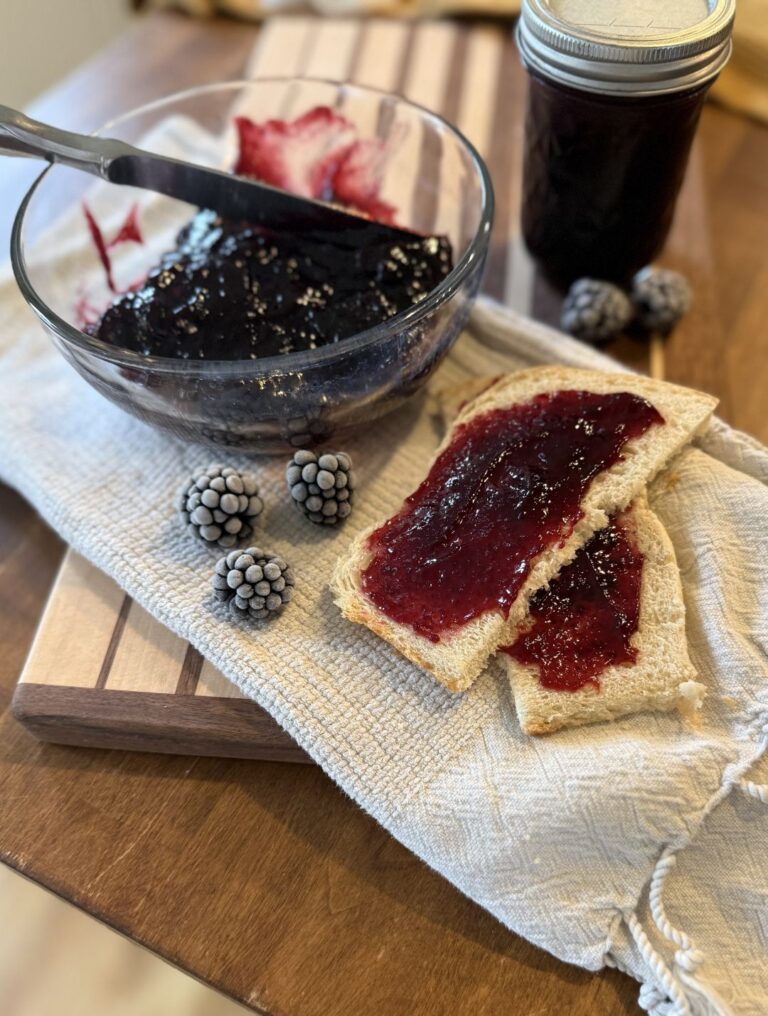
Seedless Blackberry Jam Using Puree
I feel like blackberries are overlooked. Maybe it’s just me – I don’t remember my Mom ever having them around….
-
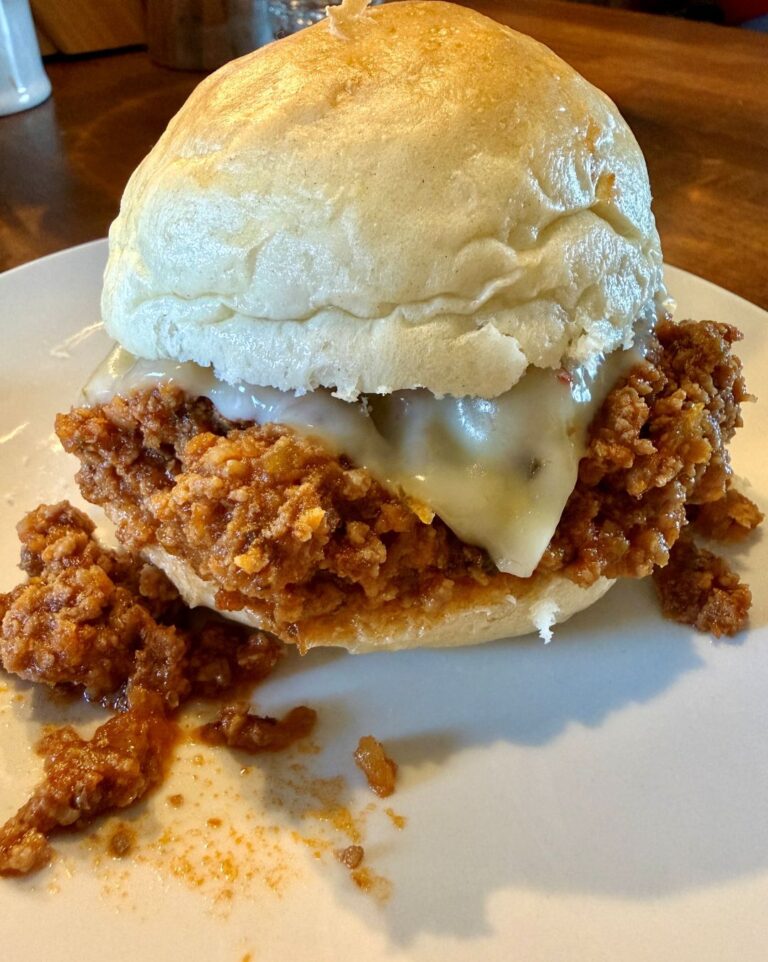
Simple Sloppy Joes with Vegetable Relish
4-Ingredient Sloppy Joes It doesn’t get much easier guys. Ingredients It might sound a little strange but since the basis…
-
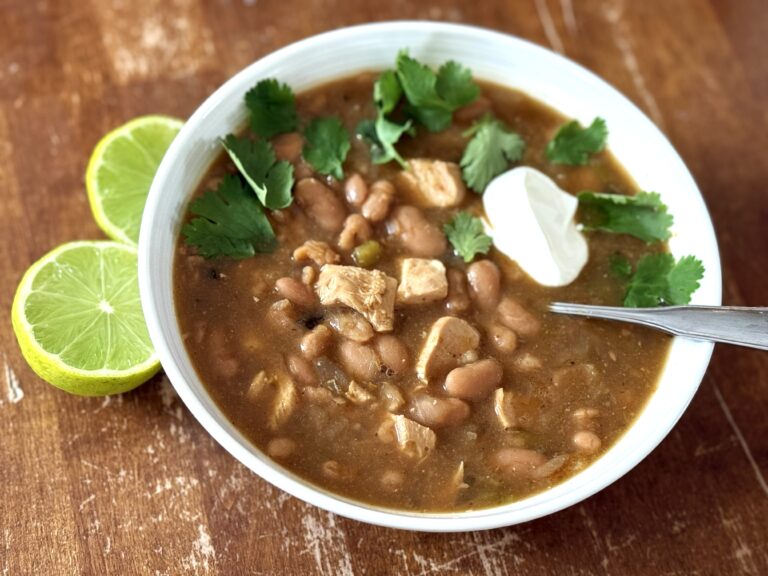
Easy White Bean Chicken Chili with Canned Soup Starter
What makes this White Bean Chicken Chili quick and easy is the fact that you’ve already prepped most of the…
-
Carrot Cake Jam Toaster Strudel
As an Amazon Associate I earn from qualifying purchases, at no cost to you If you grew up when I…
-
Better Than Store-Bought Strawberry Simple Syrup from Scraps
Is it really worth it? I know you may be thinking, “is it really worth it to use strawberry top…