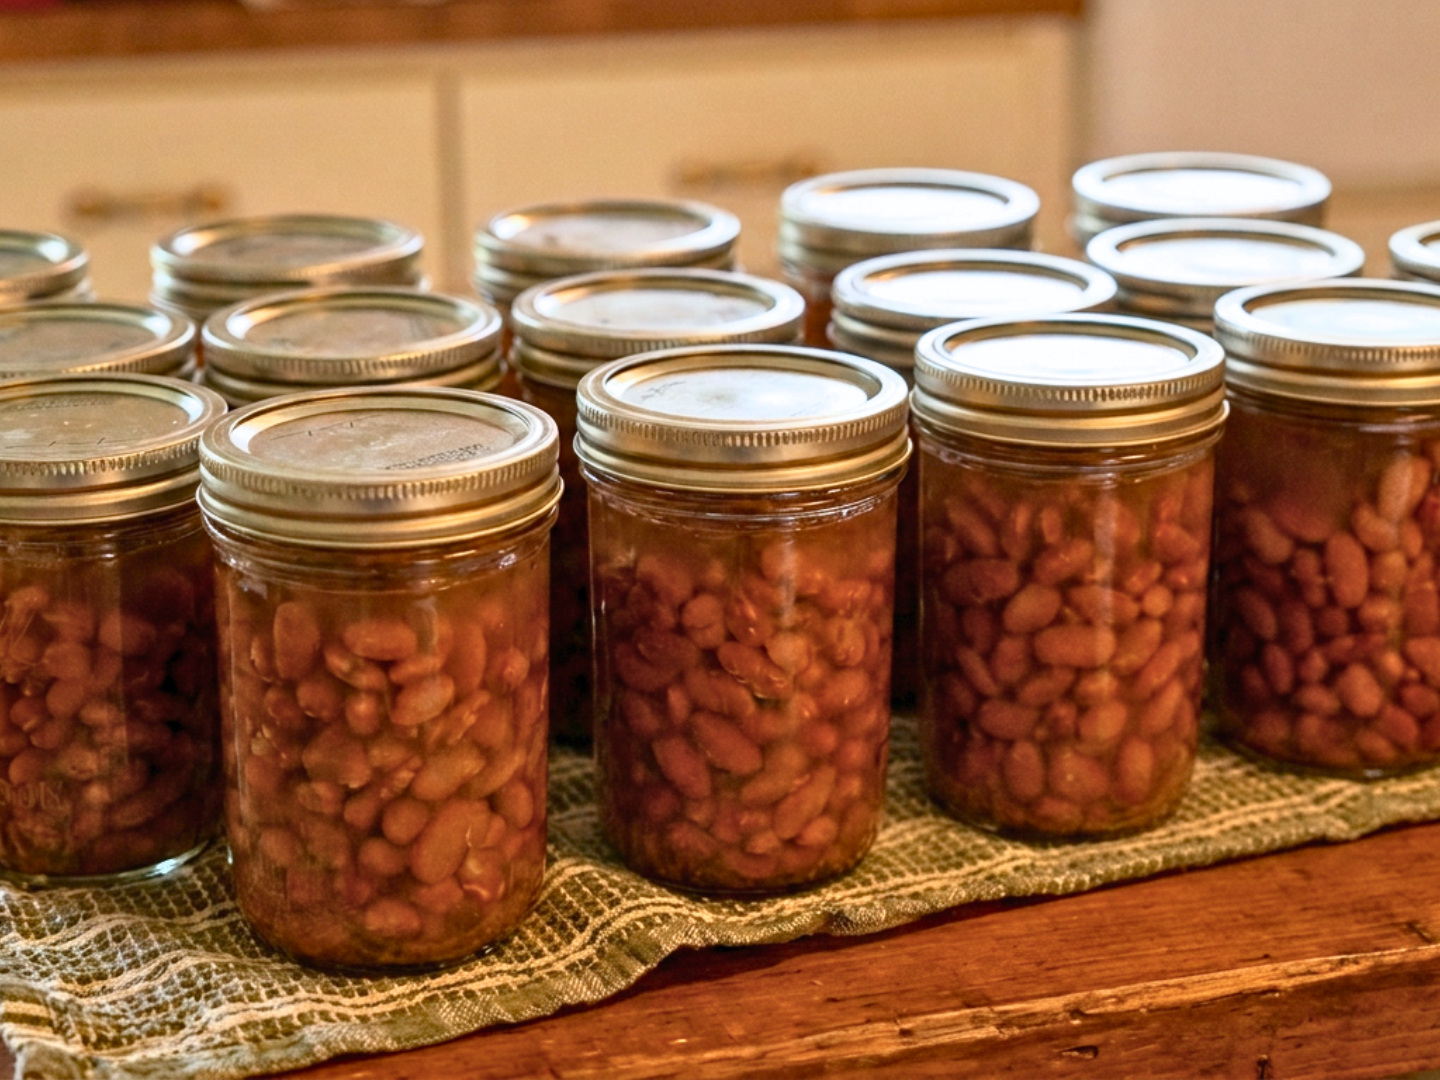
How to Can Dried Beans: Simple, Affordable, and So Useful
If there is one pantry staple that checks all the boxes for easy, inexpensive, and versatile, it’s dried beans.
And if you’ve ever wished you could have beans ready to use without remembering to soak them the night before, learning how to can dried beans is a great way to stock your pantry.
Canned beans are one of those things that may look a little boring on the shelf but you’ll be super happy to see them anyways.
This method works for dried beans of all varieties, including pinto, black, kidney, and navy beans. The beans are rehydrated first, cooked in fresh water, packed hot into jars, and then processed in a pressure canner. It really is pretty hands-off and a simple process!
Important: Dried beans are a low-acid food and must be pressure canned using a tested process. The instructions below follow the National Center for Home Food Preservation/USDA method for dried beans.
Can You Can Dried Beans?
Yes! Dried beans can be pressure canned and are one of the simplest pantry staples to preserve at home. I promise, it’s a great thing to get your feet wet with pressure-canning but also something a seasoned canner loves to do, too.
The important thing is that the beans must be rehydrated before canning. You can do this either by soaking them overnight or by using the quick-soak method. After soaking, the beans are drained, covered with fresh water, and boiled for 30 minutes before they go into the jars.
Then before you know it you have a shelf-stable pantry staple that is ready to use whenever you need it.
Why I Love Canning Dried Beans
Beans are inexpensive, filling, and incredibly versatile.
I especially like having them available for:
- Chili
- Soups
- Rice bowls
- Nachos
- Tacos and burritos
- Refried beans
- Tex-Mex stuffed peppers
- Quick pantry meals
What You Need to Can Dried Beans
Ingredients
- Dried beans of your choice
- Water for soaking
- Fresh water for boiling and filling the jars
- Salt, optional
The amount you need will depend on the type and size of beans. A general rule of thumb is that when you rehydrate they beans they double or even triple in size. And you’ll use 2/3 – 1 cup per pint jar. So if I have 8 pints, I need no more than 4 cups of dried beans but err on the side of less. So 3 cups of dried beans will be good for 8 pint jars considering you need room for liquid as well.
One important note: Don’t try to over-fill the amount of beans in each jar. The beans continue absorbing liquid during processing, so having enough liquid is important.
As an affiliate I may make a small commission on items purchased at no additional cost to you
Equipment
- Pressure canner
- Pint or quart Mason jars
- Two-piece canning lids and screw bands
- Jar lifter, bubble remover/headspace tool, and funnel
- Large pot for cooking the beans
- Large bowl or pot for soaking
- Clean, lint-free cloth


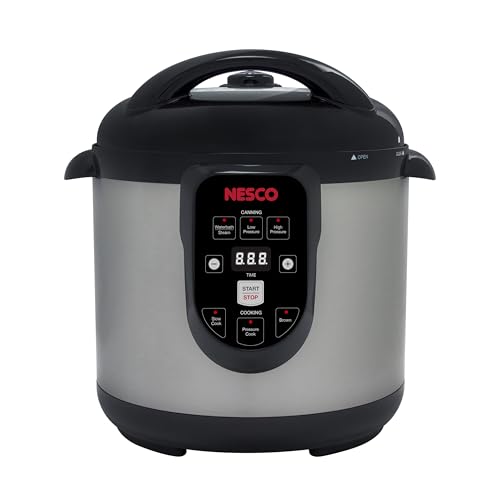
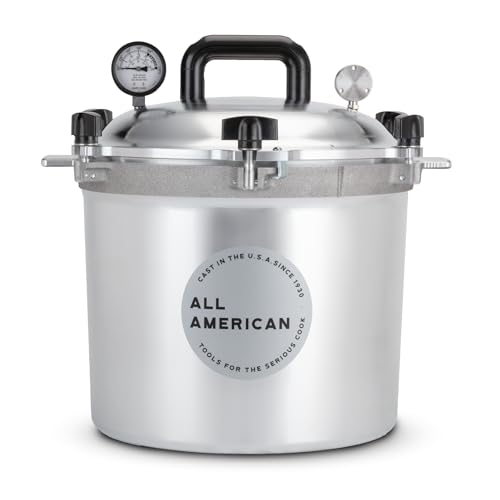
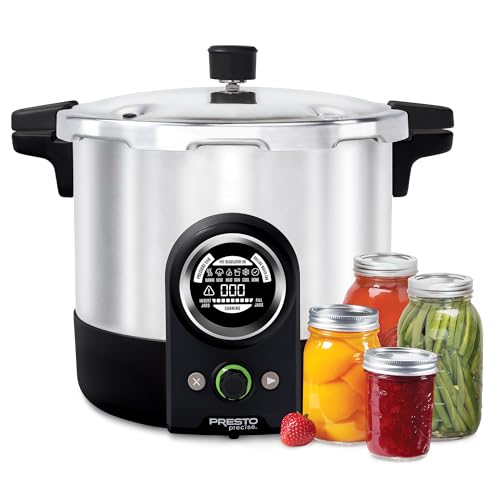
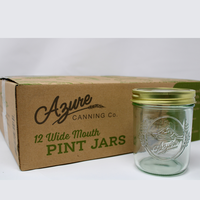
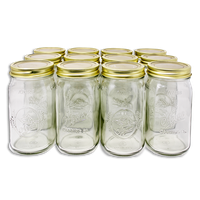

I use a stovetop pressure canner, but whatever pressure canner you use, follow the manufacturer’s instructions for operating that particular canner.
How to Can Dried Beans
1. Sort and rinse the beans
Start by pouring the dried beans onto a baking sheet or clean surface and sorting through them.
Remove any rocks, debris, or discolored beans.
Then rinse the beans well.
2. Rehydrate the dried beans
You have two options for rehydrating the beans.
Overnight method
Place the sorted and washed beans in a large pot or bowl and cover them with several inches of cool water.
Soak them for 12 to 18 hours in a cool place.
Drain and discard the soaking water.
Quick-soak method
Place the sorted and washed beans in a large saucepan or pot.
Cover the beans with boiling water.
Boil for 2 minutes, then remove the pot from the heat and let the beans soak for 1 hour.
Drain and discard the soaking water.

3. Boil the beans in fresh water
After the beans have been rehydrated, place them in a large pot.
Cover them with fresh water and bring them to a boil.
Boil the beans for 30 minutes.
This cooking water—not the water used for soaking—is what you’ll use to fill the jars.
4. Fill the hot jars
Prepare your canning jars according to your canner and jar manufacturer’s instructions.
For this pressure-canning process, the empty jars do not need to be sterilized beforehand, although they should be clean and kept hot until filling.
Using a slotted spoon or ladle and funnel, fill the hot jars with the cooked beans.
Don’t pack them tightly or try to fill the jar with as many beans as possible. Keep them under the 1″ headspace line.
Then add the hot cooking liquid, leaving 1 inch of headspace.
This is one of those places where a little extra liquid is preferable to cramming the jar full of beans.
What about salt? Salt is optional. If you want to add it, ½ teaspoon of salt per pint or 1 teaspoon per quart. I personally like keeping my beans fairly plain because it gives me more flexibility when I need to use the beans.
5. Remove air bubbles and clean the rims
Run a bubble remover around the inside of the jar to release trapped air.
Check the headspace and add a little more hot cooking liquid if necessary to bring it back to 1 inch.
Using either vinegar or water, wipe the jar rim with a clean, damp, lint-free cloth.
Place the prepared lid on the jar and screw on the band until it is fingertip tight.
6. Process the jars in a pressure canner
Place the filled jars into your pressure canner according to the manufacturer’s instructions.
- Pints: 75 minutes
- Quarts: 90 minutes
The required pressure depends on your elevation and whether you are using a dial-gauge or weighted-gauge pressure canner.
Important pressure-canning reminder
Always follow your pressure canner manufacturer’s directions for setting up, venting, pressurizing, and cooling your particular canner.
NOTE – regardless of what pressure canner you are using, if pressure drops below the recommended level during processing, the process time must be restarted.
How Long Do You Pressure Can Dried Beans?
Dried beans are pressure canned for:
| Jar Size | Processing Time |
|---|---|
| Pints | 75 minutes |
| Quarts | 90 minutes |
The processing time stays the same across elevations, but the pressure changes depending on your altitude and the type of pressure gauge on your canner.
Pressure Canning Dried Beans at Different Altitudes
Weighted-gauge pressure canner
| Elevation | Pressure |
|---|---|
| 0–1,000 feet | 10 pounds |
| Above 1,000 feet | 15 pounds |
Dial-gauge pressure canner
| Elevation | Pressure |
|---|---|
| 0–2,000 feet | 11 pounds |
| 2,001–4,000 feet | 12 pounds |
| 4,001–6,000 feet | 13 pounds |
| 6,001–8,000 feet | 14 pounds |
These are the current NCHFP recommendations for plain dried beans or peas.
What to Do After Pressure Canning
Once the processing time is finished, turn off the heat and allow the canner to depressurize naturally.
Do not force-cool the canner.
Once the canner has completely depressurized, remove the weight or open the vent as directed by your canner. Remove the lid, preferably tilting the lid away from your face. Ask me how I know.
Wait 10 minutes before removing the jars from the canner. Remove the jars with a jar lifter and place them upright on a towel or cooling rack with space between them.
Let the jars cool undisturbed for 12 to 24 hours. Don’t tighten the bands or press on the center of the lids while they’re cooling.
After the jars have cooled, check the seals.
Remove the screw bands from sealed jars, wipe the jars clean, label them, and store them in a cool, dry place away from direct light.
If a jar hasn’t sealed, refrigerate it and use it first.
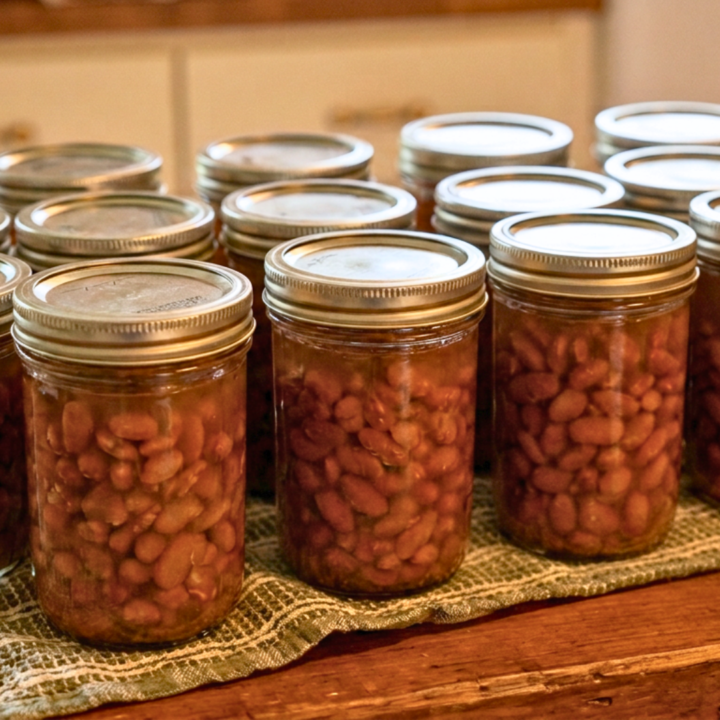
How to Can Dried Beans
Simple, affordable, and helpful. The small but mighty beans. Learn how to can them for a shelf-stable pantry staple.
Ingredients
- 3 cups of preferred type of dried beans (i.e. kidney, black, pinto, navy, etc.)
- Water for soaking, boiling, and canning
Instructions
1. Sort and rinse the beans. Remove any rocks, debris, or discolored beans. Then rinse the beans well.
2. Rehydrate the dried beans
You have two options for rehydrating the beans.
Overnight method
Place the sorted and washed beans in a large pot or bowl and cover them with several inches of cool water. Soak them for 12 to 18 hours in a cool place. Drain and discard the soaking water.
Quick-soak method
Place the sorted and washed beans in a large saucepan or pot. Cover the beans with boiling water. Boil for 2 minutes, then remove the pot from the heat and let the beans soak for 1 hour. Drain and discard the soaking water.
3. Boil the beans in fresh water for 30 minutes. This cooking water—not the water used for soaking—is what you'll use to fill the jars.
4. Fill the hot jars
Prepare your canning jars according to your canner and jar manufacturer's instructions.
For this pressure-canning process, the empty jars do not need to be sterilized beforehand, although they should be clean and kept hot until filling.
Using a slotted spoon or ladle and funnel, fill the hot jars with the cooked beans.
Don't pack them tightly or try to fill the jar with as many beans as possible. Keep them under the 1" headspace line.
Then add the hot cooking liquid, leaving 1 inch of headspace.
This is one of those places where a little extra liquid is preferable to cramming the jar full of beans.
Salt is optional. If you want to add it, ½ teaspoon of salt per pint or 1 teaspoon per quart is recommended.
5. Remove air bubbles and clean the rims using either vinegar or water, wipe the jar rim with a clean, damp, lint-free cloth.. Check the headspace and add a little more hot cooking liquid if necessary to bring it back to 1 inch.
6. Place the prepared lid on the jar and screw on the band until it is fingertip tight.
7. Process the jars in a pressure canner according to the manufacturer's instructions.
- Pints: 75 minutes
- Quarts: 90 minutes
8. Let the pressure canner come down to zero pressure naturally, do not force this process. Once it's completely depressurized, remove the vent cover. After a minute or two, remove the pressure canner lid. Wait 10 minutes, then remove jars from canner using a jar lifter.
9. Let the jars sit untouched for at least 12 hours before handling. Remove the bands to clean the jars, label, and store in a place with minimal temperature fluctuations.
10. Use within 18 months.
Notes
Note that most of the 'additional time' is for soaking, boiling, and processing times. The hands-on time is much shorter.
Can You Add Seasonings to Canned Beans?
This is where I’d keep things simple.
While it’s tempting to turn every jar into a different flavor—chili beans, taco beans, smoky beans, etc.—I prefer to can my beans plain.
That gives me much more flexibility when I open the jar.
Instead of having one jar that’s specifically seasoned for chili, I can add whatever flavors I want when I’m making dinner.
If you have a specific (tested and trusted) recipe for seasoned beans, have at it!
How to Use Home-Canned Beans
- Chili
- Rice Bowls
- Nachos
- Refried Beans
- Soups
- Tex-Mex Stuffed Peppers
Frequently Asked Questions
Can you can dried beans without soaking them?
No. Dry beans absorb liquid unpredictably and prevent safe heat penetration. Some people do, but I choose not to because with just thinking ahead a little bit I can have better certainty of what I’m getting in the end. If I’m going through the effort of canning something I’d like to give it my best shot to make sure it’s safe for me and my family to eat. To me, a little extra effort in the beginning is worth it for the peace of mind (and more likely safer jars) later.
How long do you pressure can dried beans?
Process dried beans for 75 minutes for pints or 90 minutes for quarts. The pressure required depends on your altitude and whether you use a dial-gauge or weighted-gauge pressure canner.
Can you can black beans, kidney beans, and pinto beans?
Yes. You can use the dried beans you like.
Do you have to add salt when canning beans?
No. Salt is optional.
Can you use home-canned beans straight from the jar?
Yes. Once your jar is opened, drain or use the liquid according to your recipe, then heat and season the beans as desired.
When to not use the beans
If any jar comes unsealed, smells funny, has mold, or you’re just generally in doubt – THROW IT OUT.
Final Thoughts
I love canning beans because they are about as practical as it gets.
There’s very little hands-on work compared with some other canning projects, they’re inexpensive, and they’re useful in so many different meals.
So if you’ve been wanting to try canning dried beans, pick your favorite variety, set aside a morning or afternoon, and put a few jars on the shelf.
Future-you will probably be pretty happy to find them there.