How to Start Canning: A Beginner’s Guide to Water Bath & Pressure Canning
How to Start Canning: A Beginner’s Guide to Water Bath & Pressure Canning
Getting Started
Getting started with canning and preserving food at home can feel overwhelming at first. There are so many opinions, methods, and equipment options that it’s hard to know where to begin.
If you’ve been wanting to start canning but feel intimidated by pressure canners, worried about storage space, or unsure what equipment you actually need, you’re not alone.
The good news is that canning becomes far less intimidating once you do it a few times. Whether you want to preserve homemade tomato sauce, jams, soups, or broth, this beginner-friendly guide will help you understand the differences between water bath and pressure canning so you can confidently get started.
Please note that this article may contain affiliate links. As an Amazon Associate I earn from qualifying purchases at no cost to you.
Why More People Want to Start Canning at Home
More people are learning how to preserve food at home because it offers:
- More control over ingredients
- Reduced food waste
- Convenience
- Food security
- Long-term savings
- A slower, more intentional lifestyle
There’s also something incredibly satisfying about opening a jar of food you preserved yourself months earlier.
Whether your goal is food security, convenience, frugality, or simply slowing down a little, canning is a skill worth learning.
The First Question to Ask Before You Start Canning
Before buying equipment, ask yourself this:
What Do You Actually Want to Preserve?
Your answer will help determine whether you should focus on water bath canning, pressure canning, or both.
Some people mainly want:
- Jams and jellies
- Pickles
- Salsa
- Tomato sauce
Others want:
- Soup starters
- Broths and stocks
- Vegetables
- Meat
- Ready-to-eat meals
This distinction matters because different foods require different canning methods.
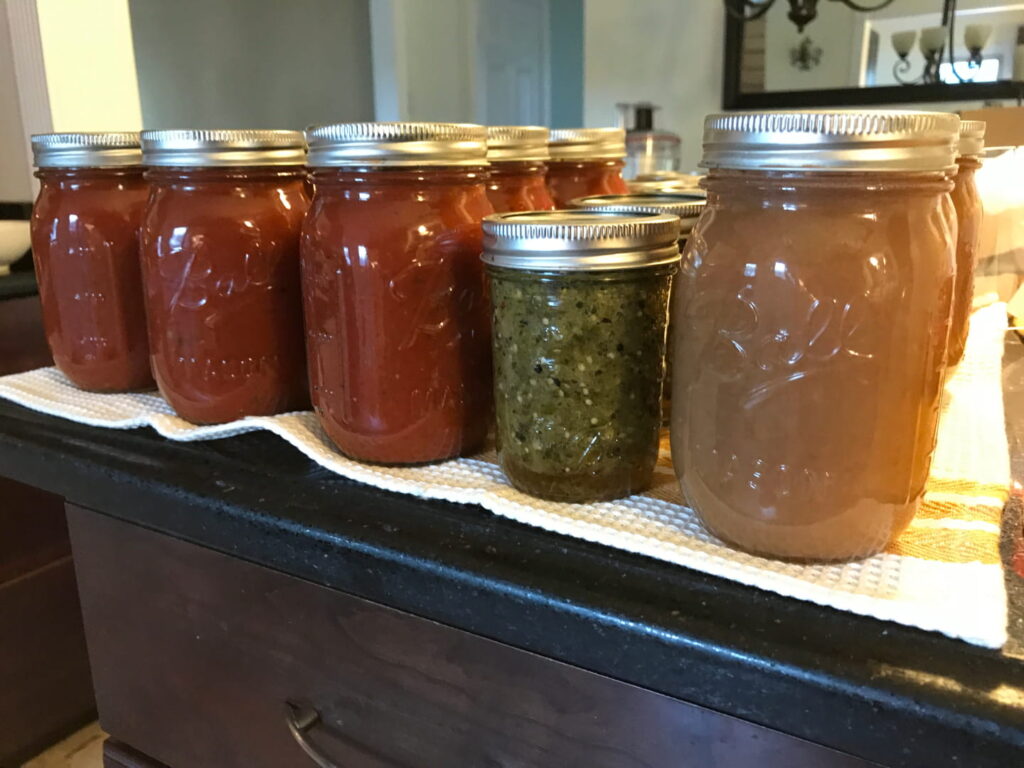
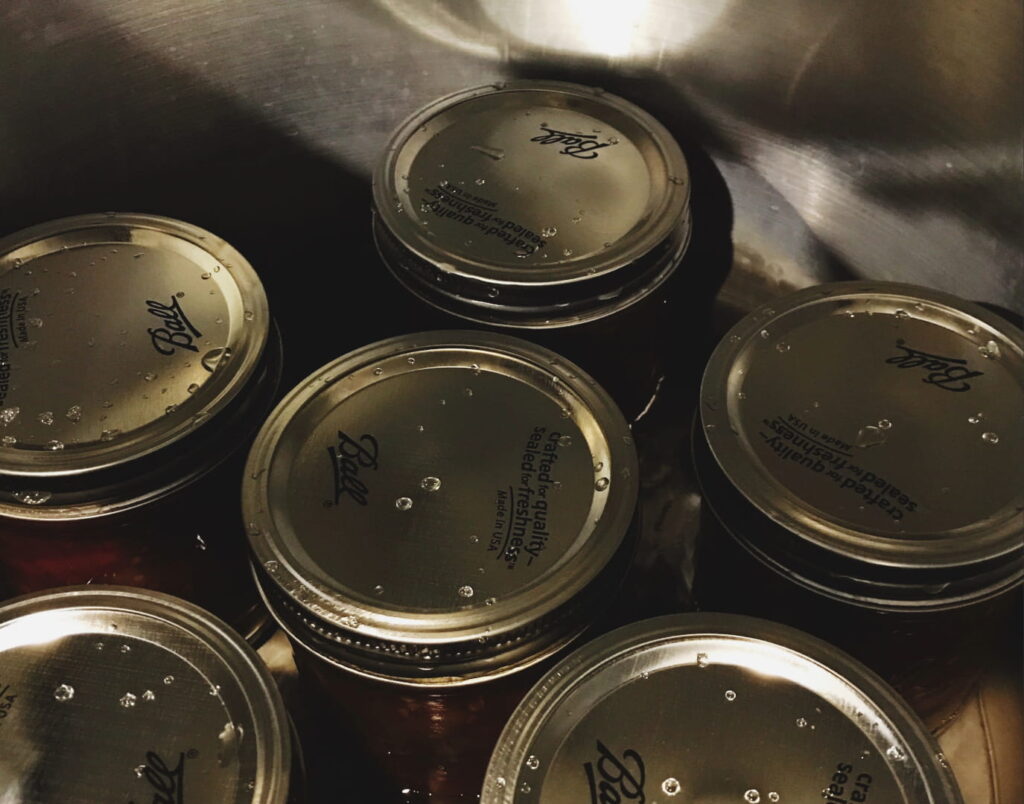
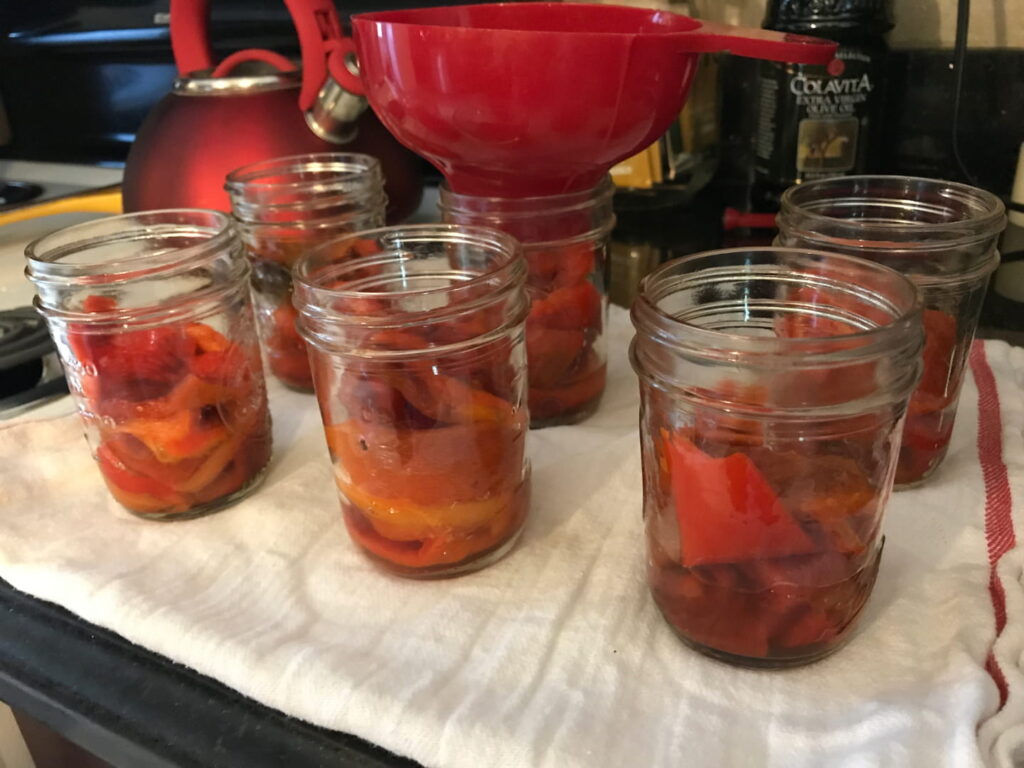
Water Bath Canning vs Pressure Canning
Understanding the difference between these two methods is one of the most important parts of learning how to start canning safely.
What Is Water Bath Canning?
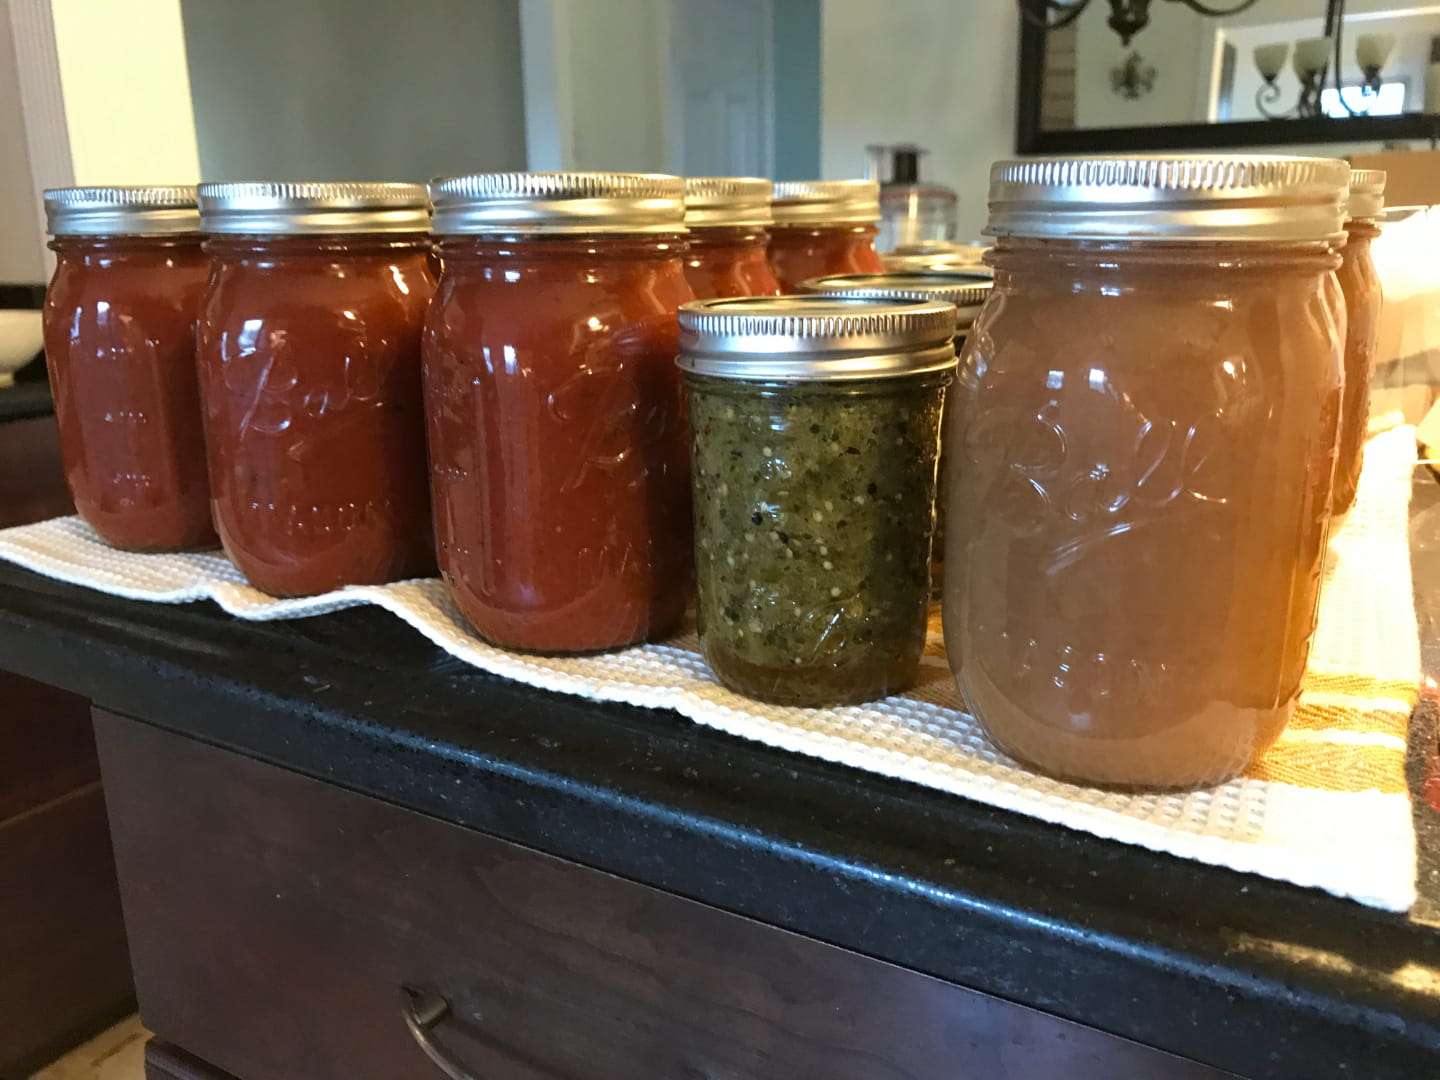
Water bath canning is used for high-acid foods. The jars are submerged in boiling water for a specific amount of time to safely preserve the food.
This is often the easiest and least expensive way to start canning.
Foods You Can Water Bath Can
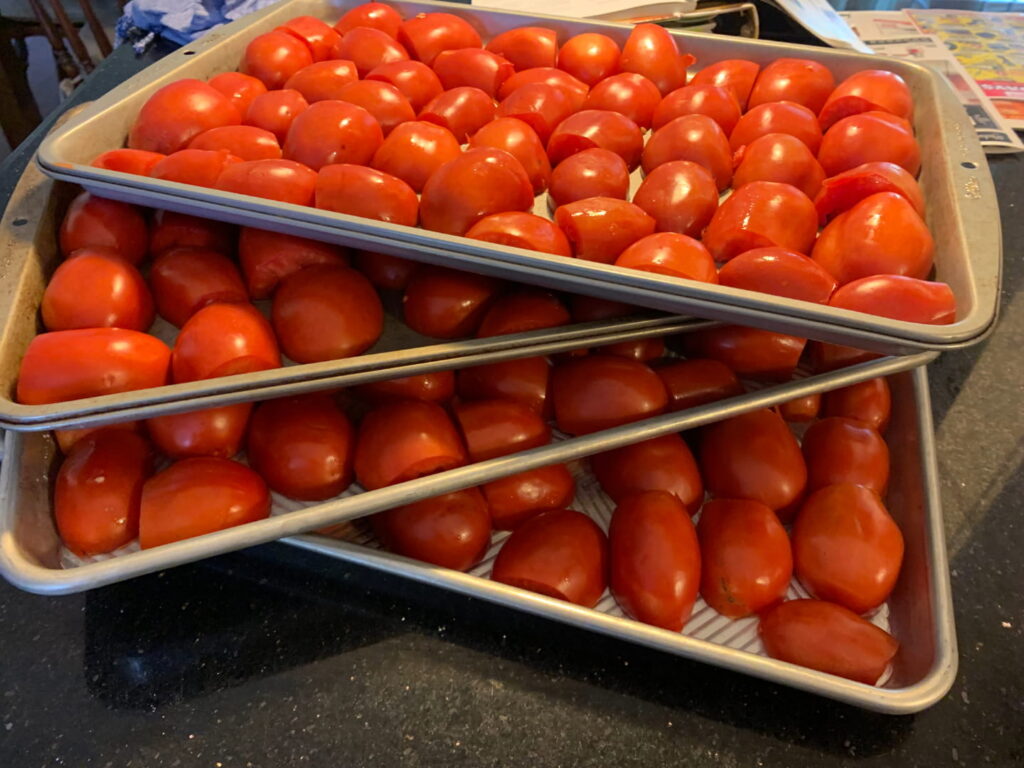
- Tomatoes
- Tomato sauce
- Jams and jellies
- Pickles
- Relishes
- Barbecue sauce
- Applesauce
- Ketchup
If you live at an altitude higher than 1,000 feet above sea level, you’ll need to increase your processing time for safe water bath canning.
| Altitude Feet | Increase Processing Time |
| 1,001- 3,000 3,001- 6,000 6,001- 8,000 8,001-10,000 | 5 minutes 10 minutes 15 minutes 20 minutes |
What Is Pressure Canning?
Pressure canning is required for low-acid foods because boiling water alone is not hot enough to safely preserve them.
10 pounds of pressure (PSI) reaches approximately 240°F at sea level.
15 pounds of pressure (PSI) reaches approximately 250°F.
Required processing pressure changes based on your altitude.
Altitude Adjustment: Because water boils at lower temperatures at higher altitudes, pressure must be increased to maintain the temperatures needed for safe canning (240°F–250°F).
If you live at an altitude higher than 1,000 feet above sea level, you’ll need to increase your processing pressure for safe pressure canning.
| Altitude Feet | Weighted Gauge | Dial Gauge |
| 0- 1,000 1,001- 2,000 2,001- 4,000 4,001- 6,000 6,001-8,000 8,001-10,000 | 10 15 15 15 15 15 | 11 11 12 13 14 15 |
A pressure canner reaches these higher temperatures to safely can foods like:
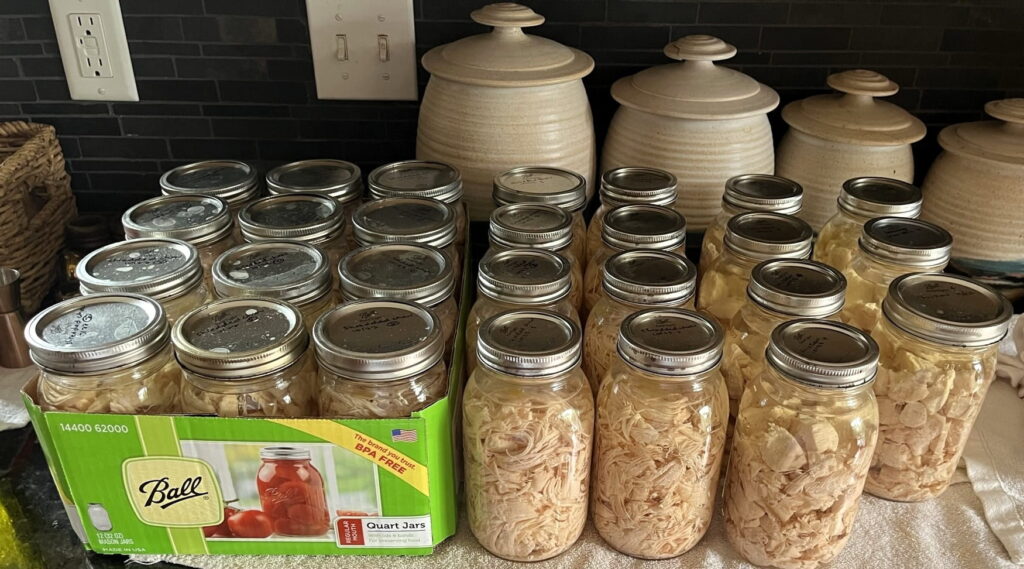
- Meat
- Broths and stocks
- Green beans
- Corn
- Potatoes
- Soups
- Chili
- Beans and legumes
Water Bath
High-Acid
- Tomatoes (whole tomatoes, tomato sauce, diced tomatoes, etc.)
- Jams and jellies
- Relishes
- Barbeque sauces
- Ketchup
- Pickled items (pickles, onions, beets, etc.)
- Applesauce
- and more
Pressure Canner
Low-acid
- Broths and stocks
- Meat
- Low-acid vegetables (green beans, carrots, corn, potatoes, sweet potatoes, etc.)
- Combination foods like stewed tomatoes (tomatoes combined with low-acid items)
- Soups and Chilis
- Legumes
- and more
A Quick Note About Canning Safety
When learning how to start canning, safety matters.
Always use tested recipes from trusted sources like the USDA, Ball, or university extension programs. Low-acid foods should always be pressure canned according to approved guidelines.
Following tested methods removes the guesswork and makes canning far safer and less stressful. It’ll give you confidence that the food you’re serving is preserved safely.
Pressure Canning vs Water Bath Canning: Which Is Better for Beginners?
Again, it depends on what you want to start putting on your shelves. Both methods have advantages.
Water bath canning:
- Lower startup cost
- Simpler learning curve
- Faster processing times
- Great for beginners
Pressure canning:
- Much more versatile
- Preserves complete meals and proteins
- Ideal for long-term pantry building
- Larger upfront investment
Personally, if I were starting from scratch, I’d want both methods — especially for preserving stocks and broths. I think having it on the shelves is a wonderful thing and because of that, you’ll need a pressure canner.
But if you only plan to preserve jams, pickles, and tomatoes occasionally, a water bath setup may be all you need.
How Much Time Does Canning Take?
No matter which method you choose, canning does require some dedicated time.
Water Bath Canning Time Commitment
Water bath recipes are usually quicker because:
- Prep is sometimes simpler
- Processing times are shorter
- There’s no pressure-building or de-pressurizing stage
Jams, jellies, and pickles are often excellent beginner projects because they can usually be completed fairly quick.
If you’re under 1,001 feet above sea level a lot of processing times for water bath canning are around 10 minutes. Keep in mind that the timer doesn’t begin until the water reaches a full rolling boil. Also account for the setup, preparing the recipe, and bringing the water to a boil.
Nonetheless, it’s usually a quicker process than pressure canning.
Pressure Canning Time Commitment
Pressure canning takes longer because:
- The canner must build pressure
- Foods often process for 60–90 minutes
- Pressure must naturally release afterward
That said, many people feel the versatility is absolutely worth the extra time.
Time Commitment Examples
You’re potentially looking at, for example:
- Jam batch = 1–2 hours or so, depending
- Meat = half-day project
- Stock = half-day project after the stock has been made
Are Electric Canners Worth It?
Electric canners have become increasingly popular because they reduce much of the hands-on monitoring involved with traditional canning.
Many digital pressure canners can also perform water bath canning, which means fewer pieces of equipment overall.
If convenience and simplicity matter most to you, an electric canner may be the easiest way to start canning.
Where to Store Canning Supplies and Jars
A lot of people hesitate to start canning because they worry they don’t have enough room.
But canned food storage can be surprisingly flexible.
Small Space Storage Ideas
Consider:
- Totes stored under beds
- Slim shelving units
- Organized pantry systems
- Basement corners
- Closet shelving
- Free warehouse-store produce boxes
If your basement is unfinished, even wall stud cavities can become useful storage spaces with a few simple shelves added between the studs.
Just try to avoid areas with major temperature fluctuations or extreme heat and cold.
What Equipment Do You Need to Start Canning?
Beginner Water Bath Canning Equipment
Basic supplies include:
- Large stock pot or water bath canner
- 4 oz jars, half pint jars, pint canning jars, or quart canning jars
- Lids and bands
- Jar lifter
- Funnel
- Bubble remover/headspace tool
- Accessory bundle
One of the best things about starting with water bath canning is that you can often use equipment you already own.
A large stock pot works perfectly well as long as jars are elevated slightly off the bottom for even heating.
Beginner Pressure Canning Equipment
Pressure canning requires:
- A true pressure canner (not just a pressure cooker) or digital pressure canner
- 4 oz jars, half pint jars, pint canning jars, or quart canning jars
- Lids and bands
- Jar lifter
- Funnel
- Bubble remover/headspace tool
- Accessory bundle
I’ve personally used the same 23-quart pressure canner for over a decade and it has absolutely been worth the investment.
Buying New vs Secondhand
If frugality matters to you, definitely check:
- Garage sales
- Thrift stores
- Facebook Marketplace
Just inspect carefully for:
- Chipped jars
- Rust
- Warping
- Damaged seals or gaskets
Sometimes secondhand deals are fantastic. Other times, buying new simply makes more sense.
Estimated Costs to Start Canning
Water Bath Canning Startup Costs
You can start water bath canning for as little as $30 if you already own a stock pot. $15 for a case of jars and $15 for the canning utensil set.
Typical beginner costs:
- Canning utensil set
- Jars
- Stock pot or canner
- Optional electric water bath canner
Estimated range:
$30–$300+
Pressure Canning Startup Costs
Pressure canning has a higher upfront cost but offers far more versatility.
Typical beginner costs:
- Canning utensil set
- Jars
- Pressure canner
- Optional digital pressure canner
Estimated range:
$200–$500+
Remember that jars are reusable, so most future expenses are minimal beyond replacement lids and occasional maintenance parts.
Common Beginner Canning Mistakes to Avoid
A few beginner mistakes are incredibly common:
- Using untested recipes
- Reusing damaged jars or lids
- Ignoring headspace recommendations
- Overtightening the bands
- Skipping proper pressure adjustments
The good news is that these mistakes are easy to avoid once you understand the basics.
The Easiest Way to Start Canning Without Feeling Overwhelmed
If you’re still unsure where to begin, my recommendation would be simple:
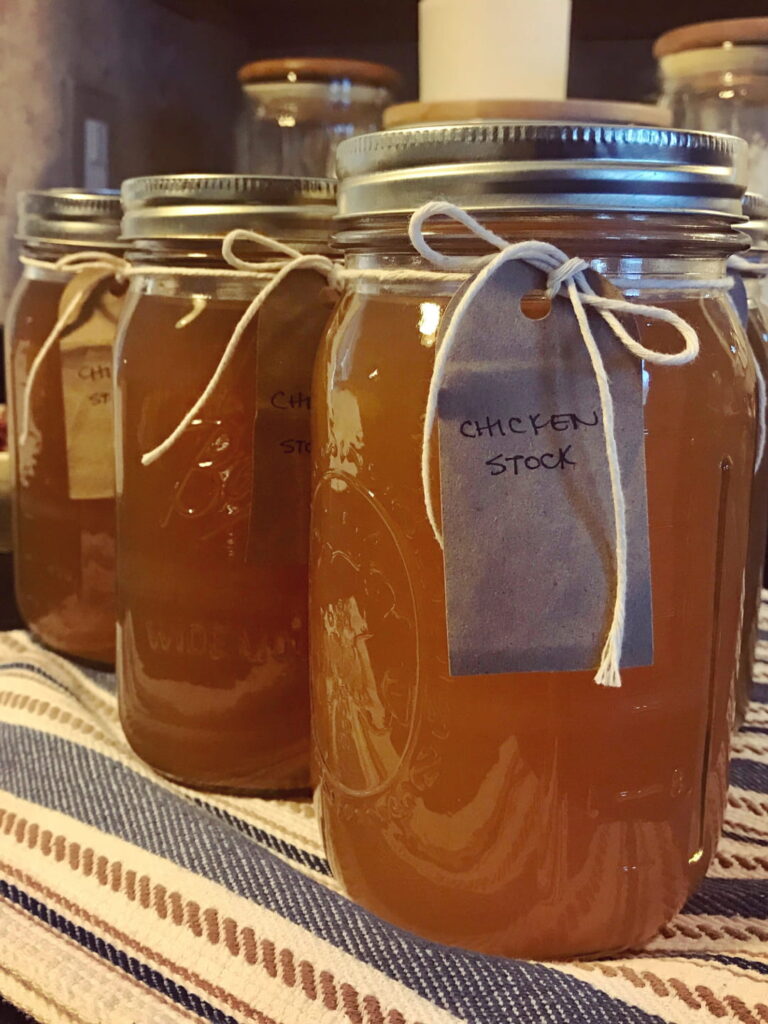
Start with tomatoes and jams if water bath canning and broth or stock if pressure canning.
Both are incredibly useful pantry staples and beginner-friendly projects that quickly help build confidence.
You do not need a perfect pantry, expensive setup, or years of experience to start canning successfully.
You simply need to start canning one batch at a time.
Final Thoughts on Starting Canning at Home
The hardest part of learning how to start canning is usually just deciding to try it.
Once you complete a batch or two, the process becomes much more familiar and far less intimidating than it first seemed.
Whether you begin with a simple stock pot and a few jars or invest immediately in a pressure canner, preserving your own food is an incredibly rewarding skill that serves you for years to come.
And honestly, opening a jar of food you preserved yourself months earlier never really gets old.
FAQ’s
Is pressure canning safe for beginners?
Yes, modern pressure canners are very safe when used properly and according to tested recipes.
Can I start canning without a pressure canner?
Absolutely. Many beginners start with water bath canning for jams, tomatoes, and pickles.
What foods cannot be water bath canned?
Low-acid foods like meat, broth, and most vegetables require pressure canning. Recipes will indicate if you need to either water bath or pressure can.
How long does home canned food last?
For best quality, most home canned foods should be used within 12–18 months.
What Foods Should Beginners Start With?
Things like jams, tomato sauce, applesauce, pickles, and chicken stock are great places to start.
Best Beginner Recipes for First-Time Canners
Examples:
How Long Does Canning Actually Take?
You’re potentially looking at, for example:
- Jam batch = 1–2 hours or so, depending
- Meat = half-day project
- Stock = half-day project after the stock has been made
Can You Reuse Store-Bought Jars?
- Mason jars = yes
- Commercial food jars = generally no for pressure canning
How to Tell If a Jar Sealed Properly
Remove ring to test seal
Center of the lid is suctioned in (there’s no button that can be pressed up and down in the center).
If you press in the center of the jar it does not have a clicking sound.
Good luck and please let me know if you have any questions!
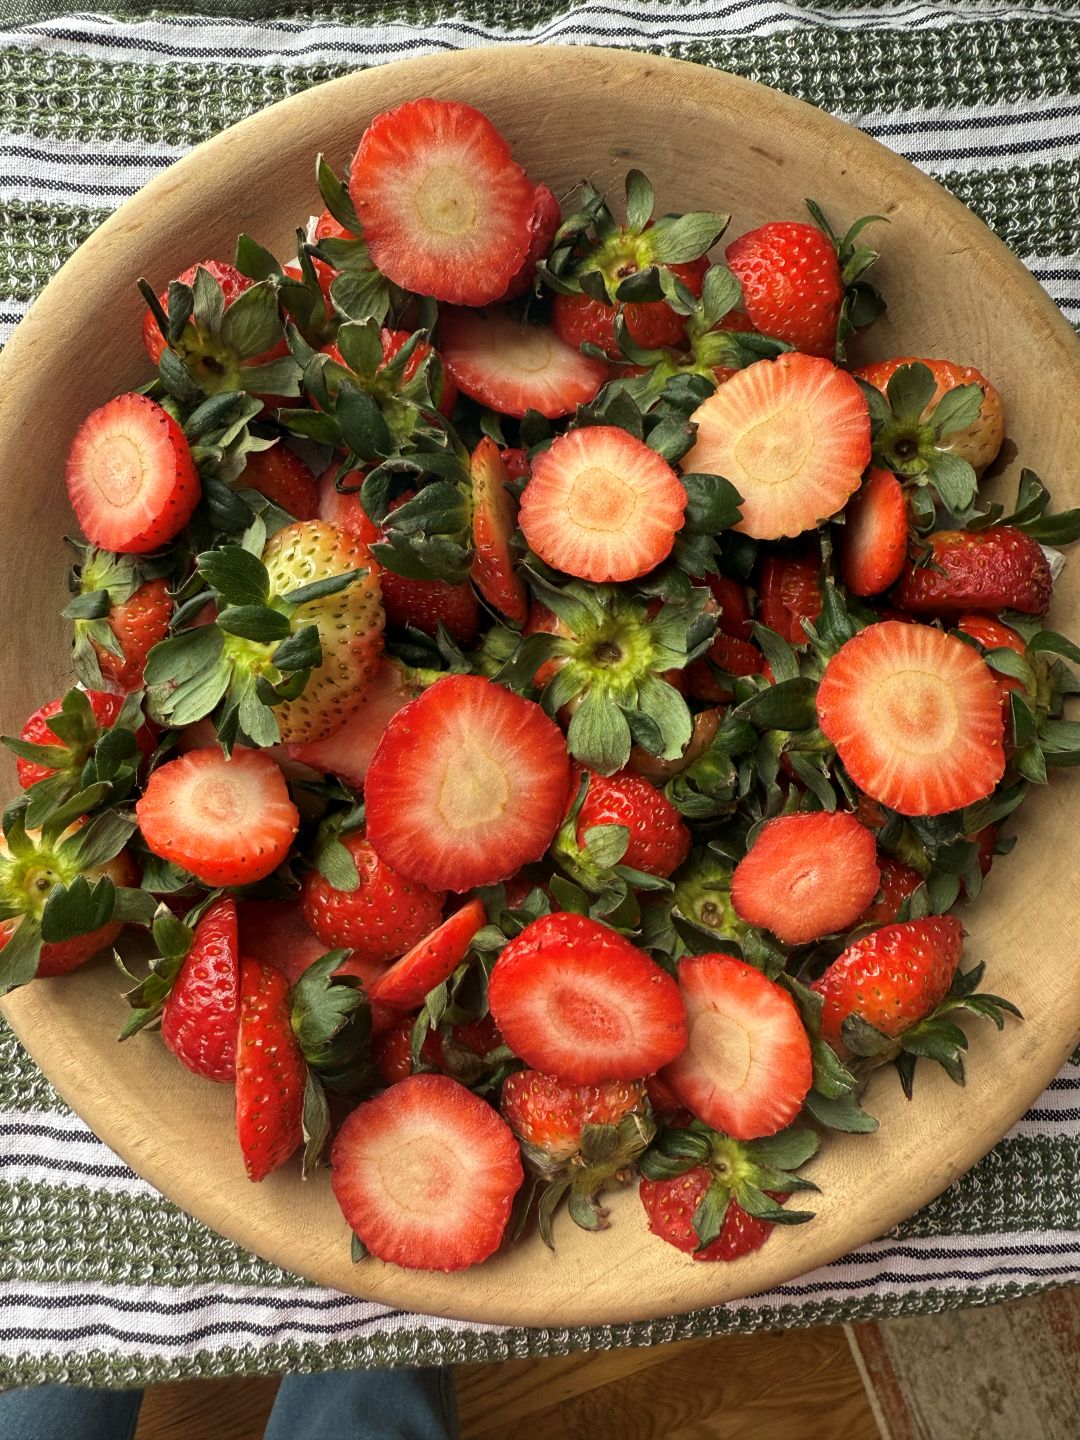
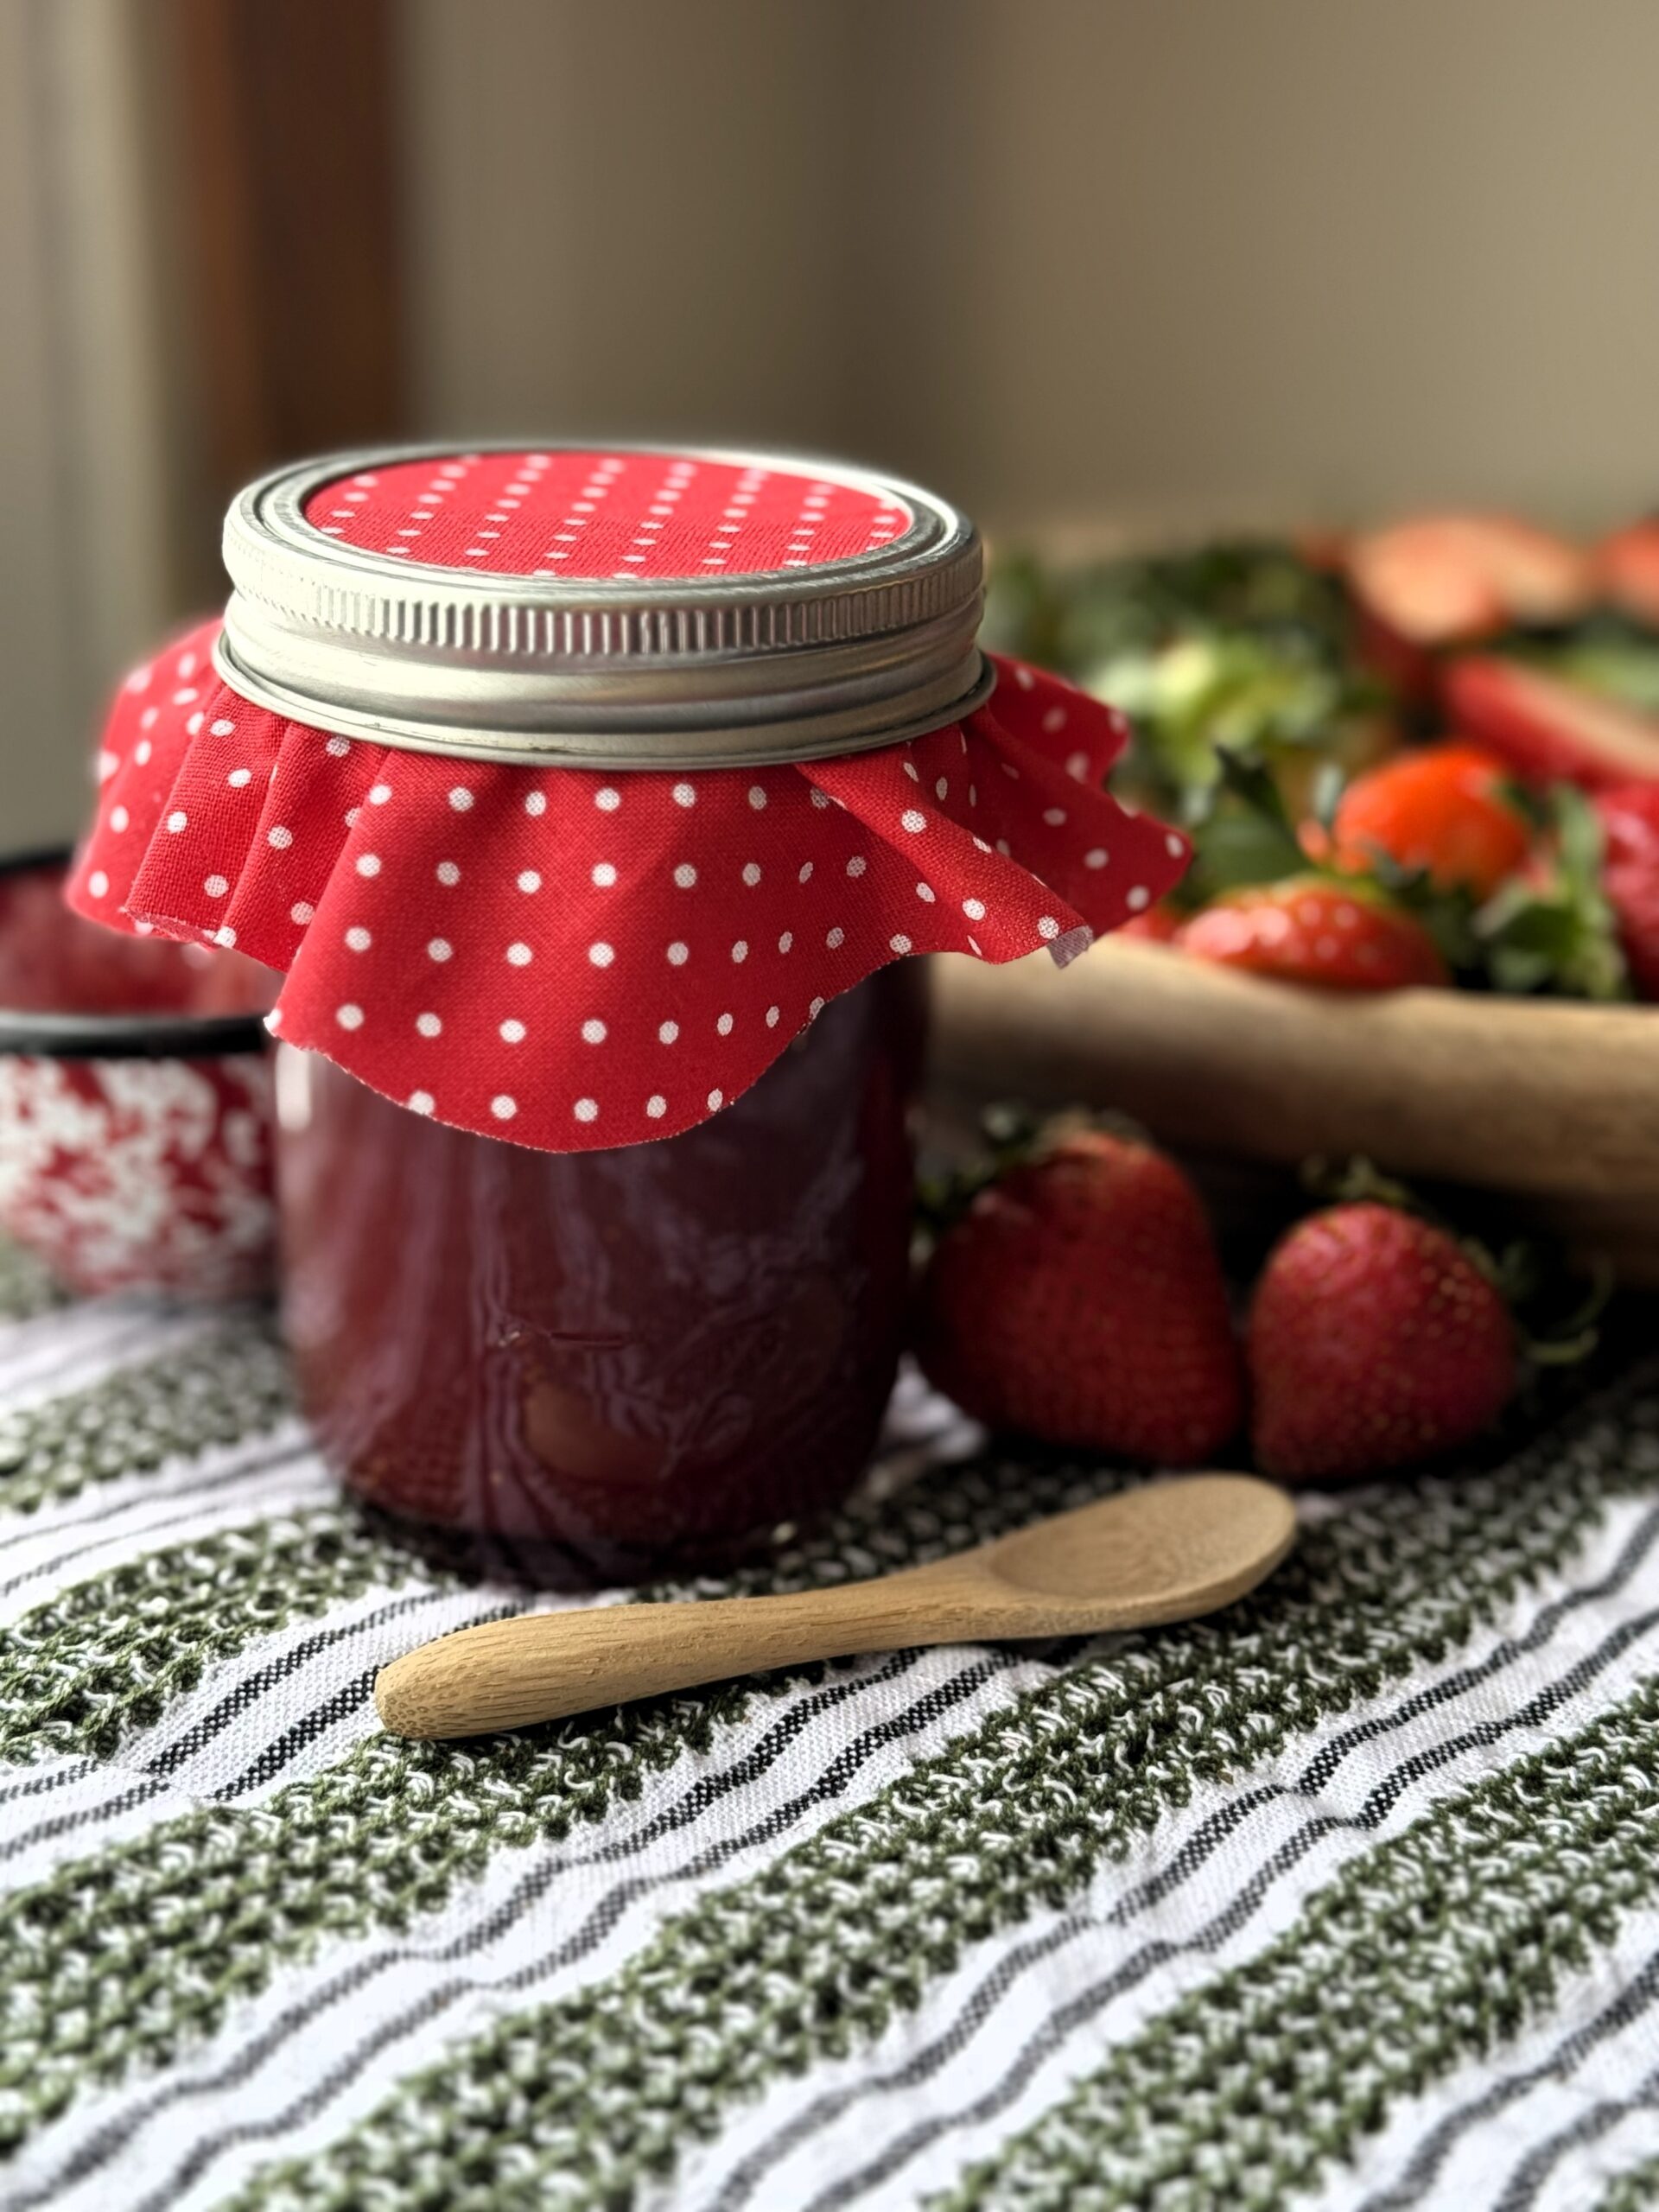
Start Canning and Make Some Strawberry Jam with Me