Ingredients
Equipment
Method
Prepping Meat
- Brown the ground meat and drain as much fat as possible.
- Add seasonings and enough water to ensure all seasonings are evenly distributed.
Prepping Equipment
- Wash all jars, bands, and lids
- Place water (amount is according to your pressure canner's instruction manual) in the canner along with the canning rack
- Fill the jars at least half-way with water and place into the pressure canner. No lids. This is simply so they don’t try to float.
- Boil water in a pot to eventually add to jars.
- Turn the heat to medium-low to start warming the water and the jars.
Canning Taco Meat
- Using a jar lifter, remove a warm jar and discard the water (not into the canner).
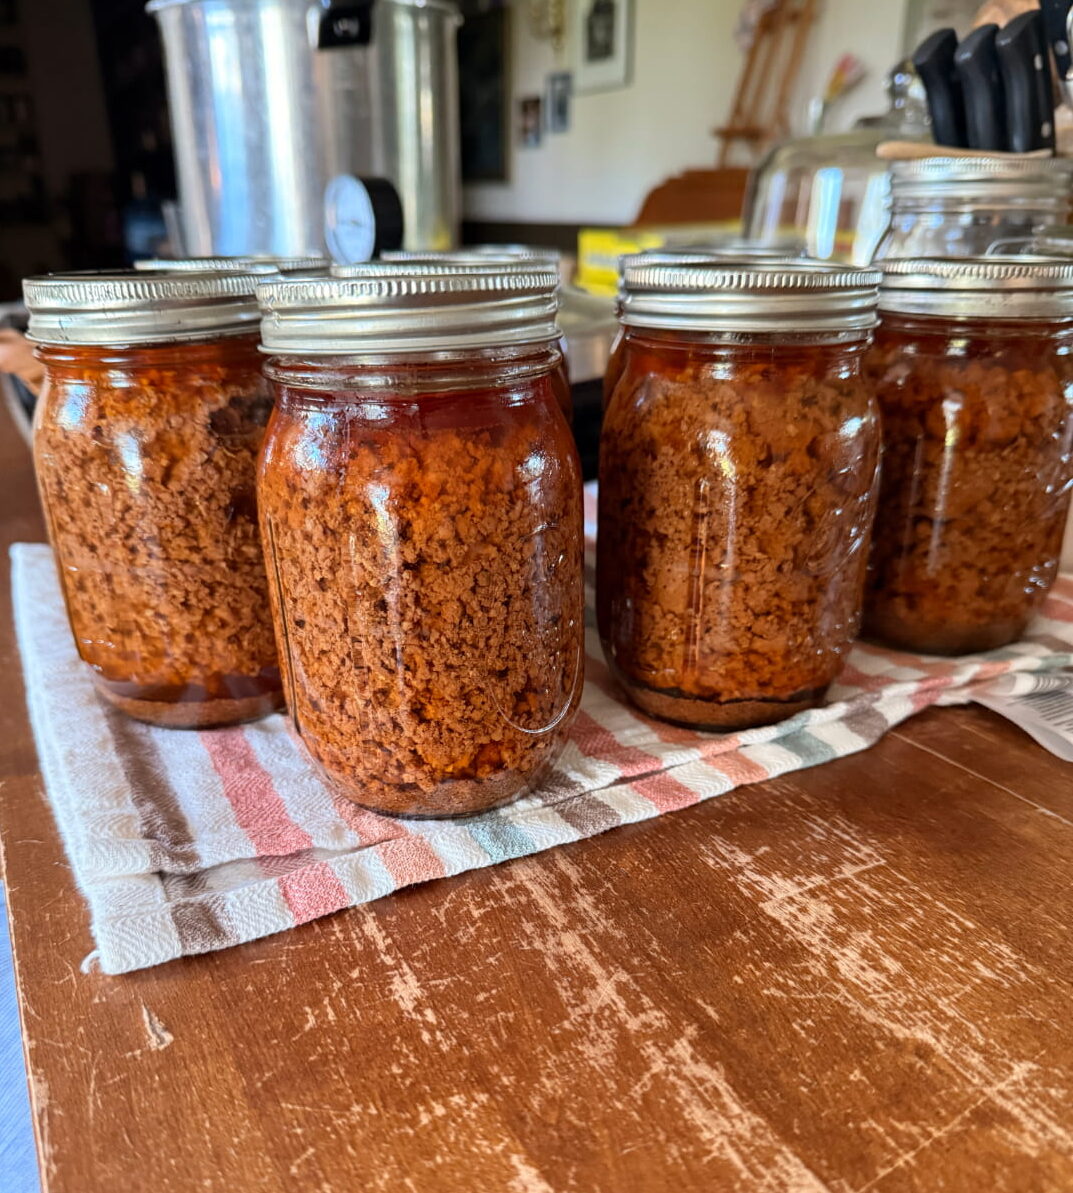
- Fill jars loosely with taco meat, leaving enough room to maintain 1 inch of headspace after adding boiling water.
- Add boiling water. Leave 1 inch headspace
- Remove bubbles and discard any additional fat that floats.
- Re-check headspace.
- Wipe rims clean with a lint-free cloth. I dip my cloth into vinegar but water is fine. Wipe around all rims to help ensure a tight and safe seal.
- Put the lid and ring on and twist it to fingertip tight.
- Place jars into the pressure canner spaced as evenly as possible.
- Follow your canner’s instructions on heating the canner, letting it vent, building pressure, what pressure based on altitude, and monitoring the pressure.
- Process pints for 75 minutes and quarts for 90
- Turn off heat and let the canner release its pressure naturally. Do not try to force it.
- Once pressure is fully released, remove the lid and let everything sit for at least 5 minutes.
- Remove jars and let them rest for 12-24 hours. Remove bands to thouroughly wash all bands and jars. If using, add bands back on but loosely.
- Store in place that doesn't have large temperature fluctuations.
Notes
If you end up with less and the canner isn't full of jars:
Fill a jar with water and put on a ring and band. This helps to make sure the pressure builds properly versus leaving the space empty. And as a bonus, if you fill it with clean/filtered water, you have a shelf-stable jar of water in case of an emergency.